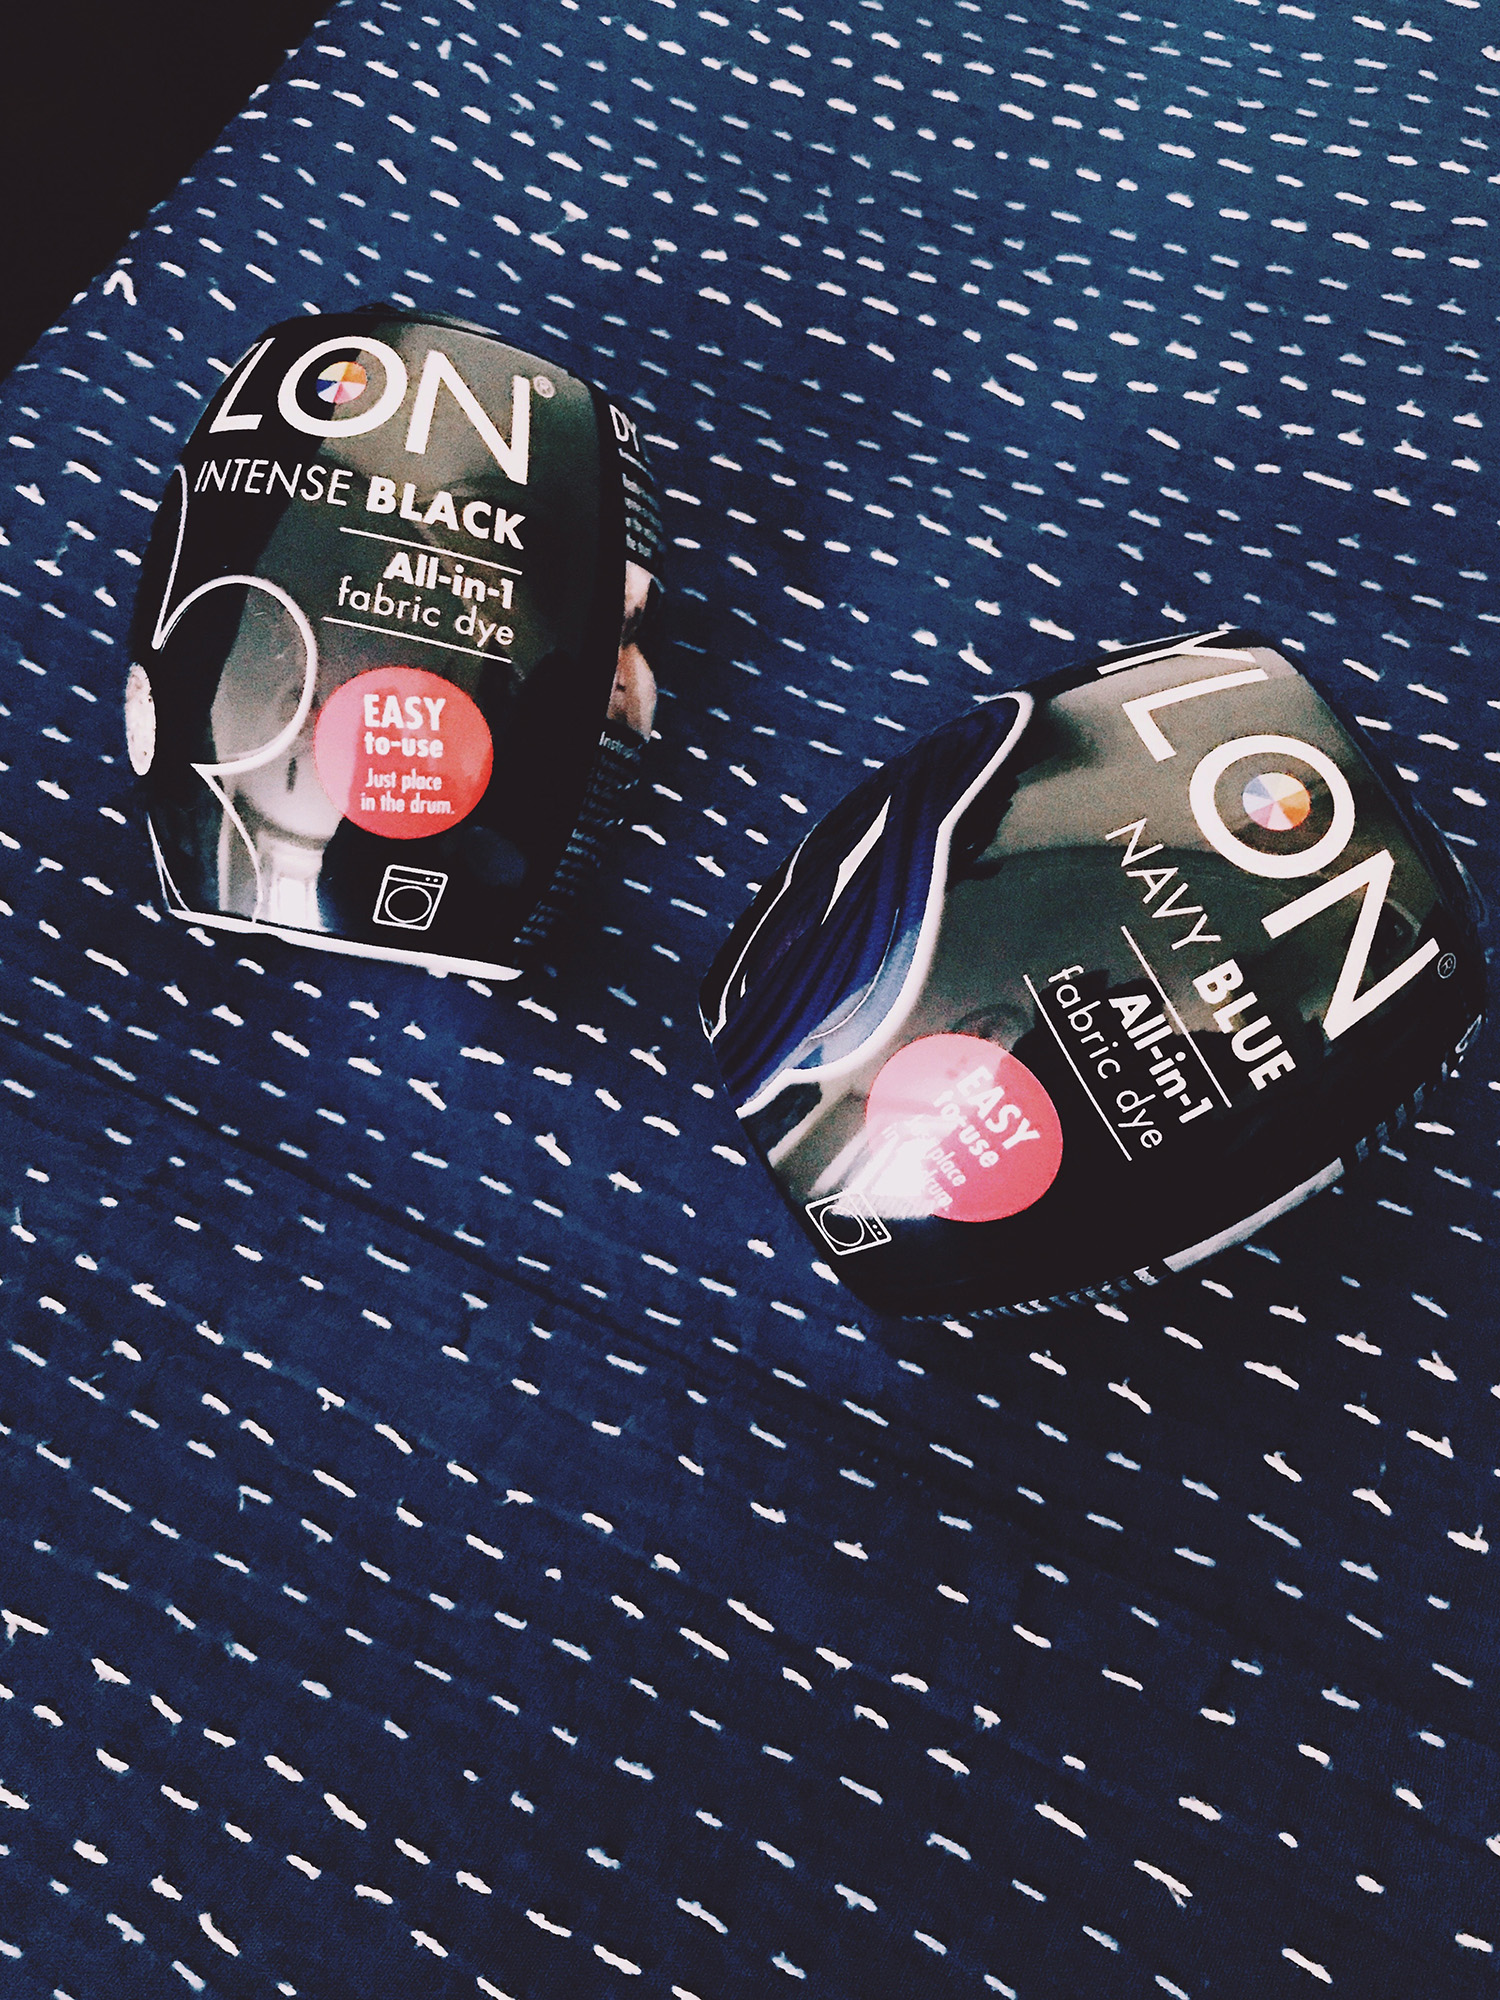
The first thing I actually dyed was the throw these pods are resting on! I used a navy dye pod for this. (Read on for why the stitching didn’t dye.)
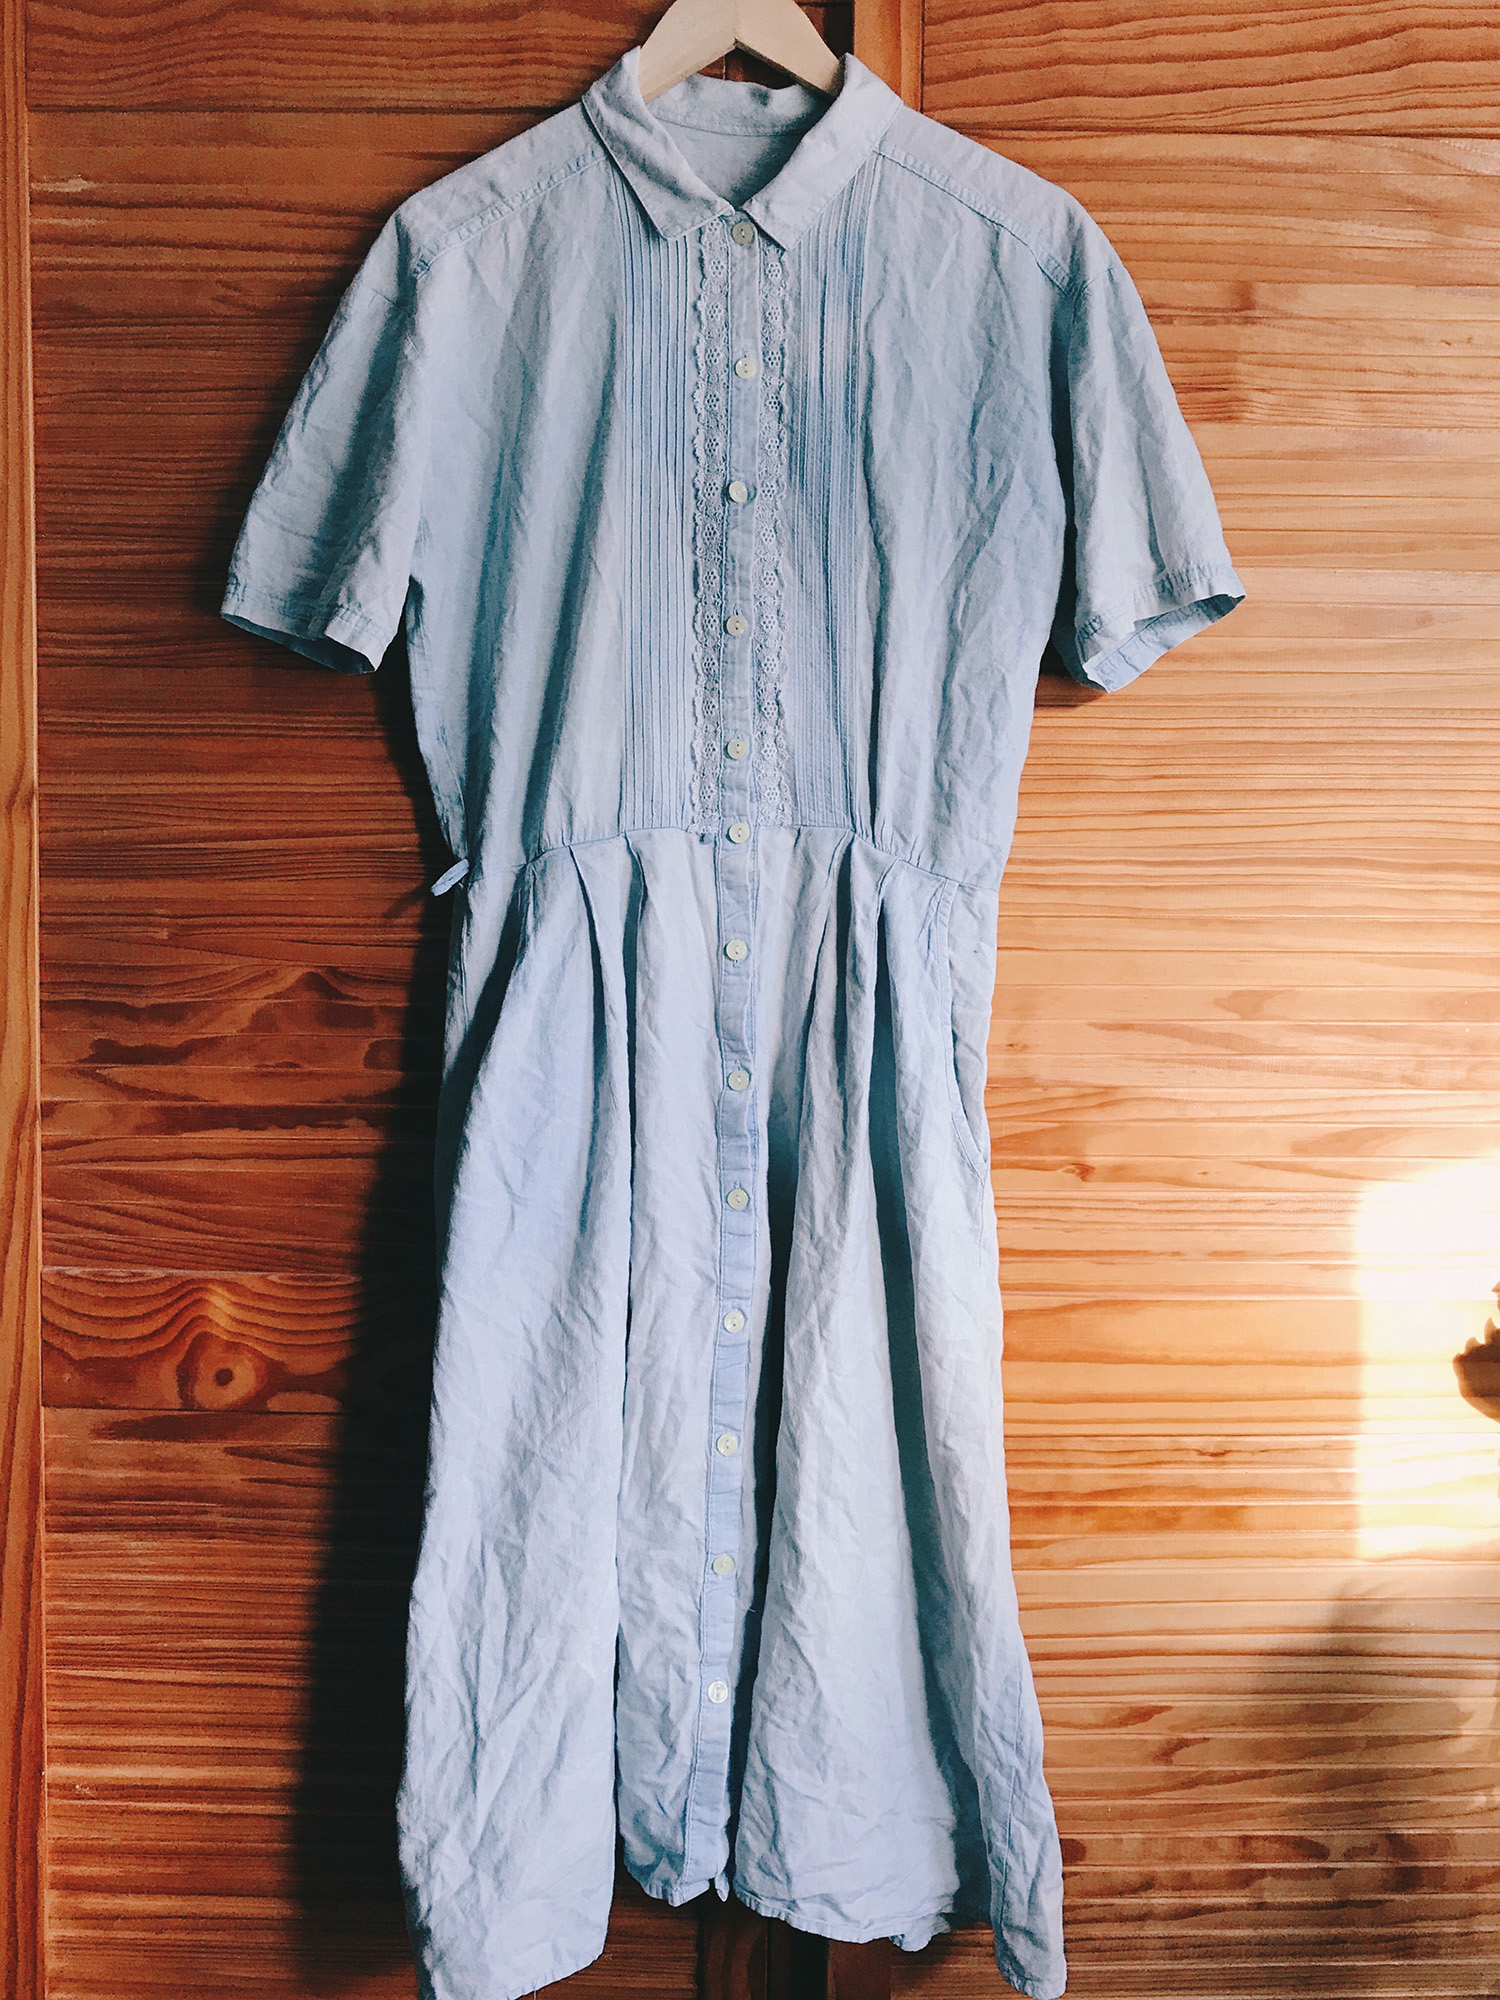
Dress the first: vintage St. Michael’s shirt dress with bleached patches.
The body of the dress is 100% cotton which is ideal for machine dyeing. Machine dyes are suited for natural fabrics like cotton and linen. For dyeing synthetics, you need temperatures upwards of 100 degrees that you don’t get in a washing machine.
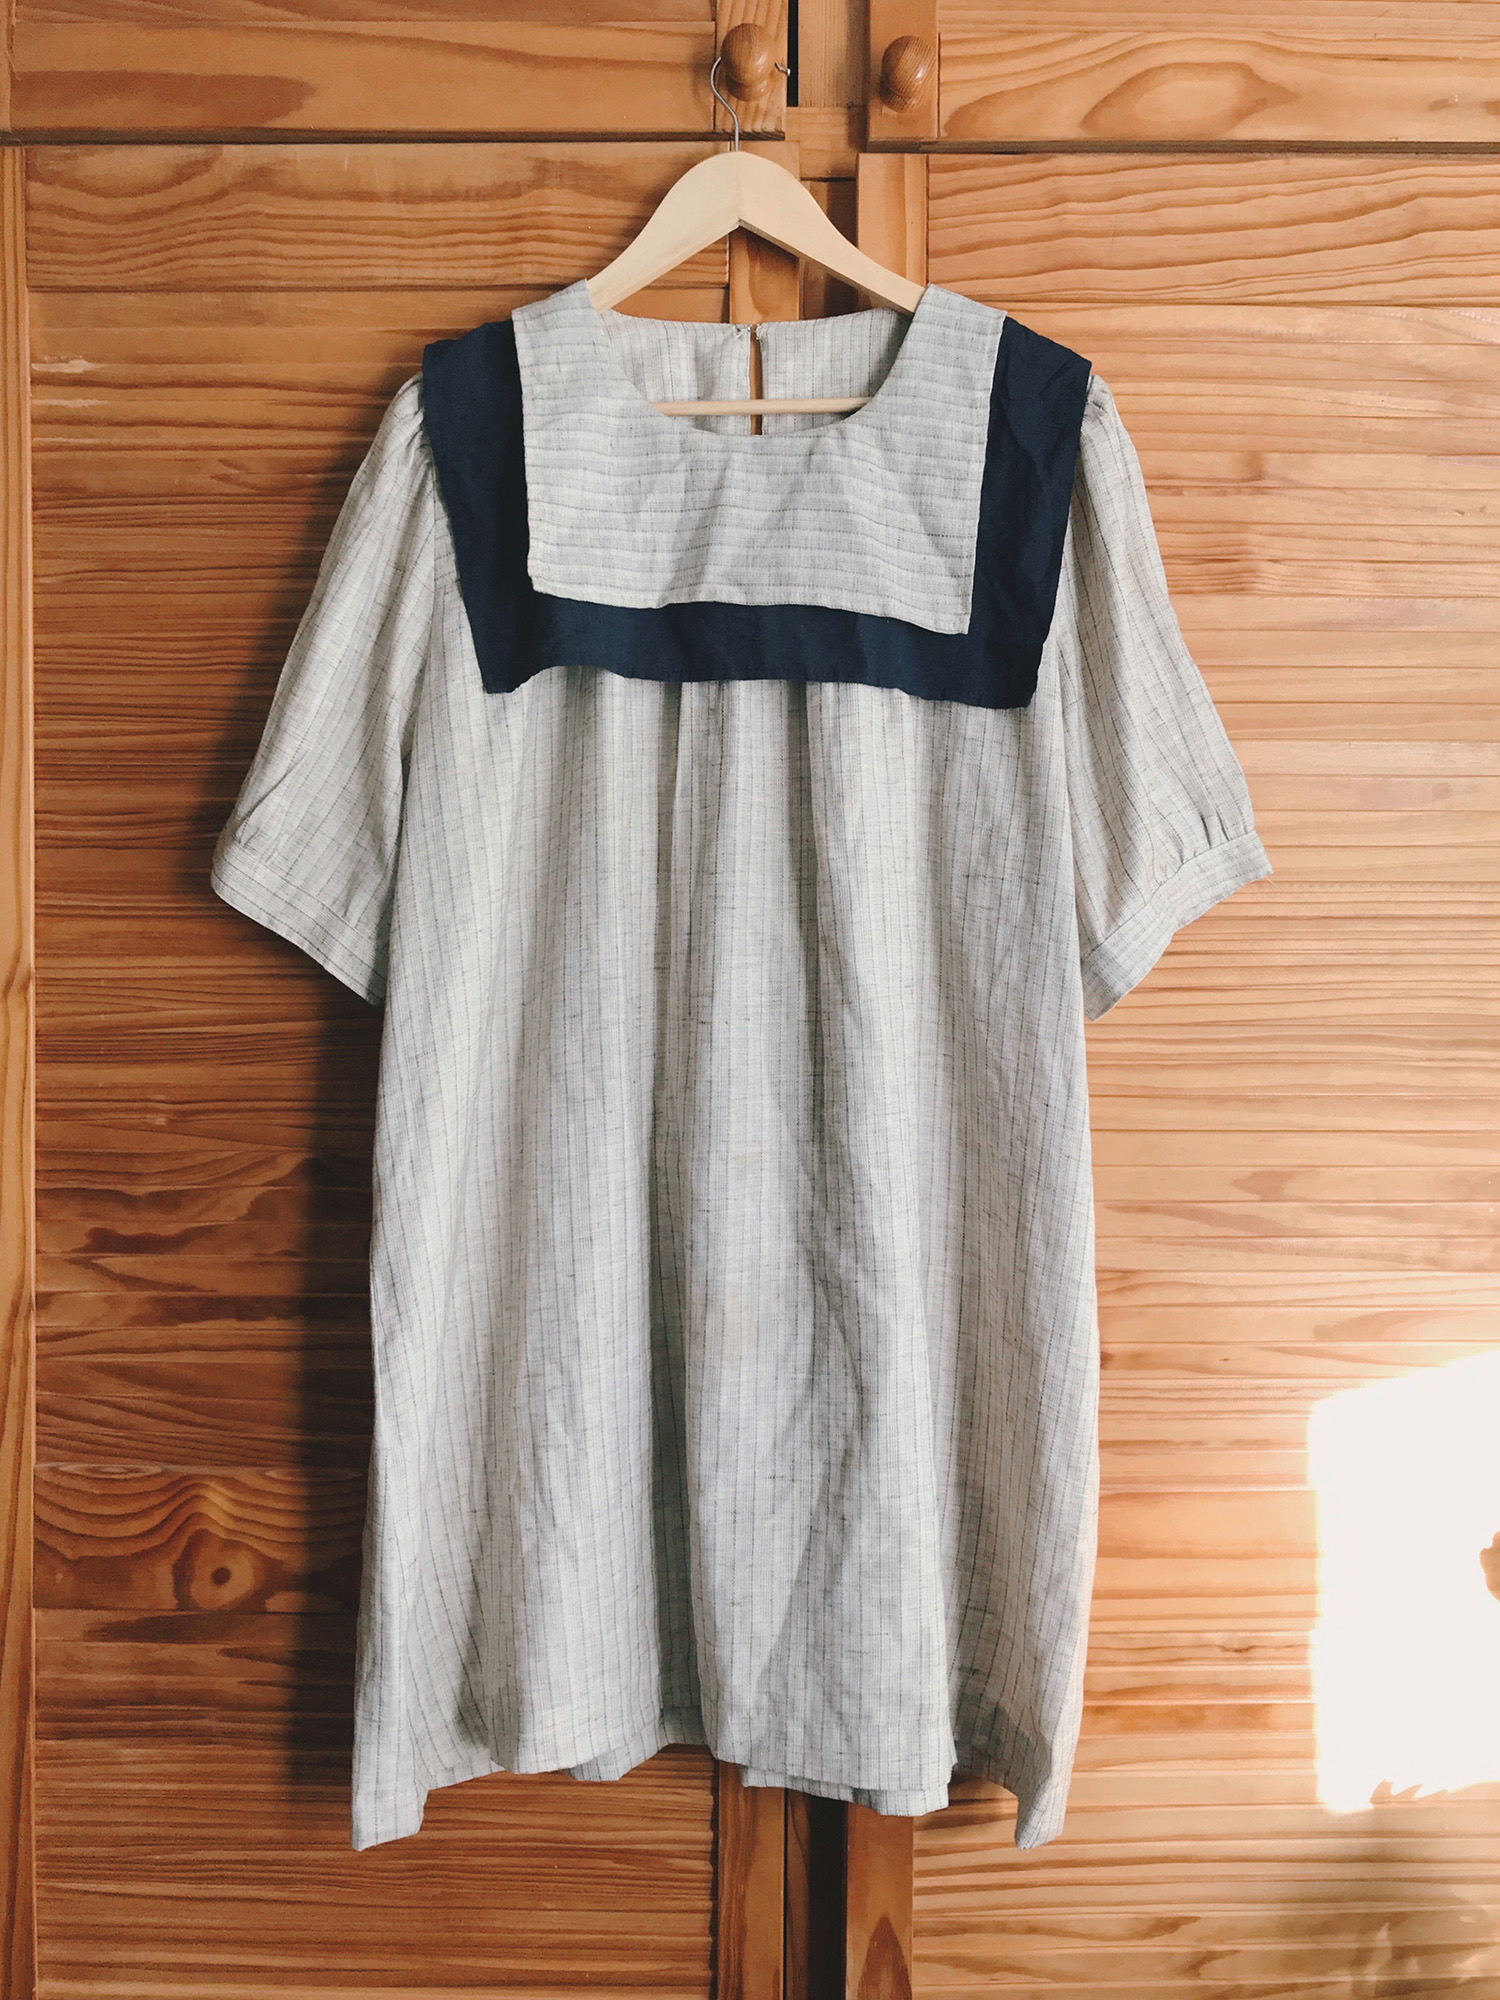
Dress the second: sailor collar shift made by my tailor. The body fabric is possibly a cotton/poly blend which should lead to interesting results as the cotton threads will dye but the polyester won’t.
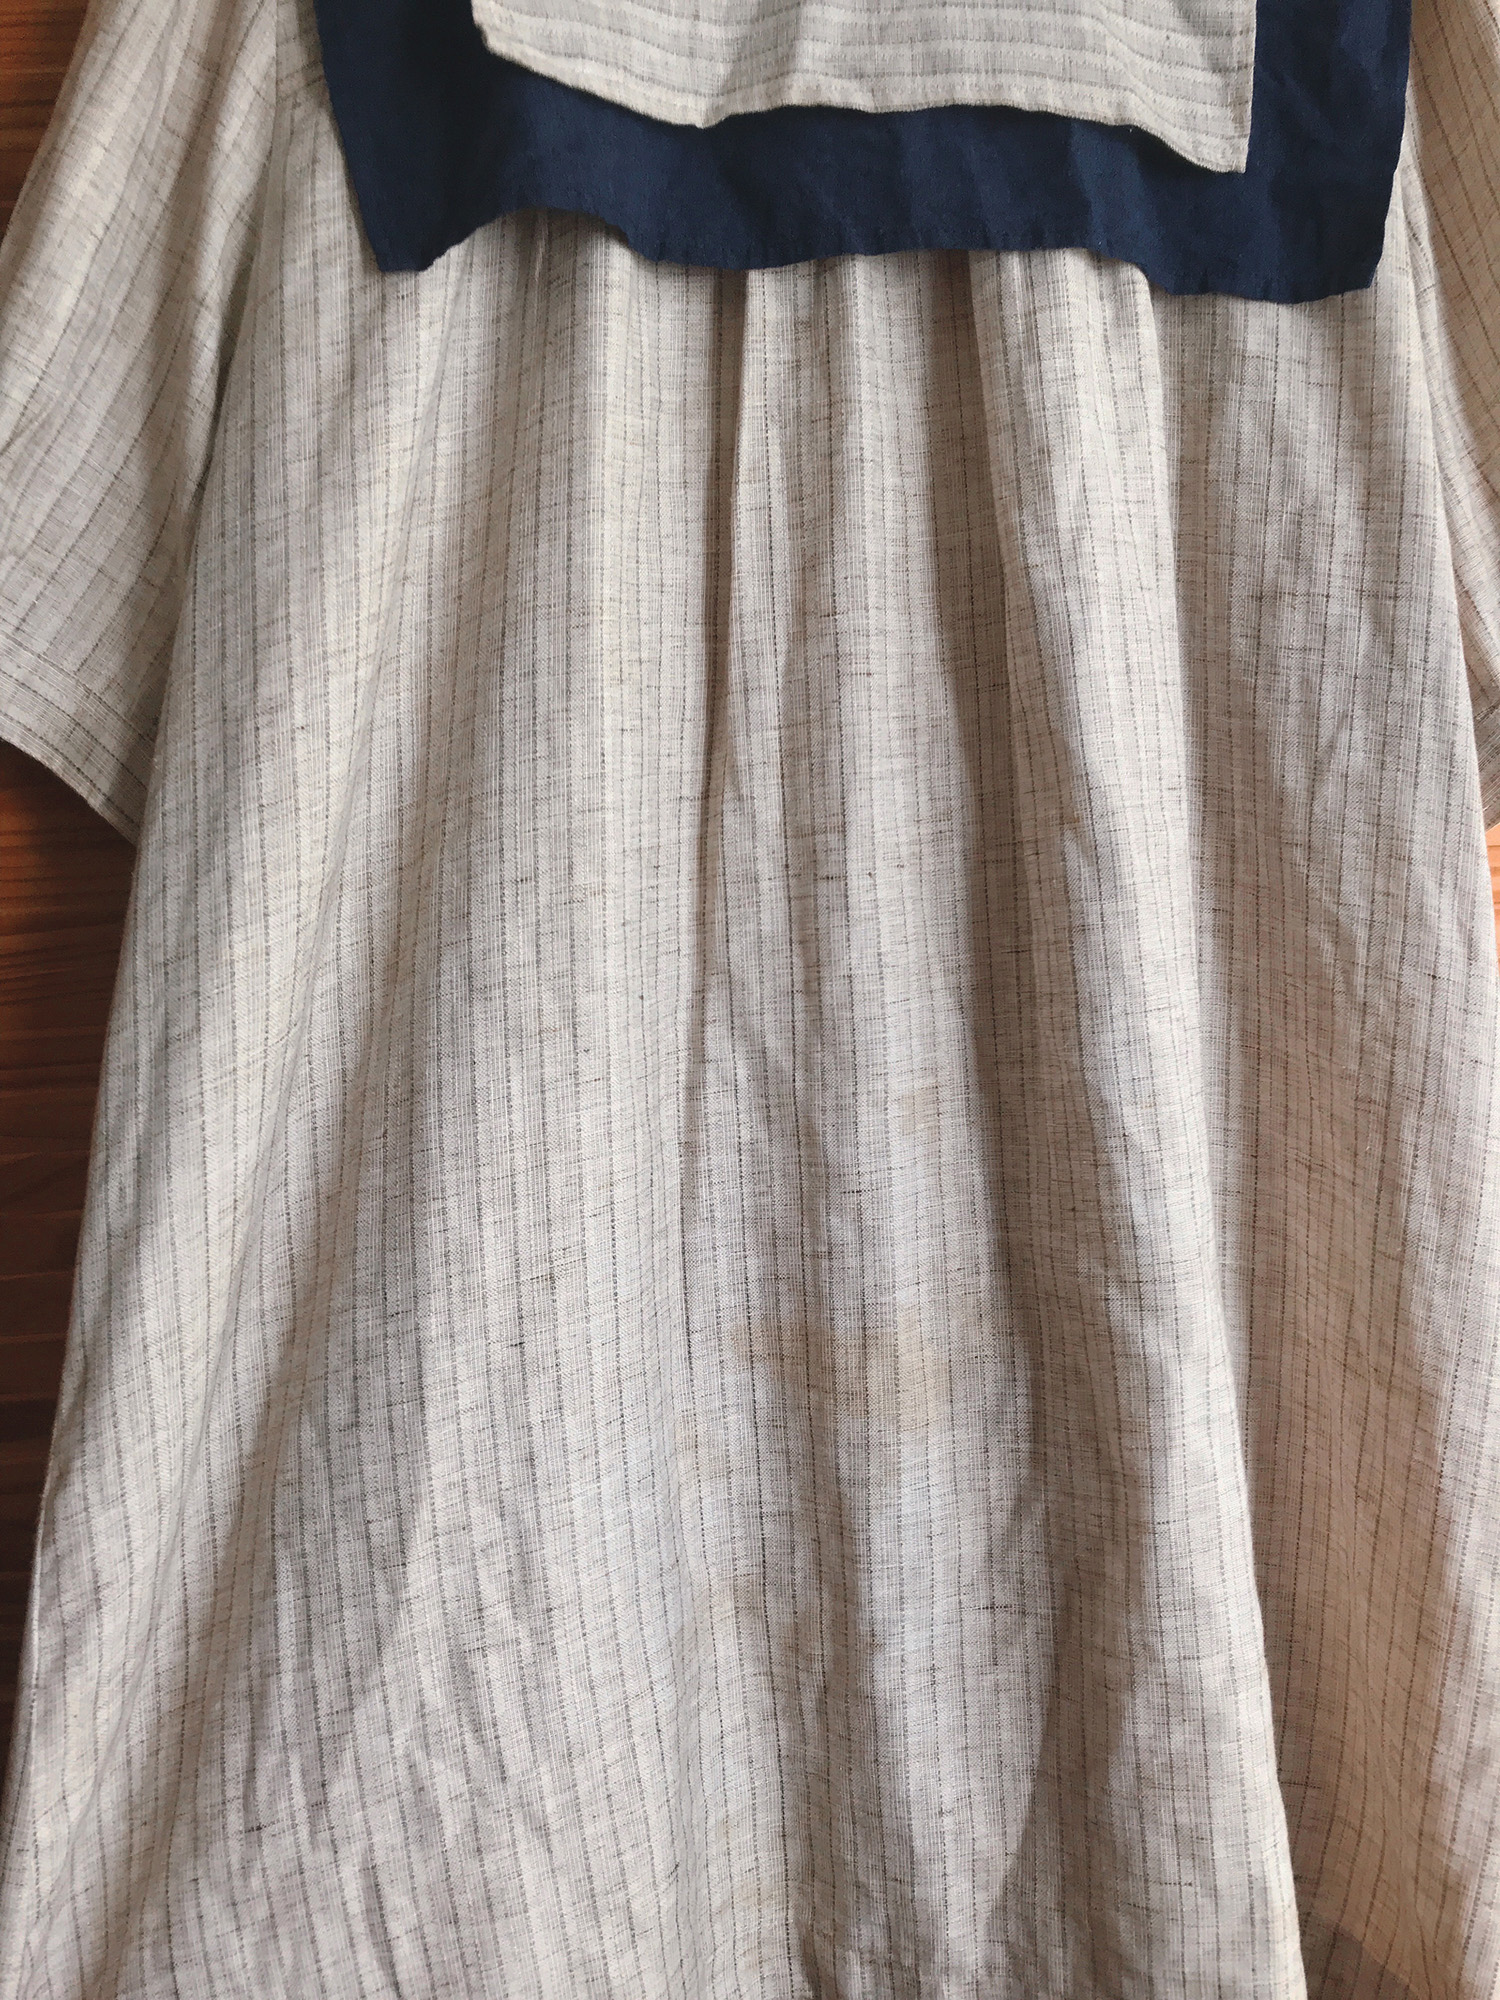
I’m hoping it makes the coffee stain less noticeable though!
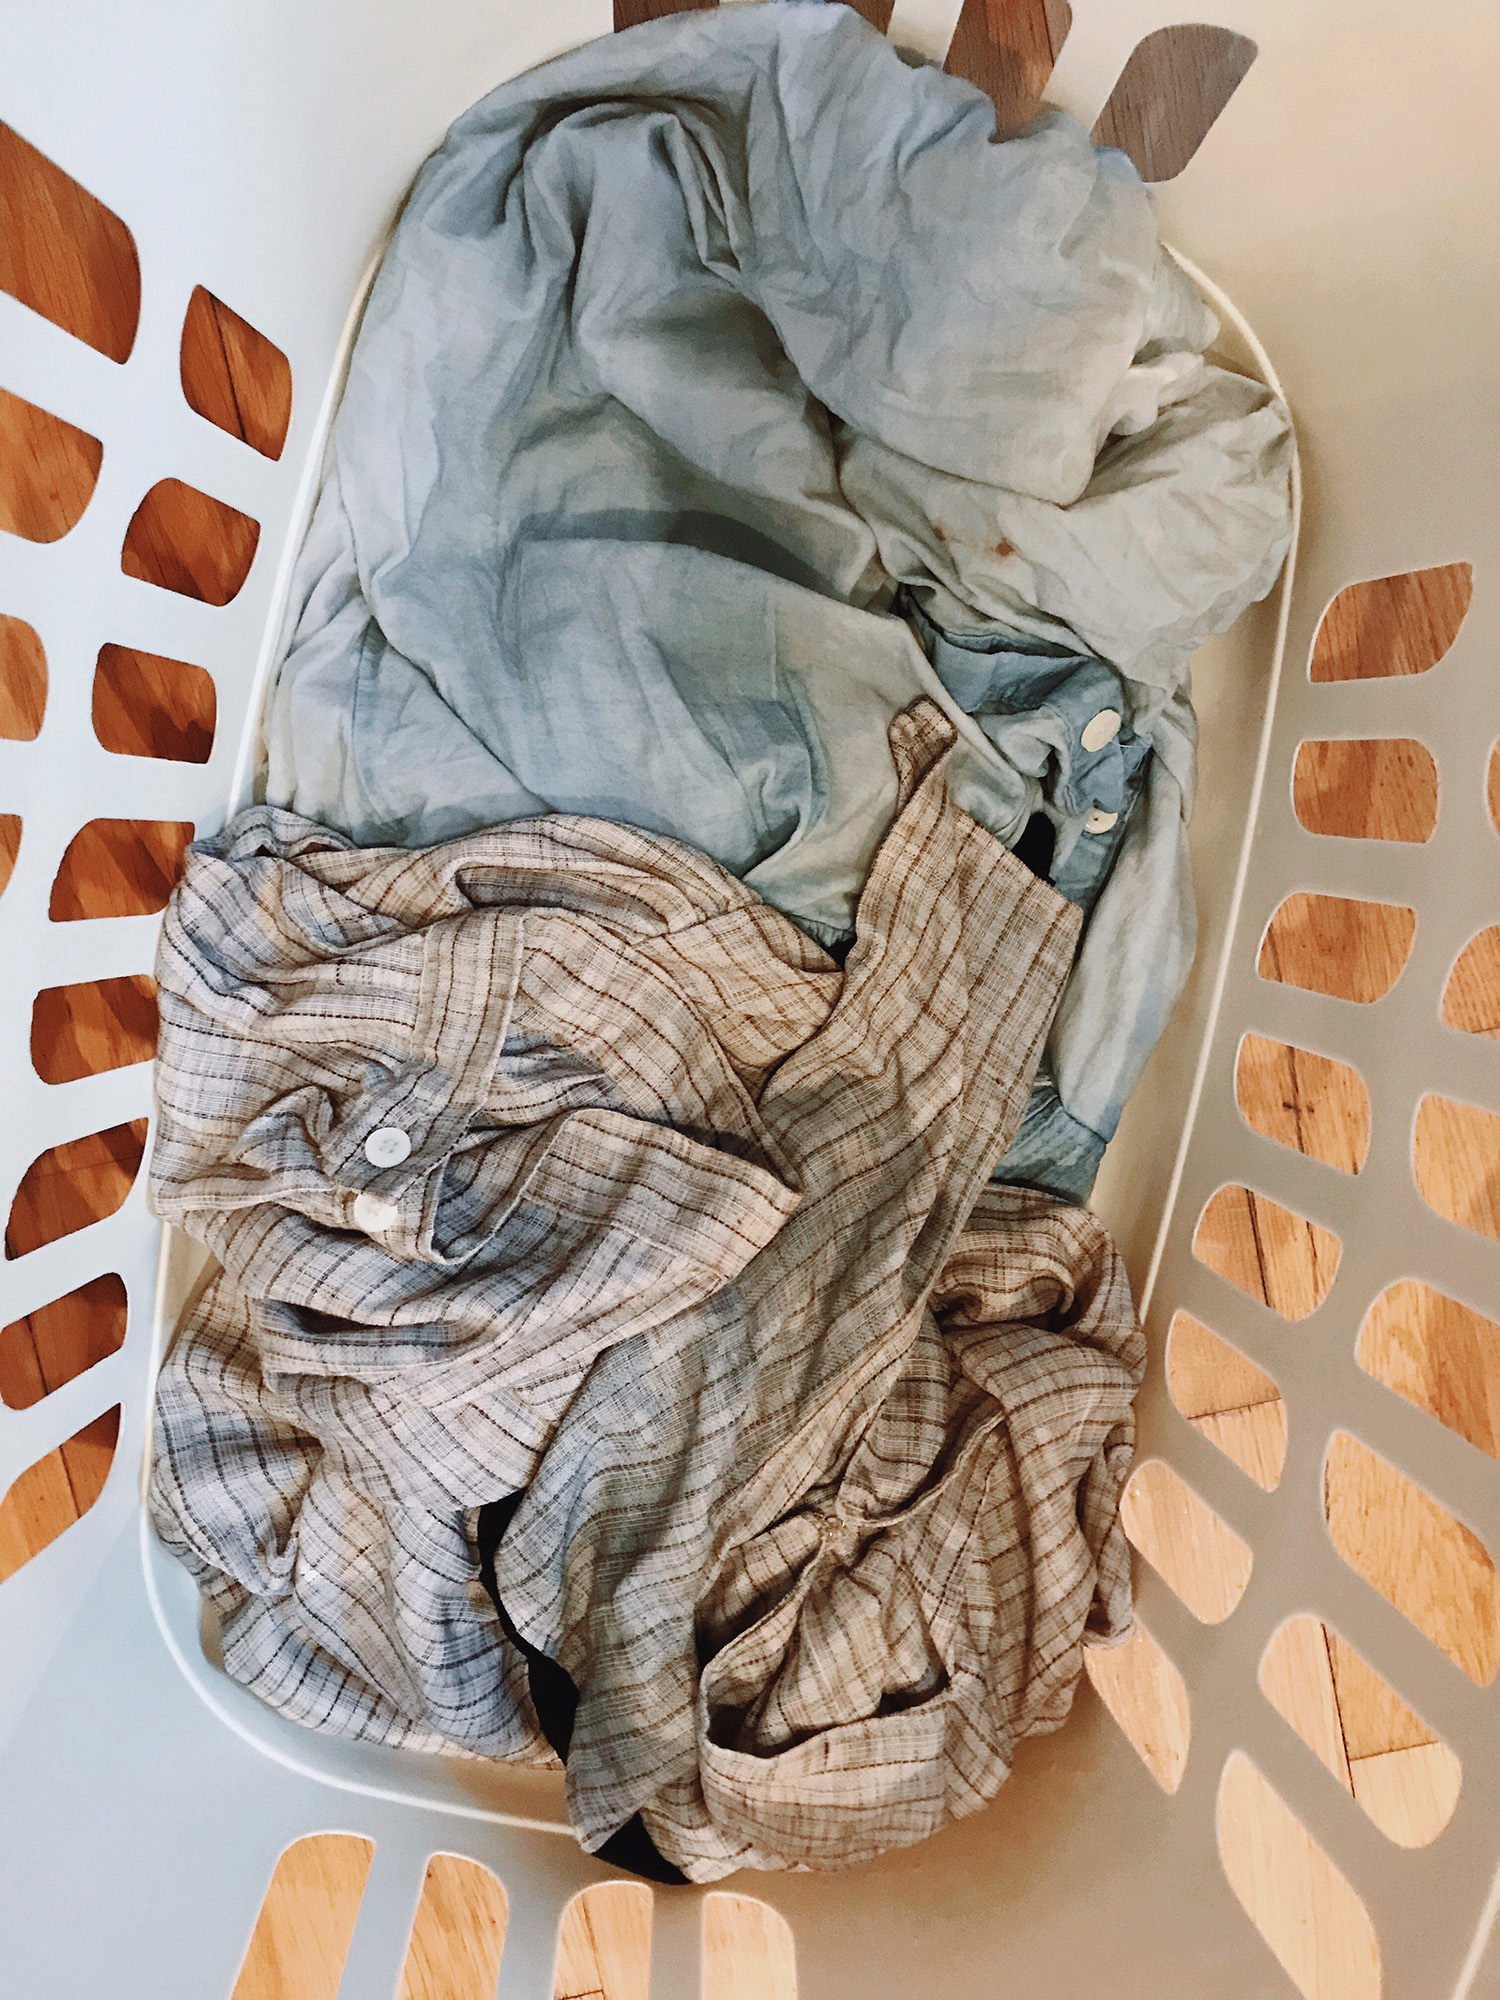
Step 1: Weigh the dresses. 1 dye pod will dye upto 600g of fabric to the full shade. These are just a smidge over the limit so I’ll take that chance.
Step 2: Wet the dresses either by running a short cycle in the machine or just dunking in the sink.
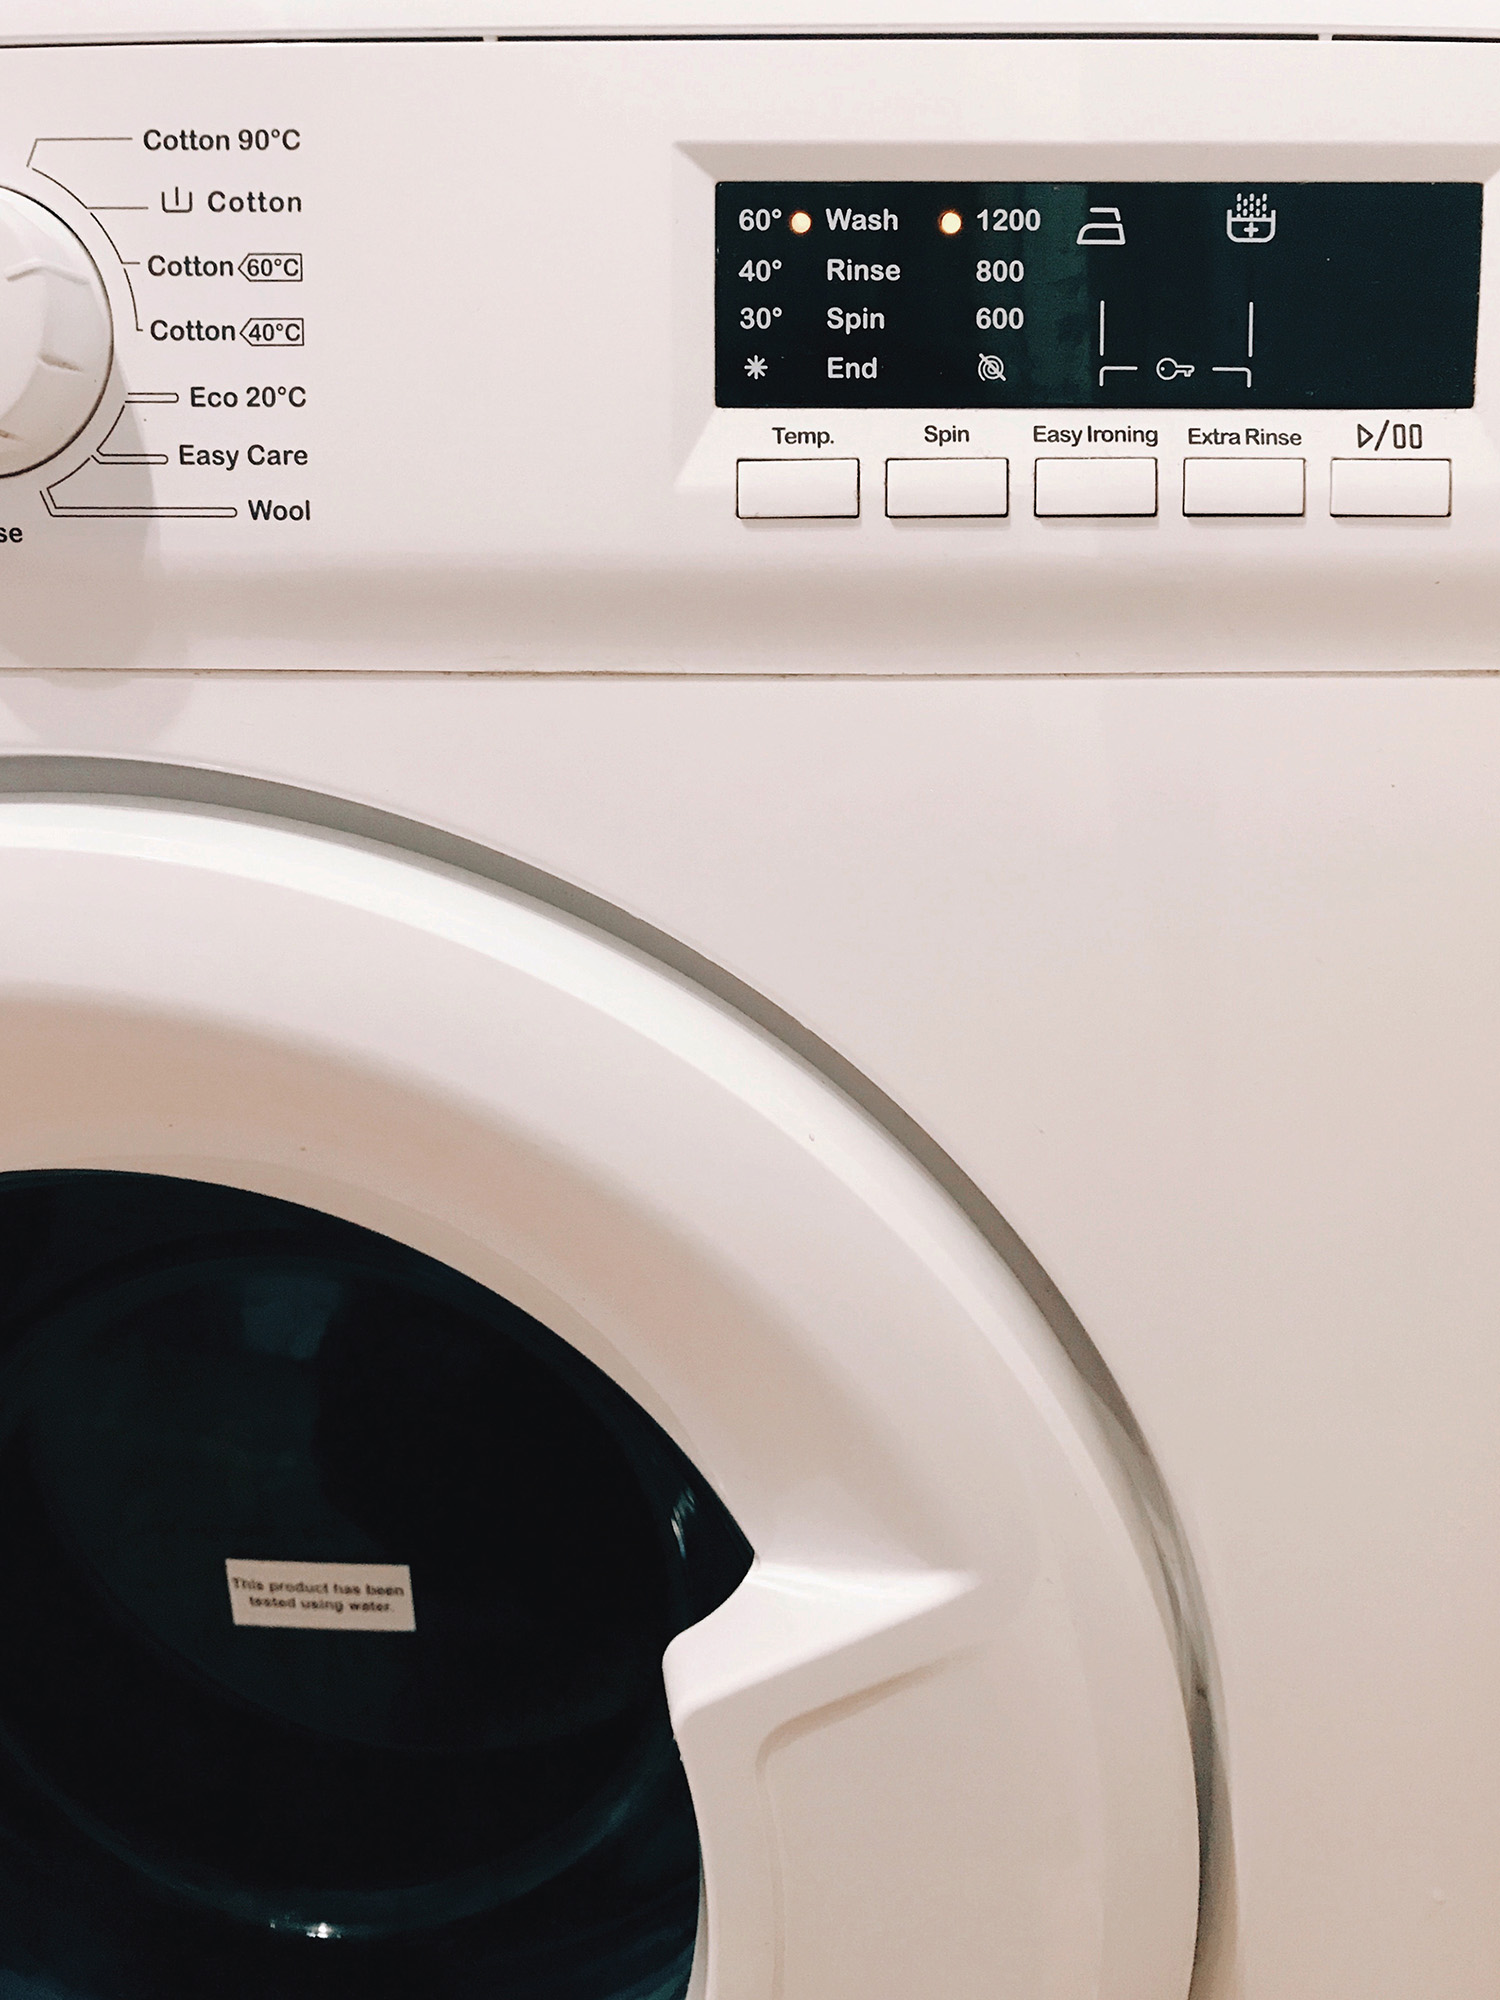
Step 3: into the machine with the opened dye pod! The instructions recommend a 40 degree wash, however everything I’ve read about machine dyeing suggests that the longest, hottest cycle your clothes can tolerate will produce the best results. I’m dyeing these at 60 degrees in the longest cycle this machine will do.
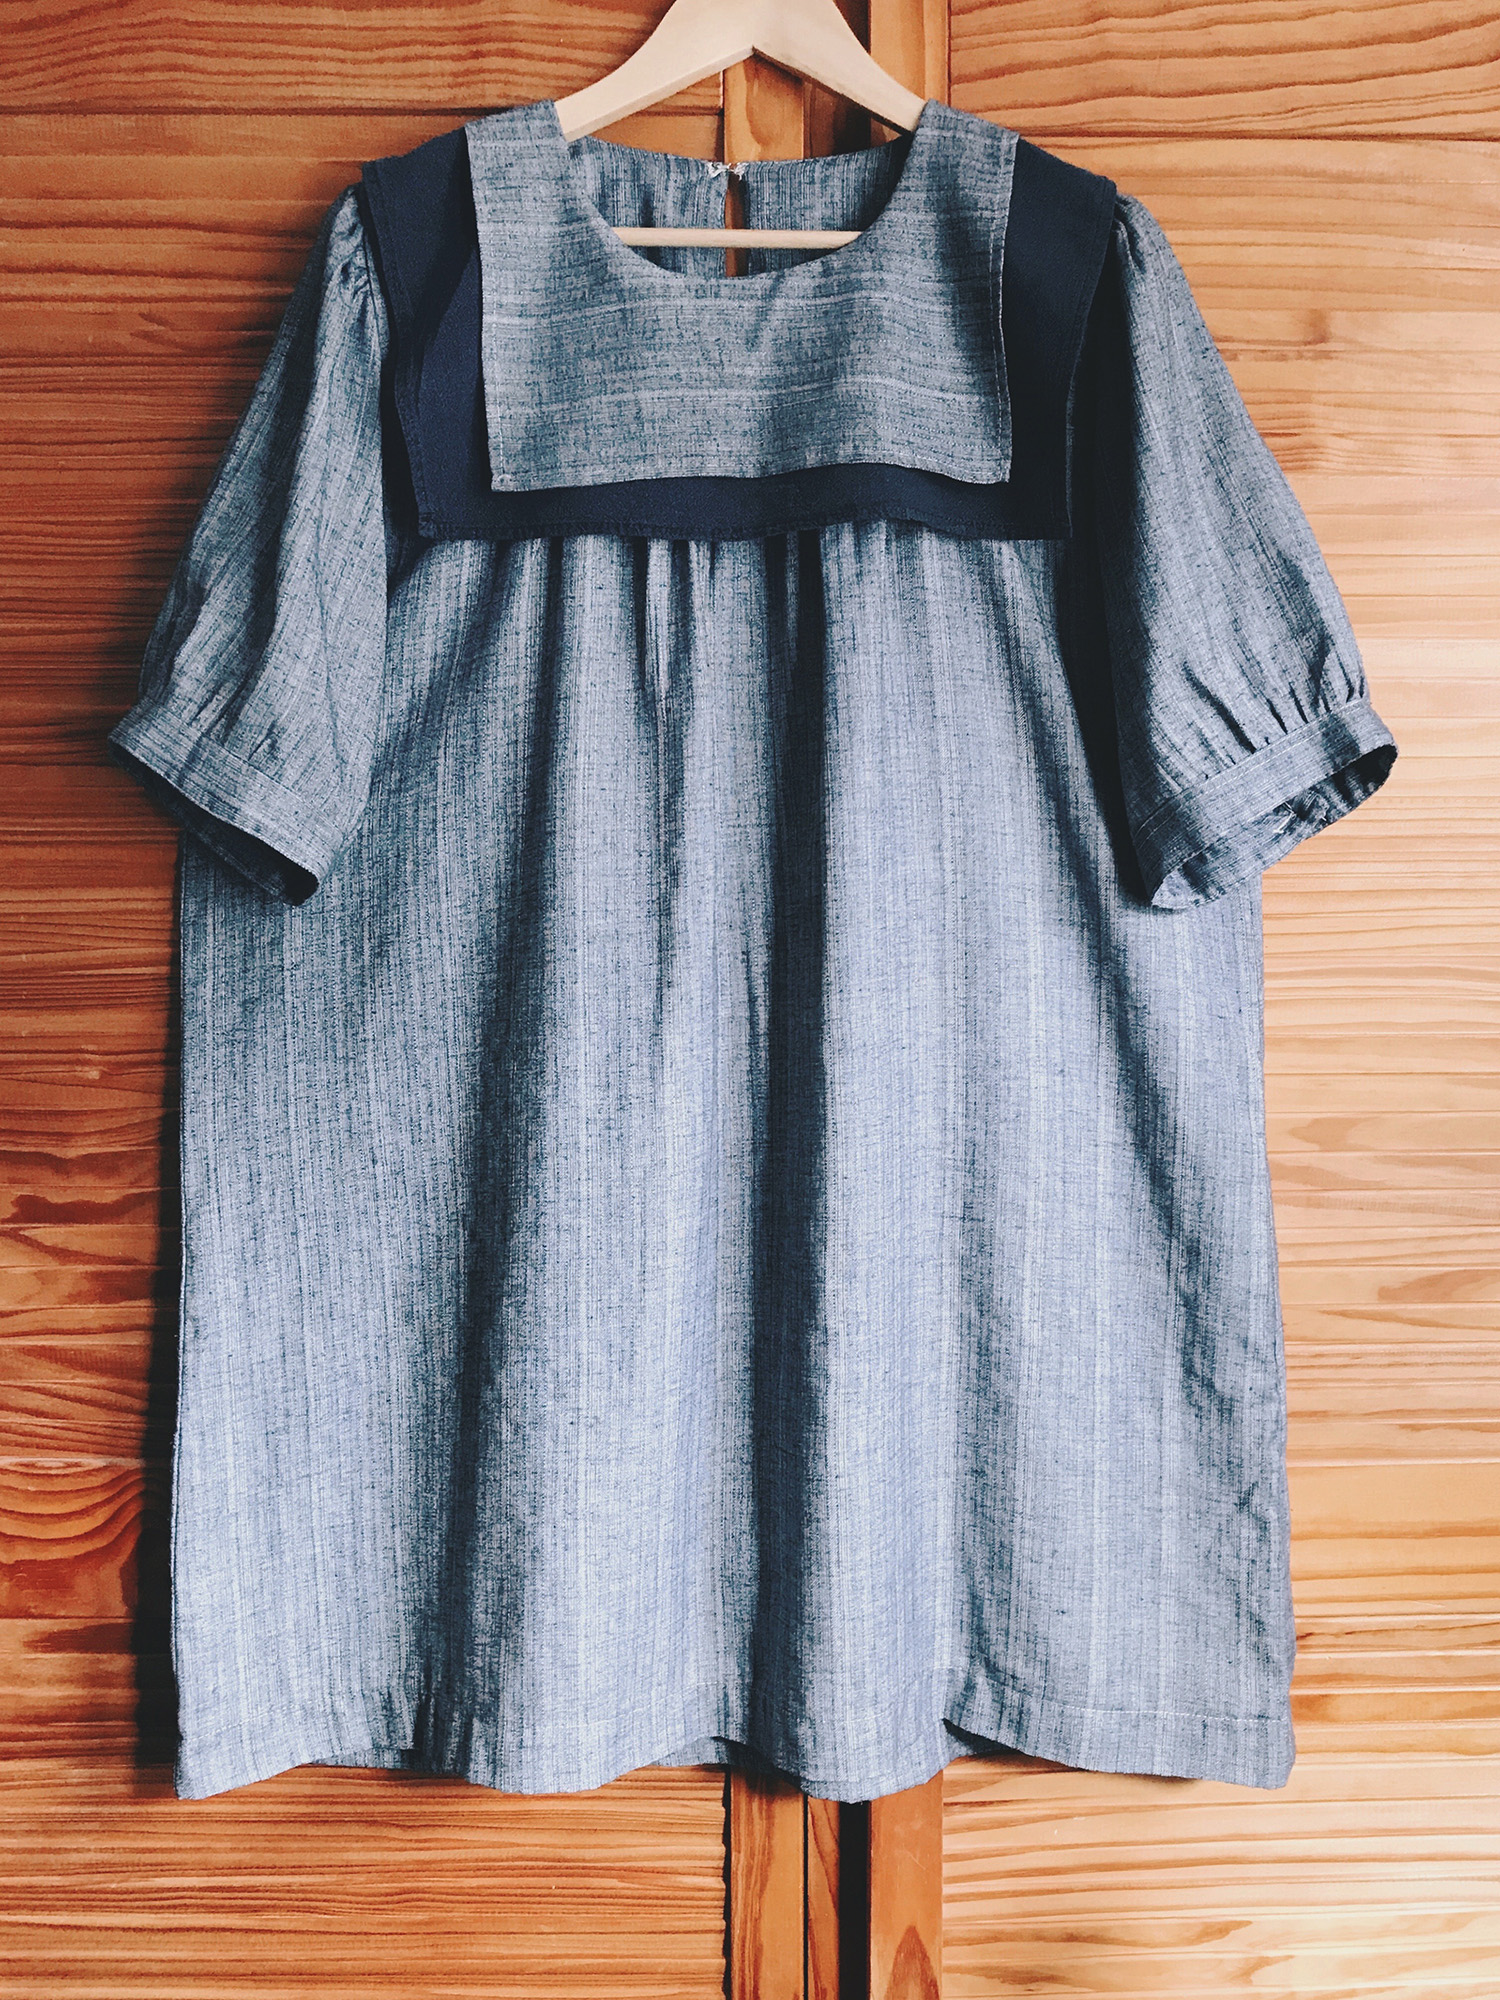
After the dye cycle, I ran another cycle with regular detergent, and here are the results! The cotton/poly blend sailor dress has dyed along the original weave pattern which used to be cream and brown but now is cream and navy.
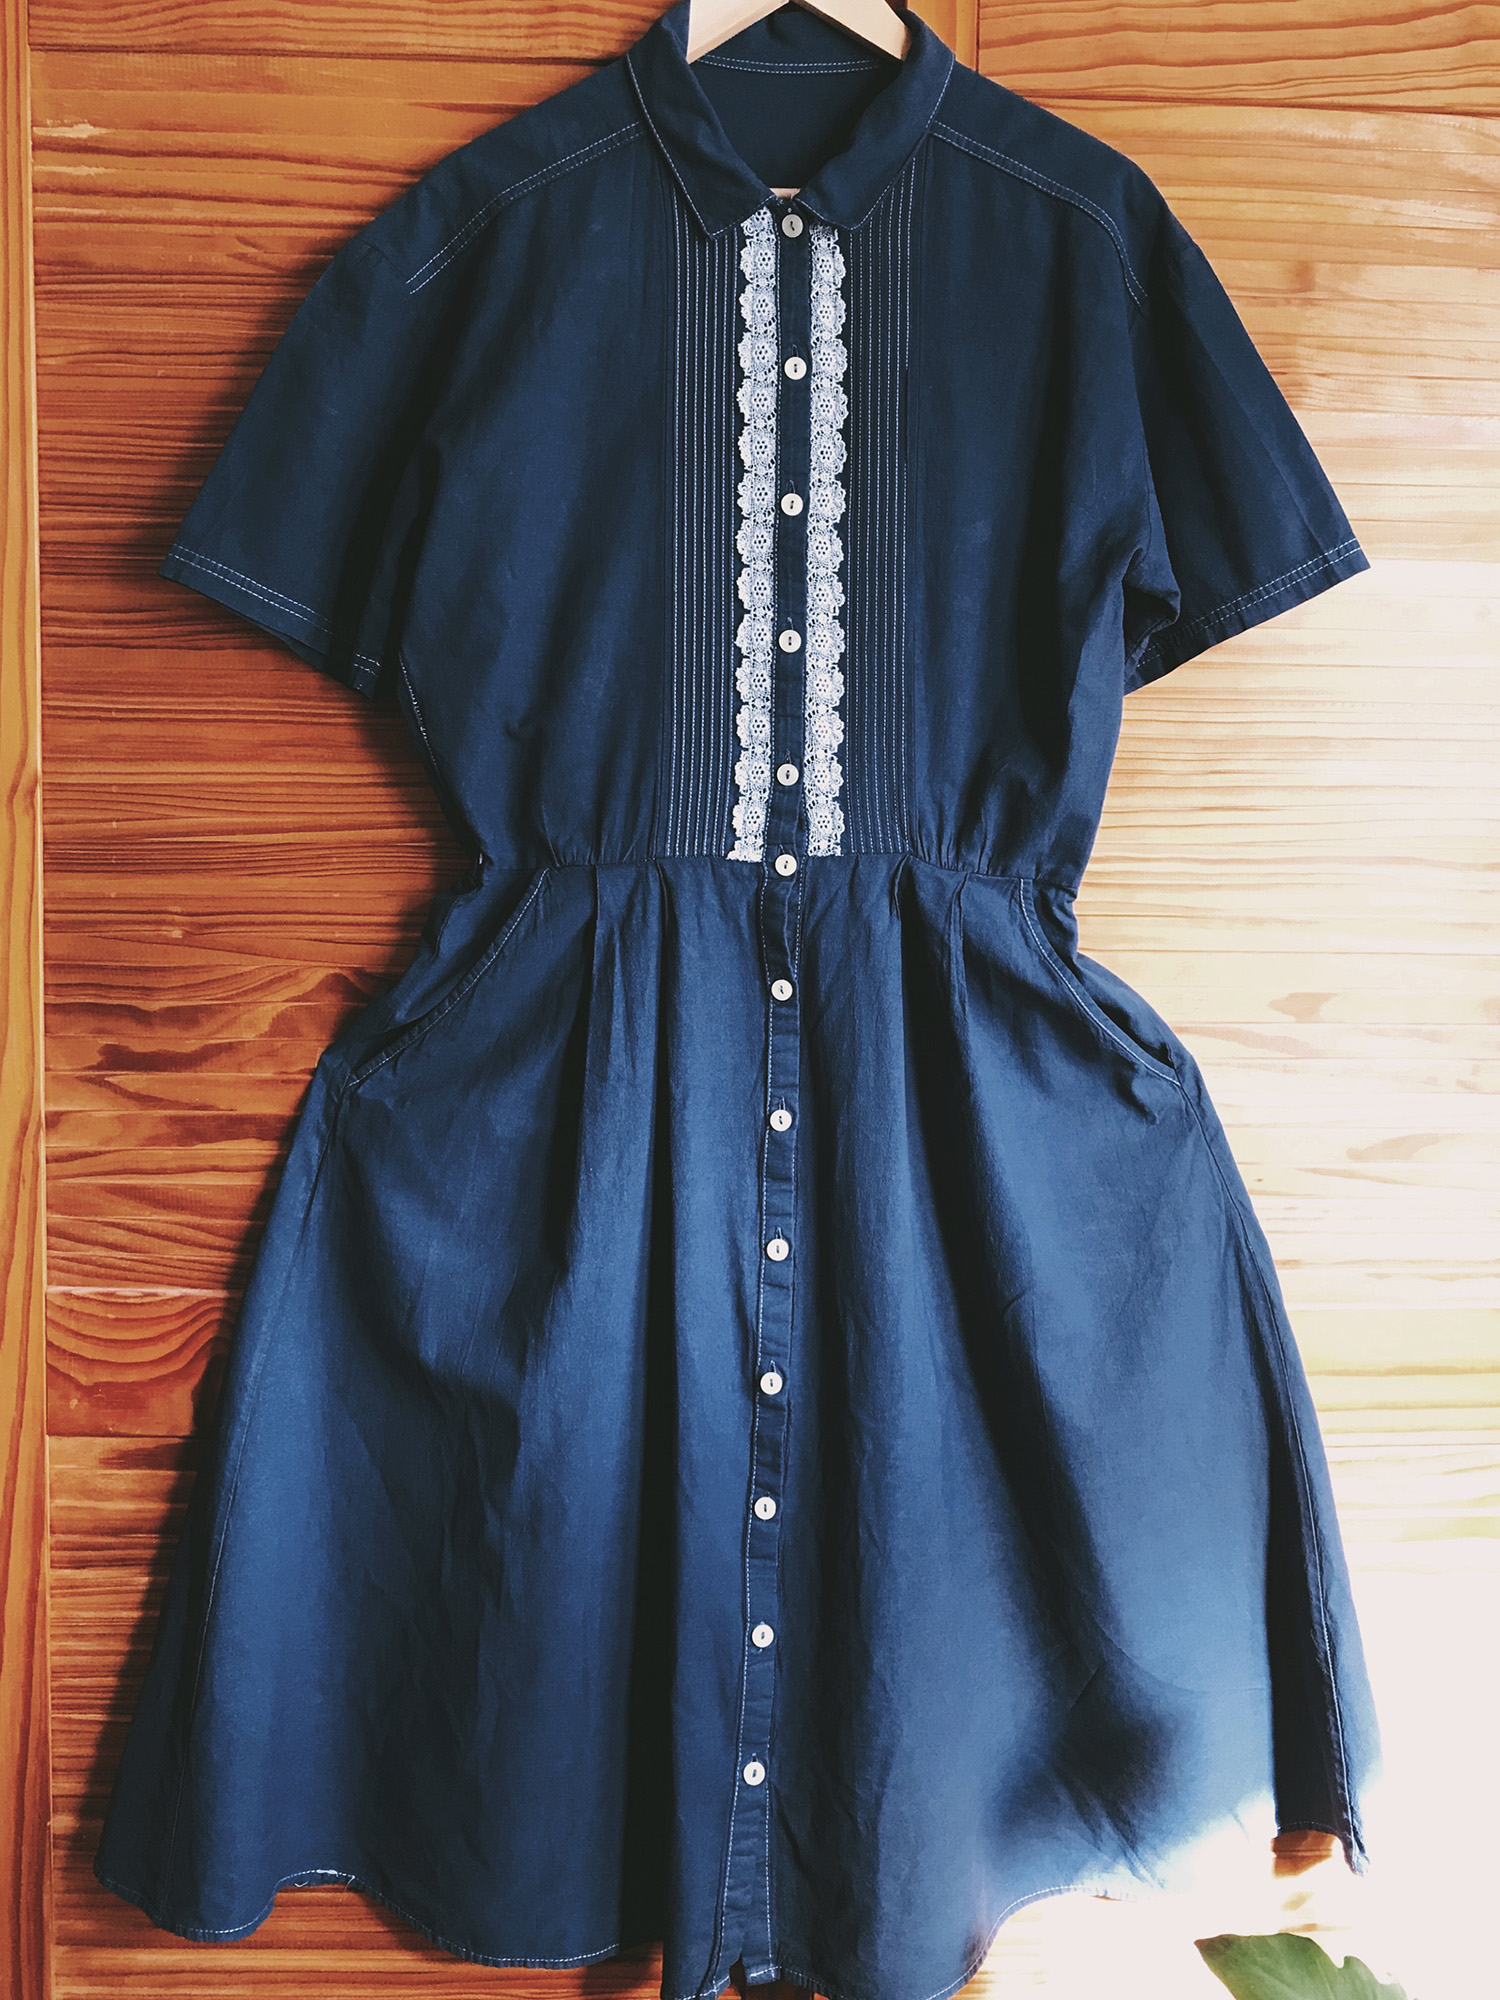
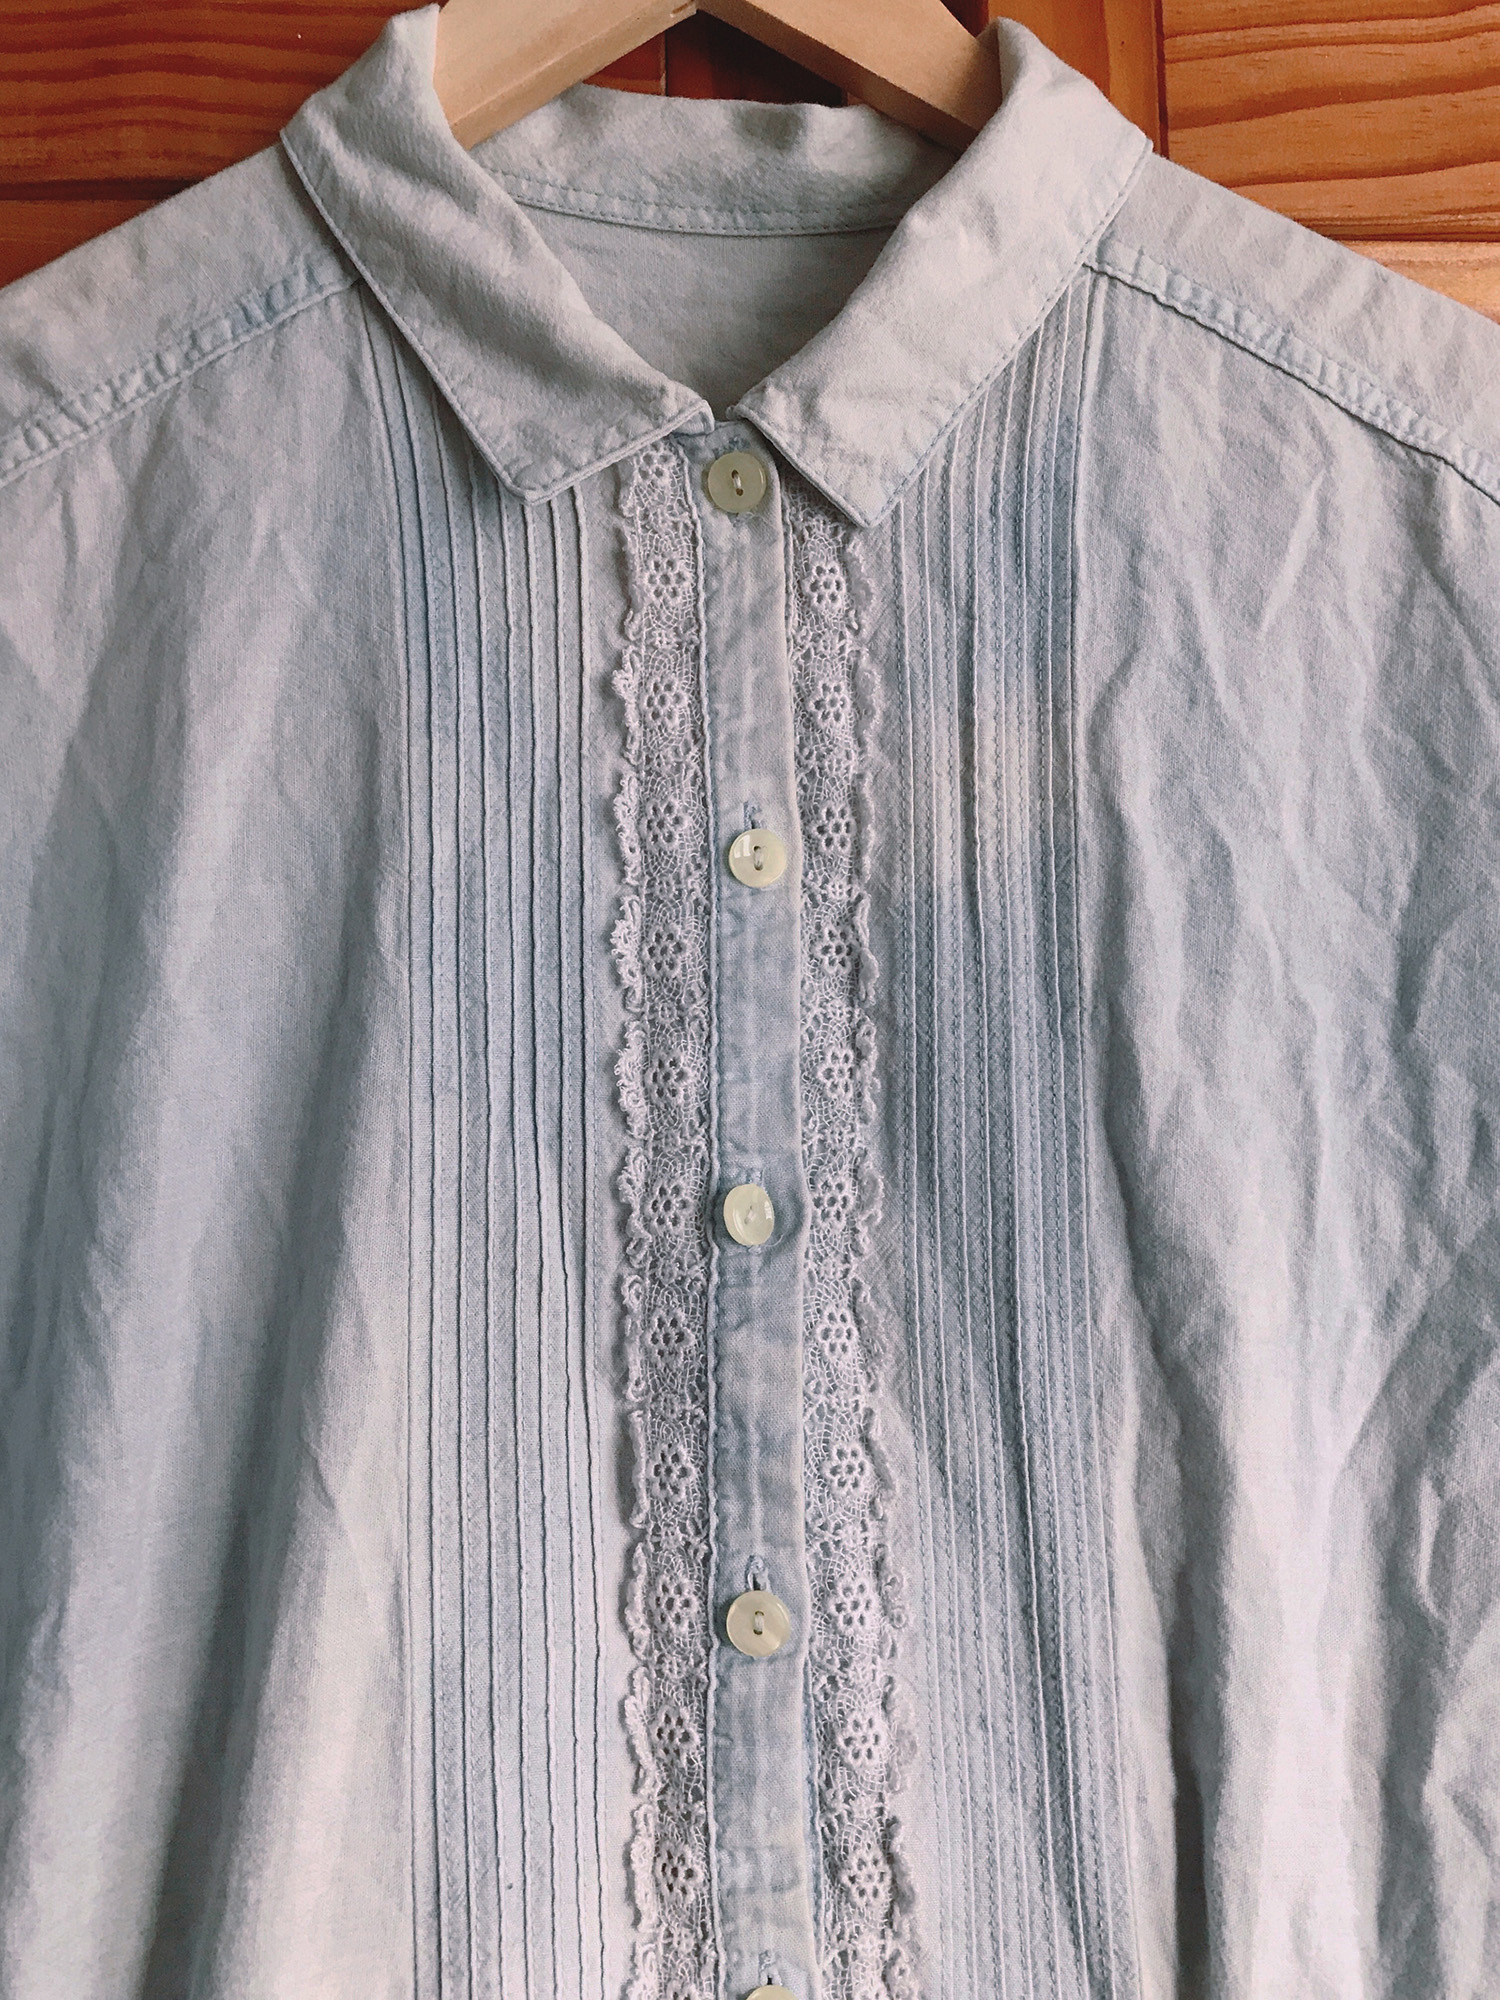
And a surprise with the vintage shirt dress! The lace trim and stitching turned out to be polyester which didn’t dye but created a beautiful contrast instead. Much prettier than expected!
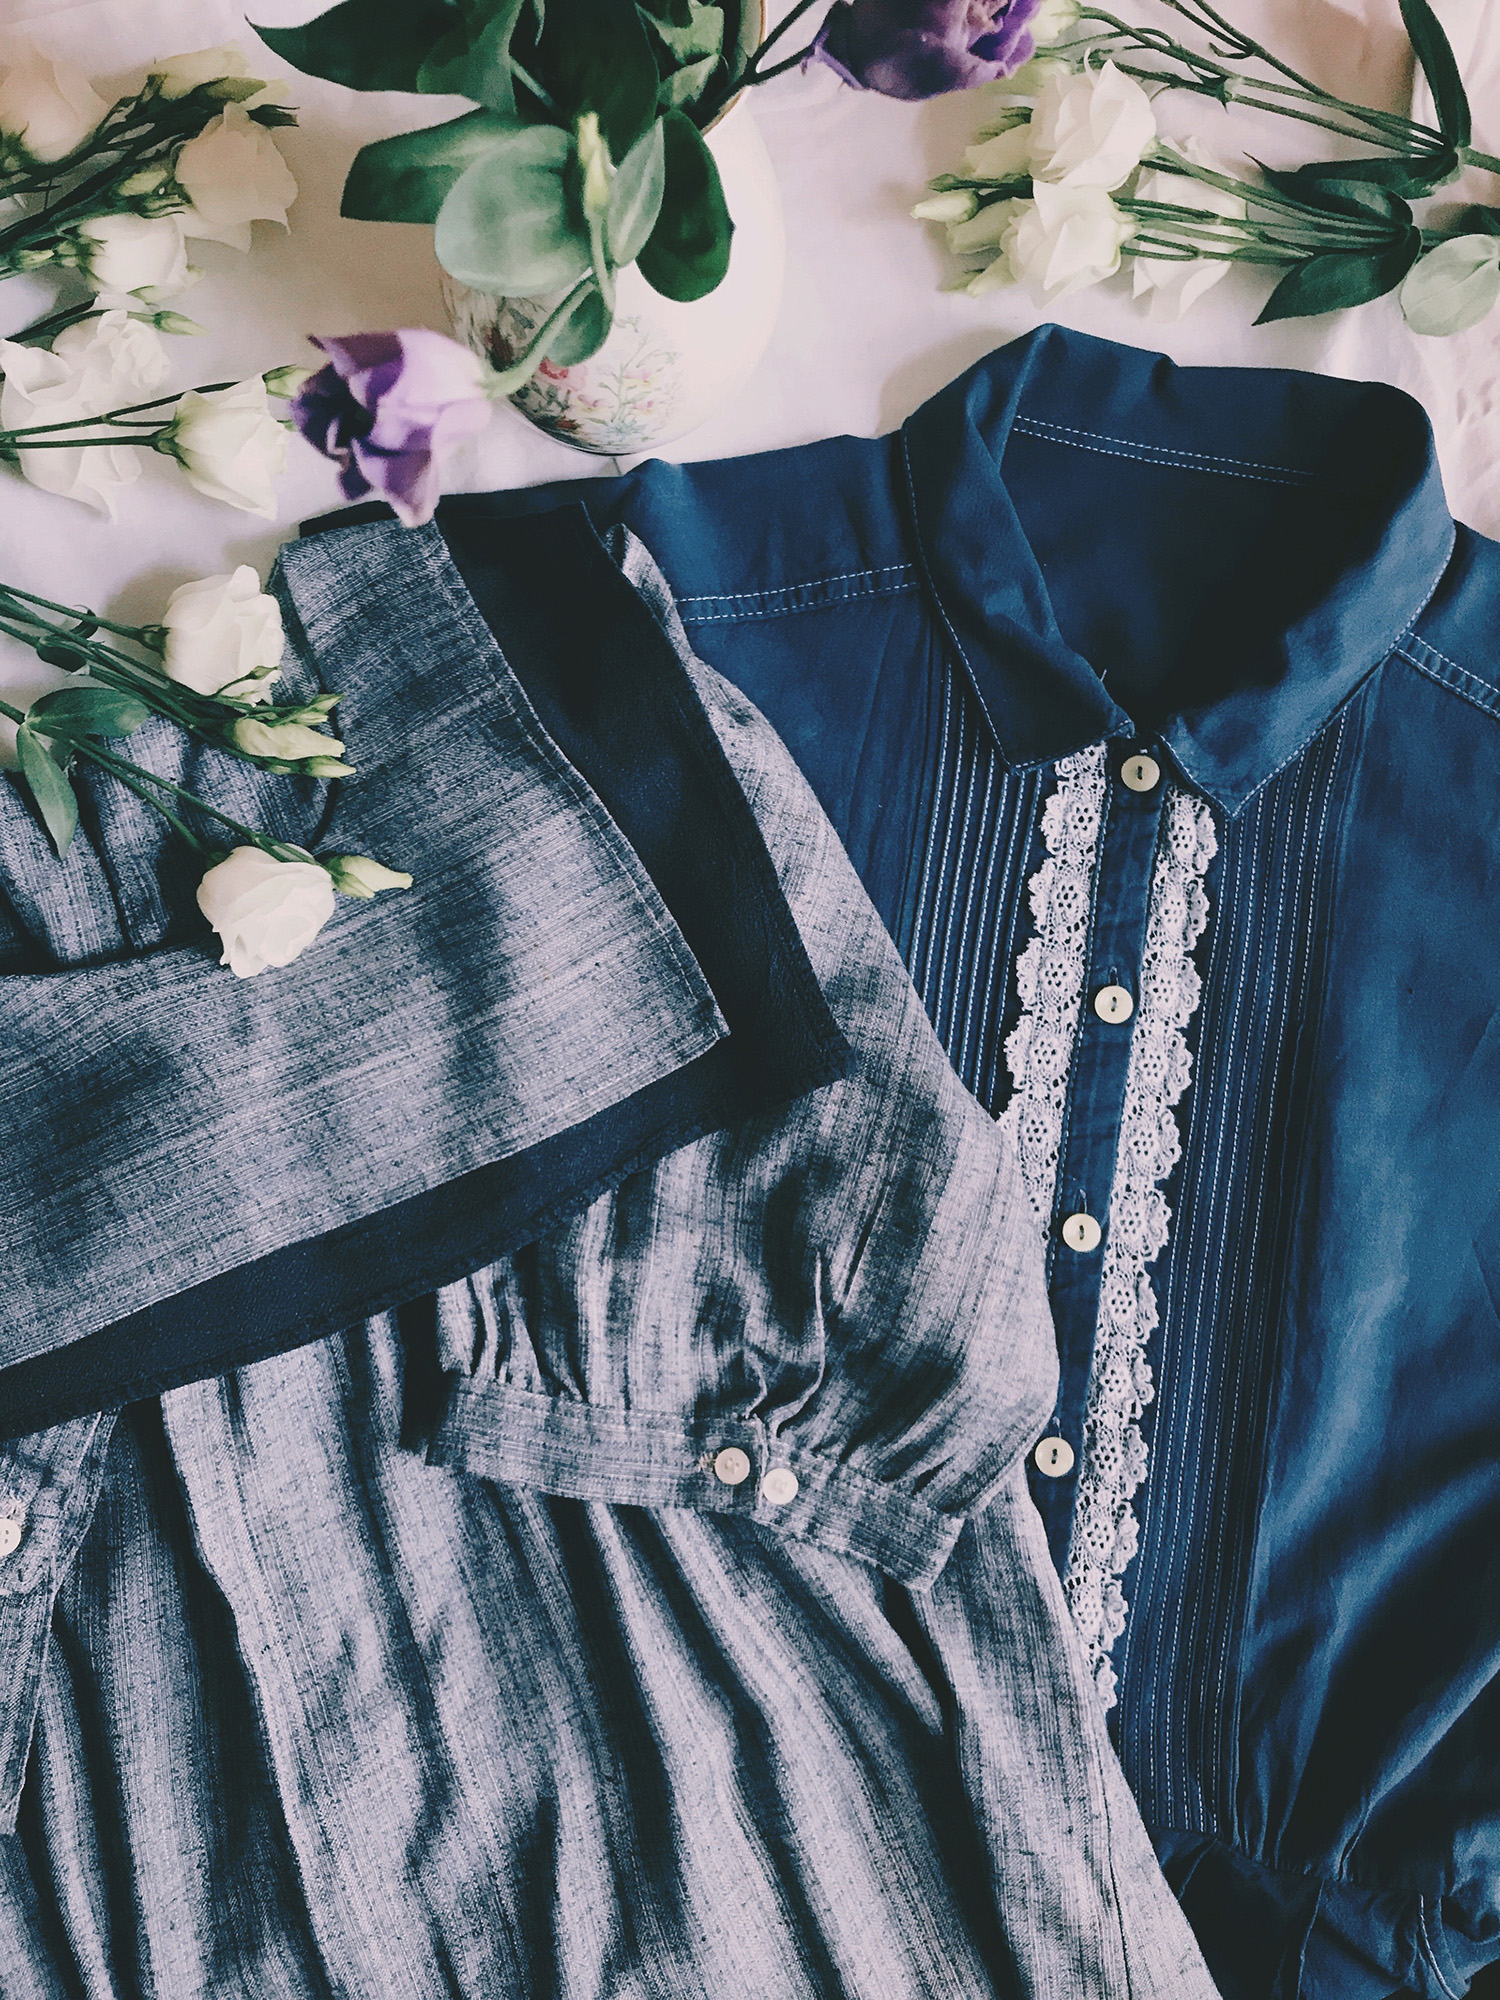
A close up of the results. I love the little surprises that machine dyeing can create!


