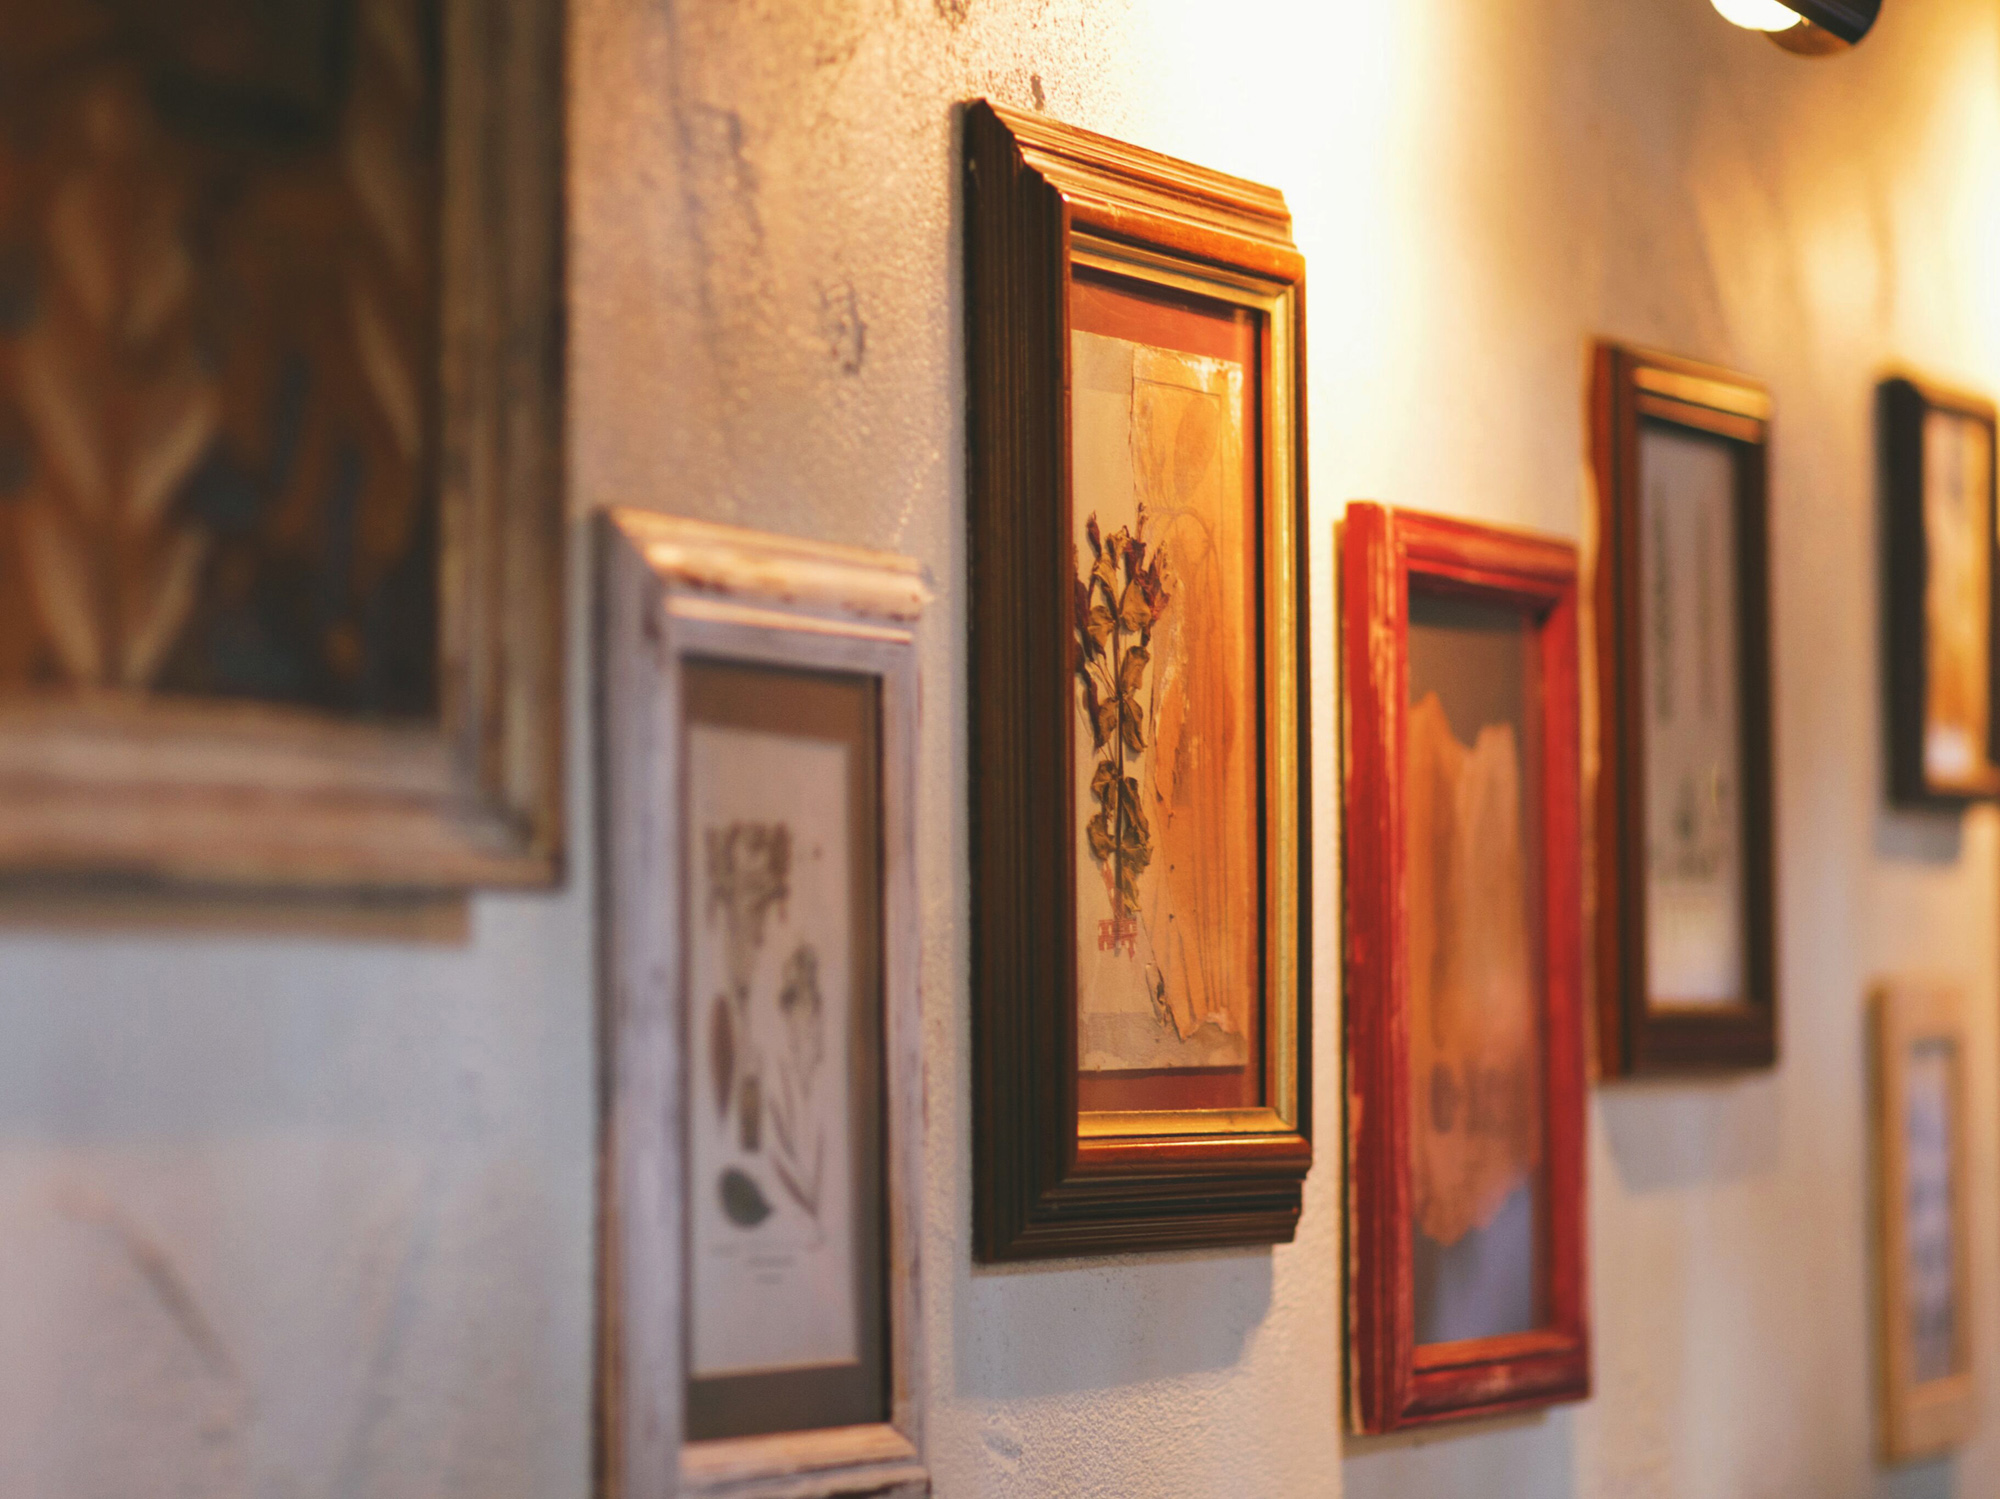
Earlier this month, I attended a photography workshop hosted by Viking at The Botanist Newcastle. It was my first blogger event since I’ve been back in the UK and I was so nervous about going (hi, social anxiety!) But I managed to push through all the panic and have a really nice time in the end, plus I learned some cool photography tips which I’m sharing with you all today.
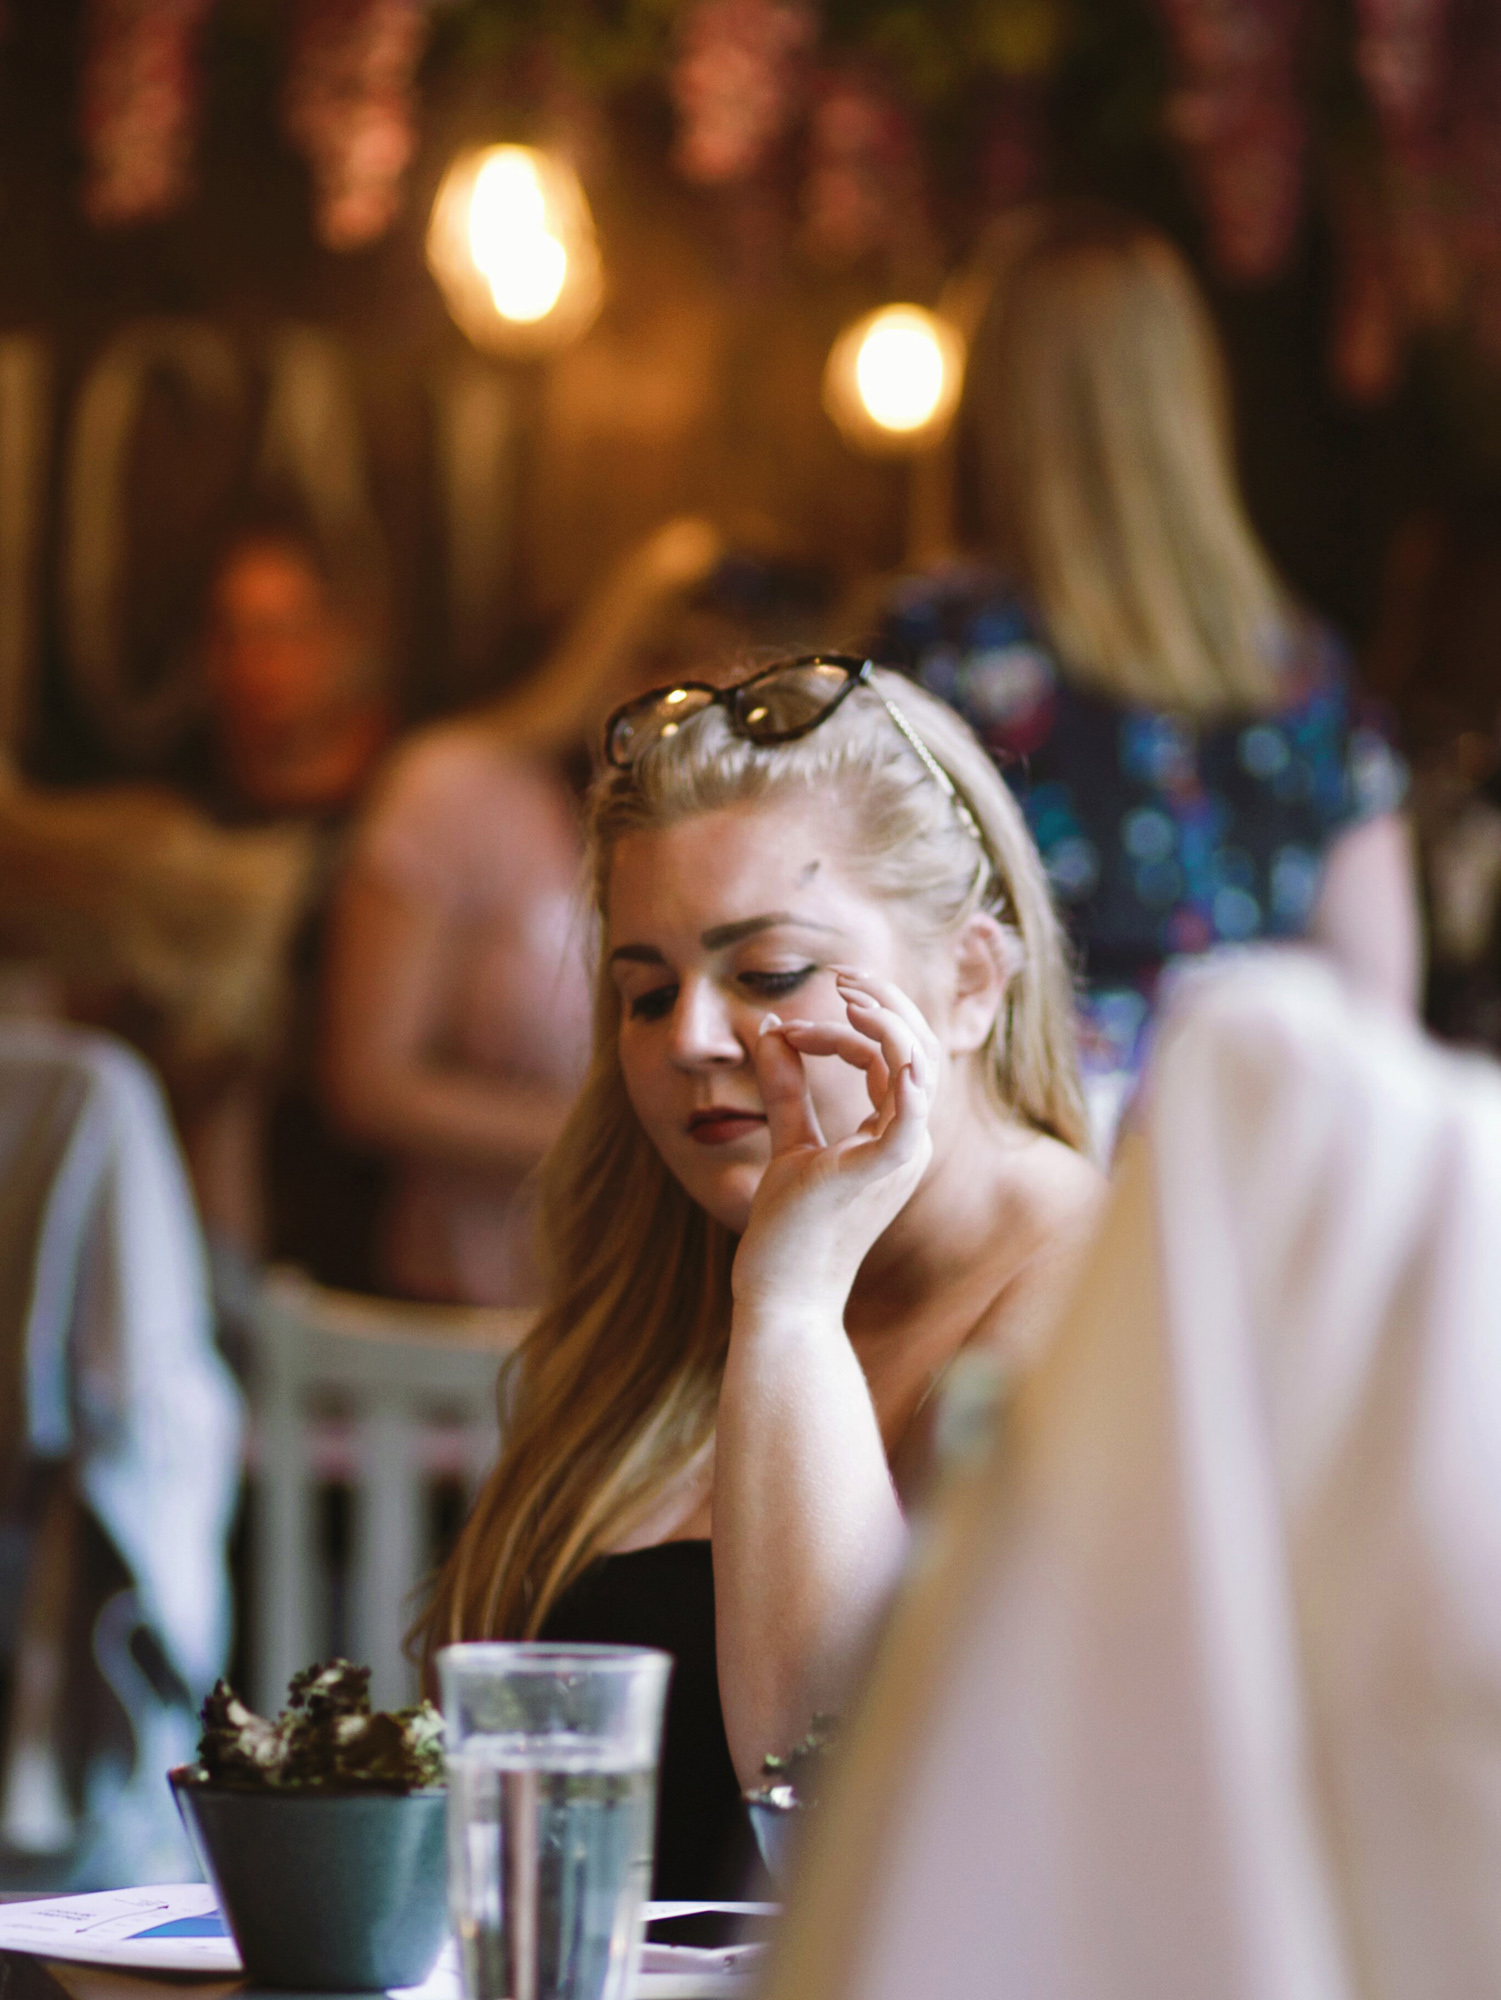
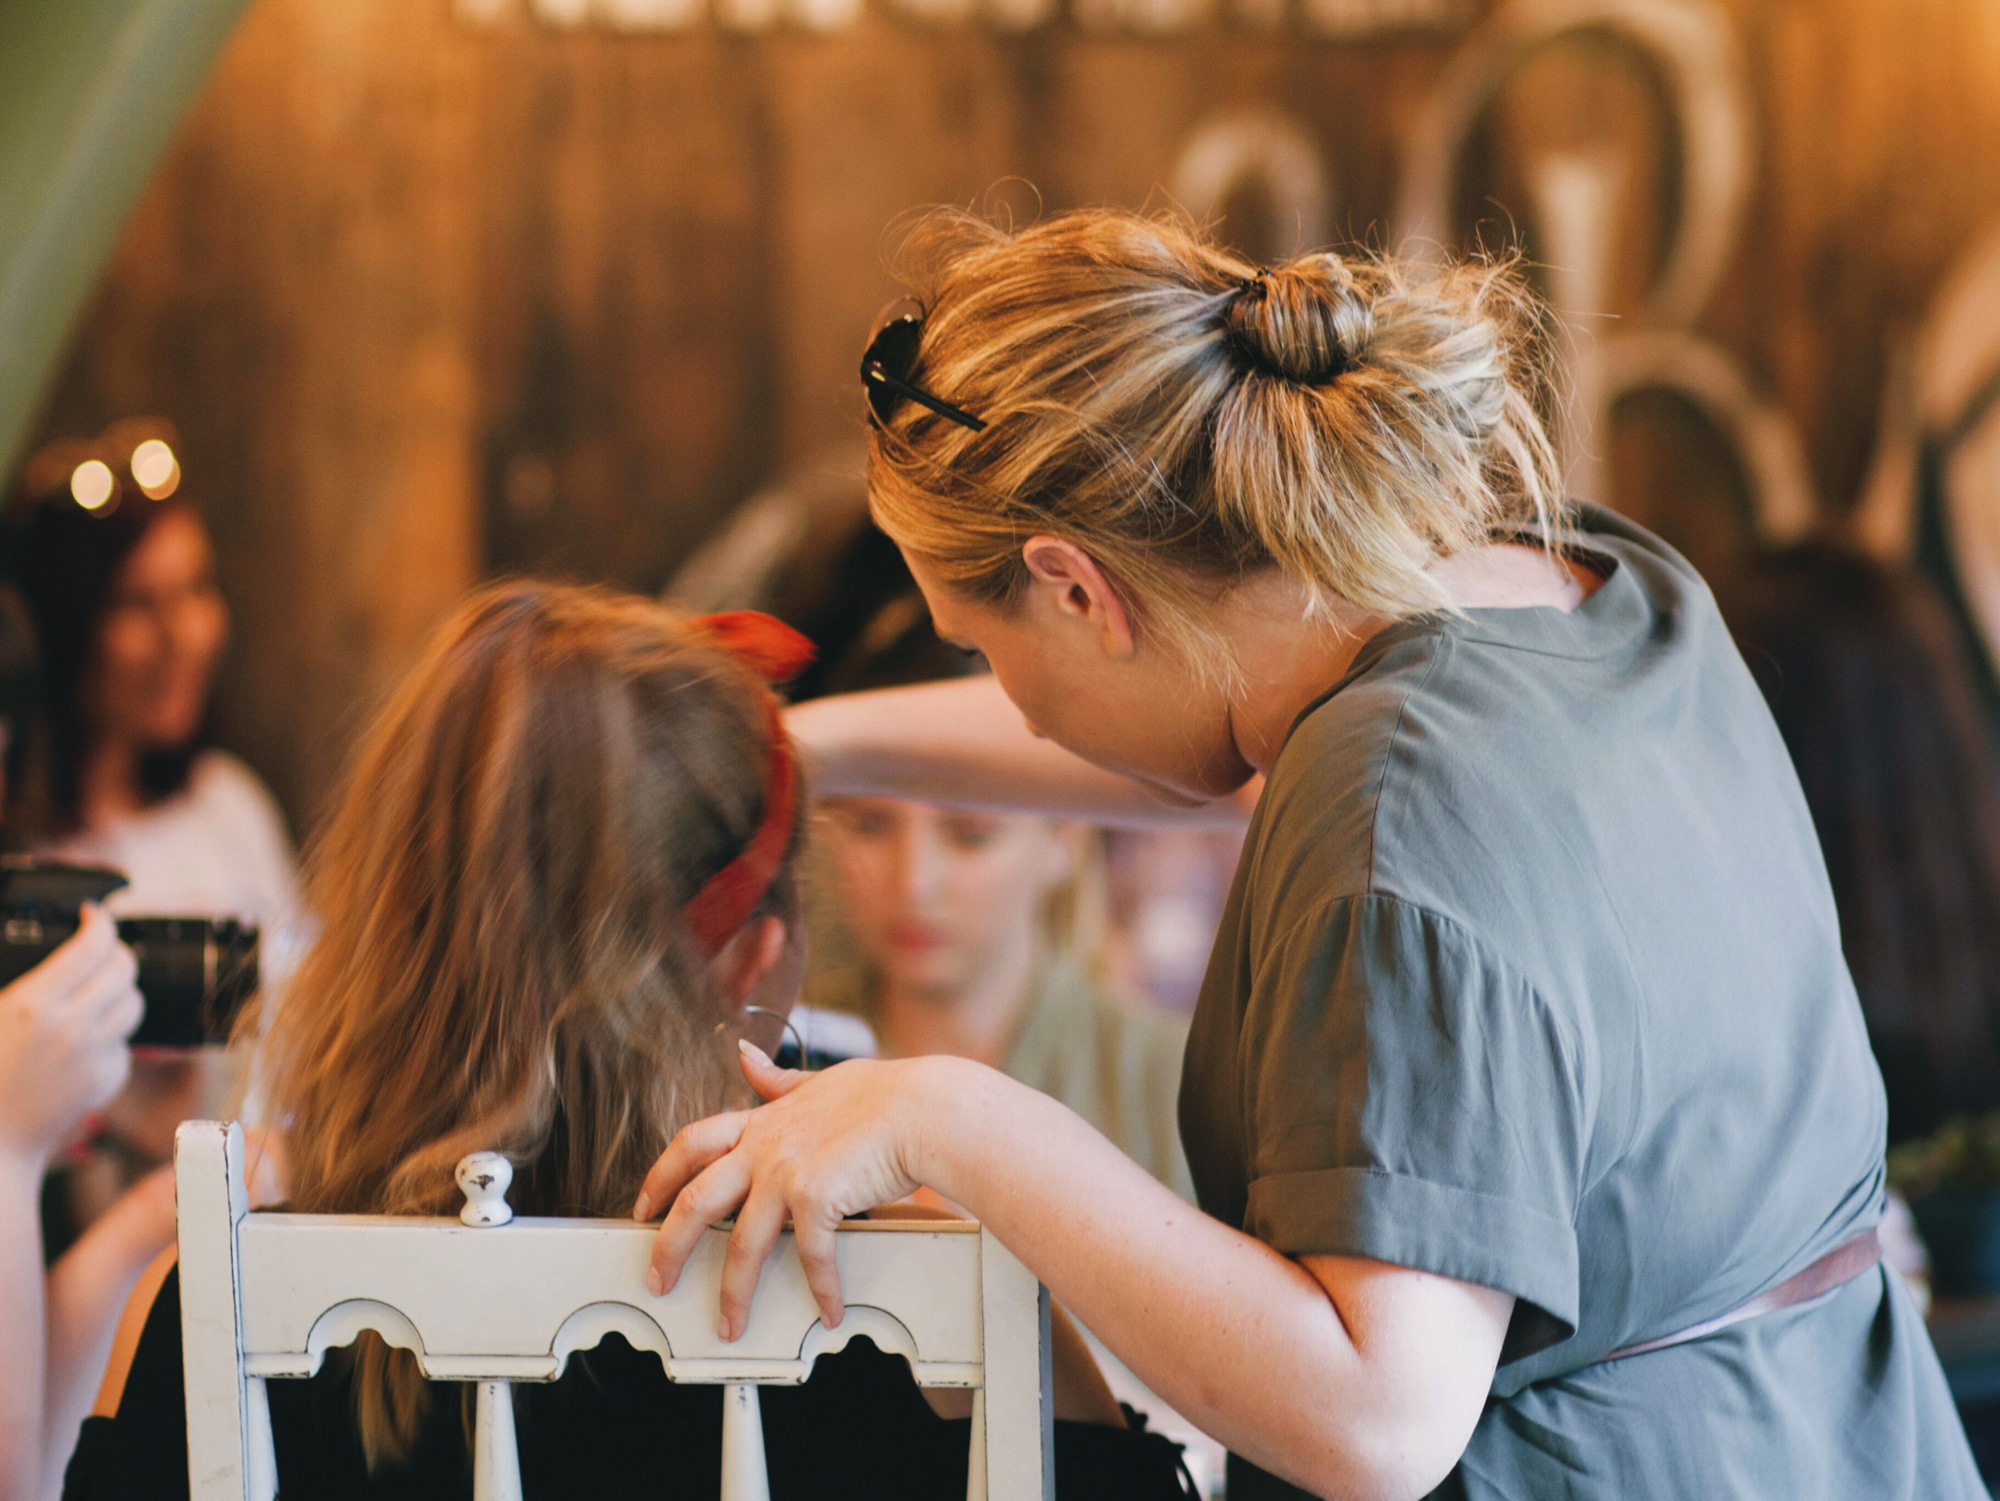
The workshop was led by photographer Elouisa Georgiou who took all the bloggers through camera basics and and then set us working on different photography tasks. There was a varied mix of bloggers from all parts of the industry – fashion, beauty, lifestyle, and more that I didn’t catch! I couldn’t quite overcome my shyness in large groups so I spent most of my time taking photos rather than chatting with people, which I wish I’d done more of in hindsight!
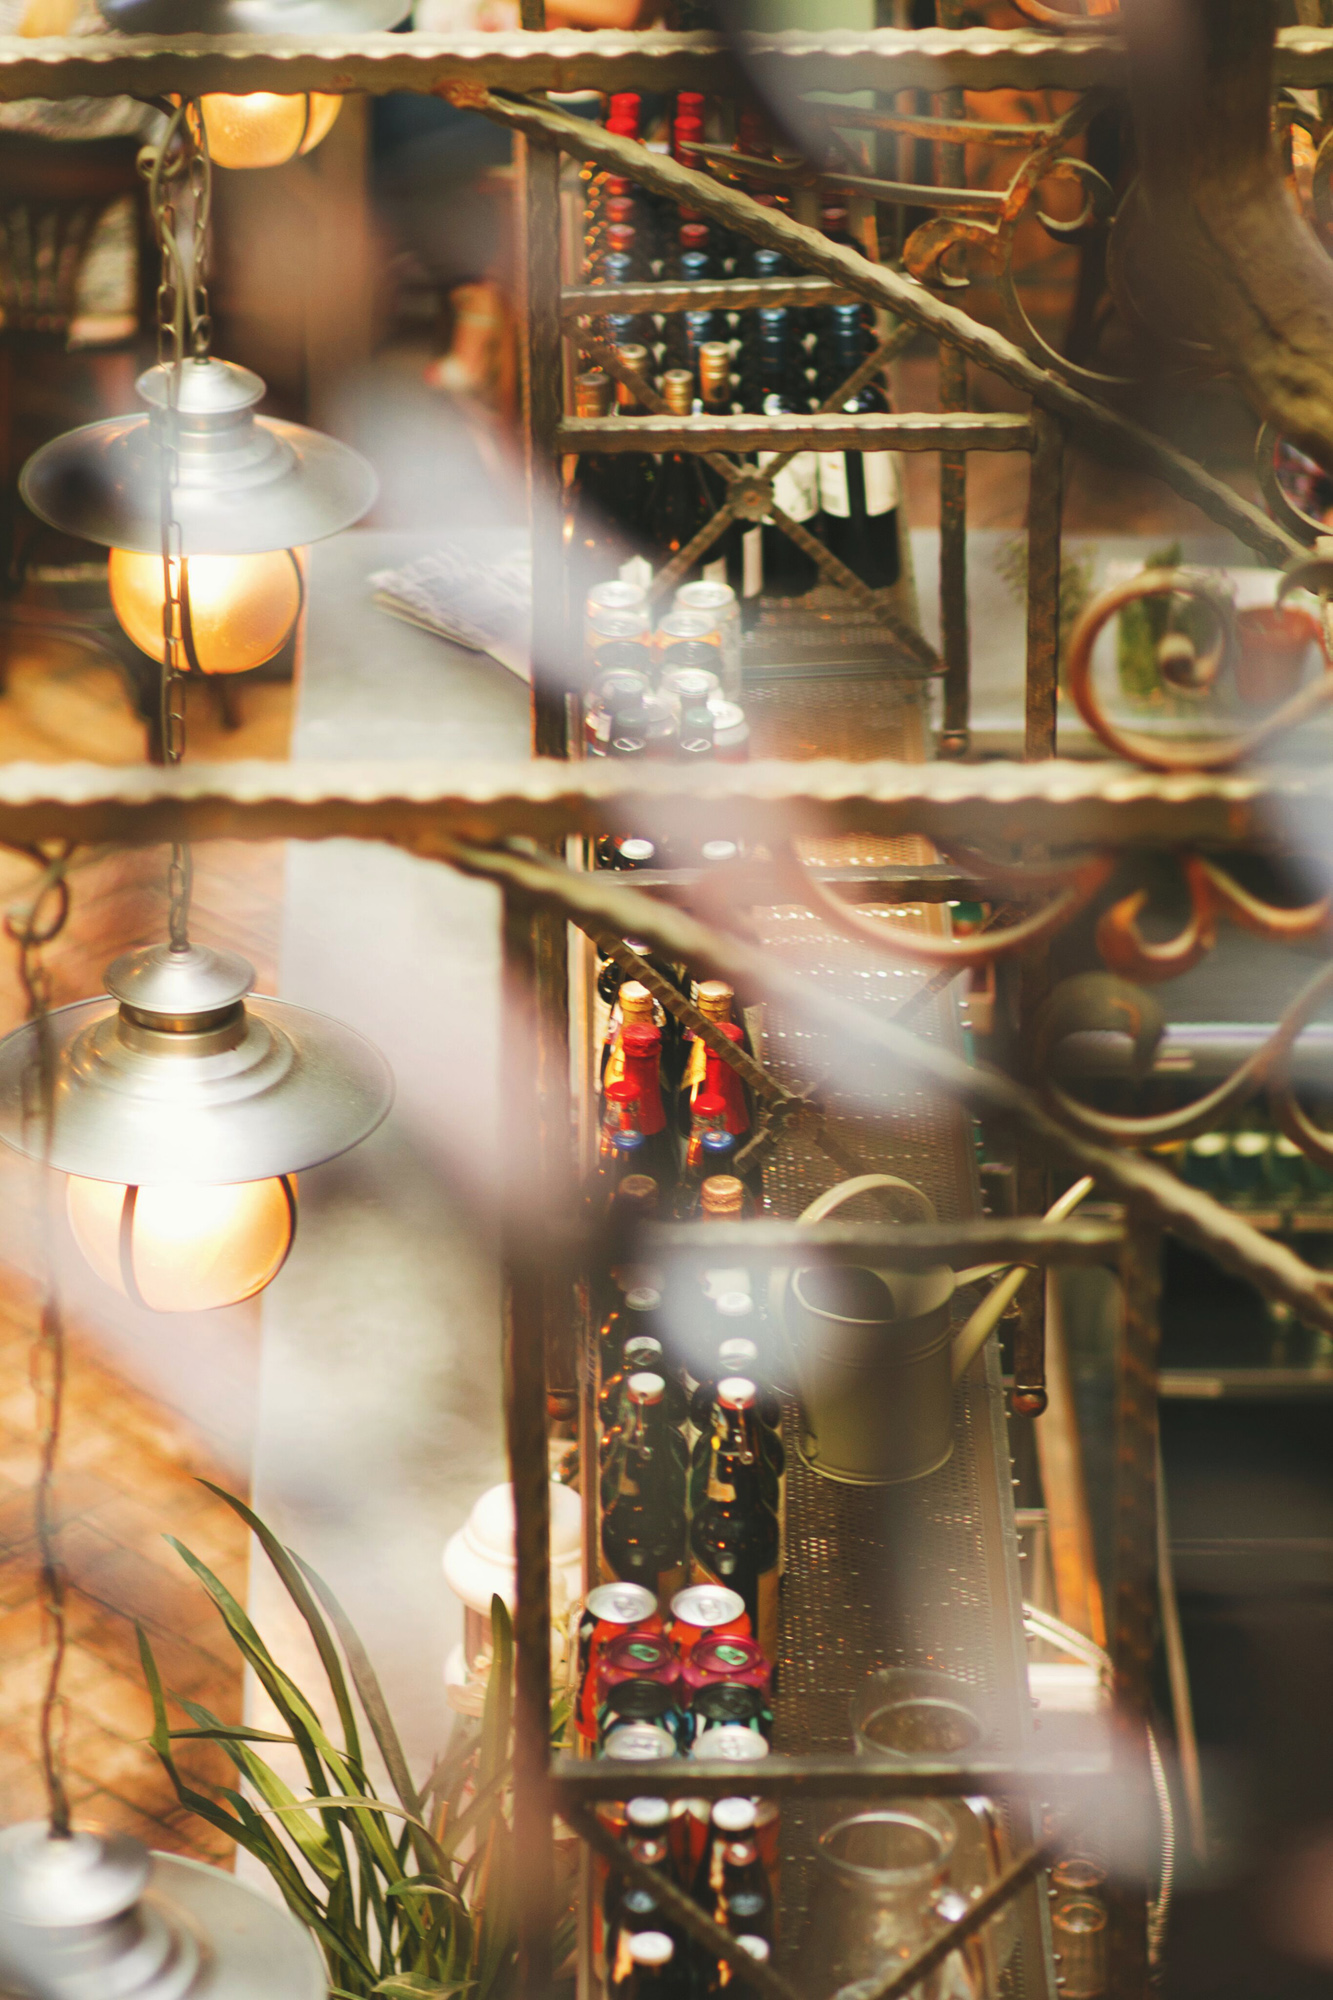
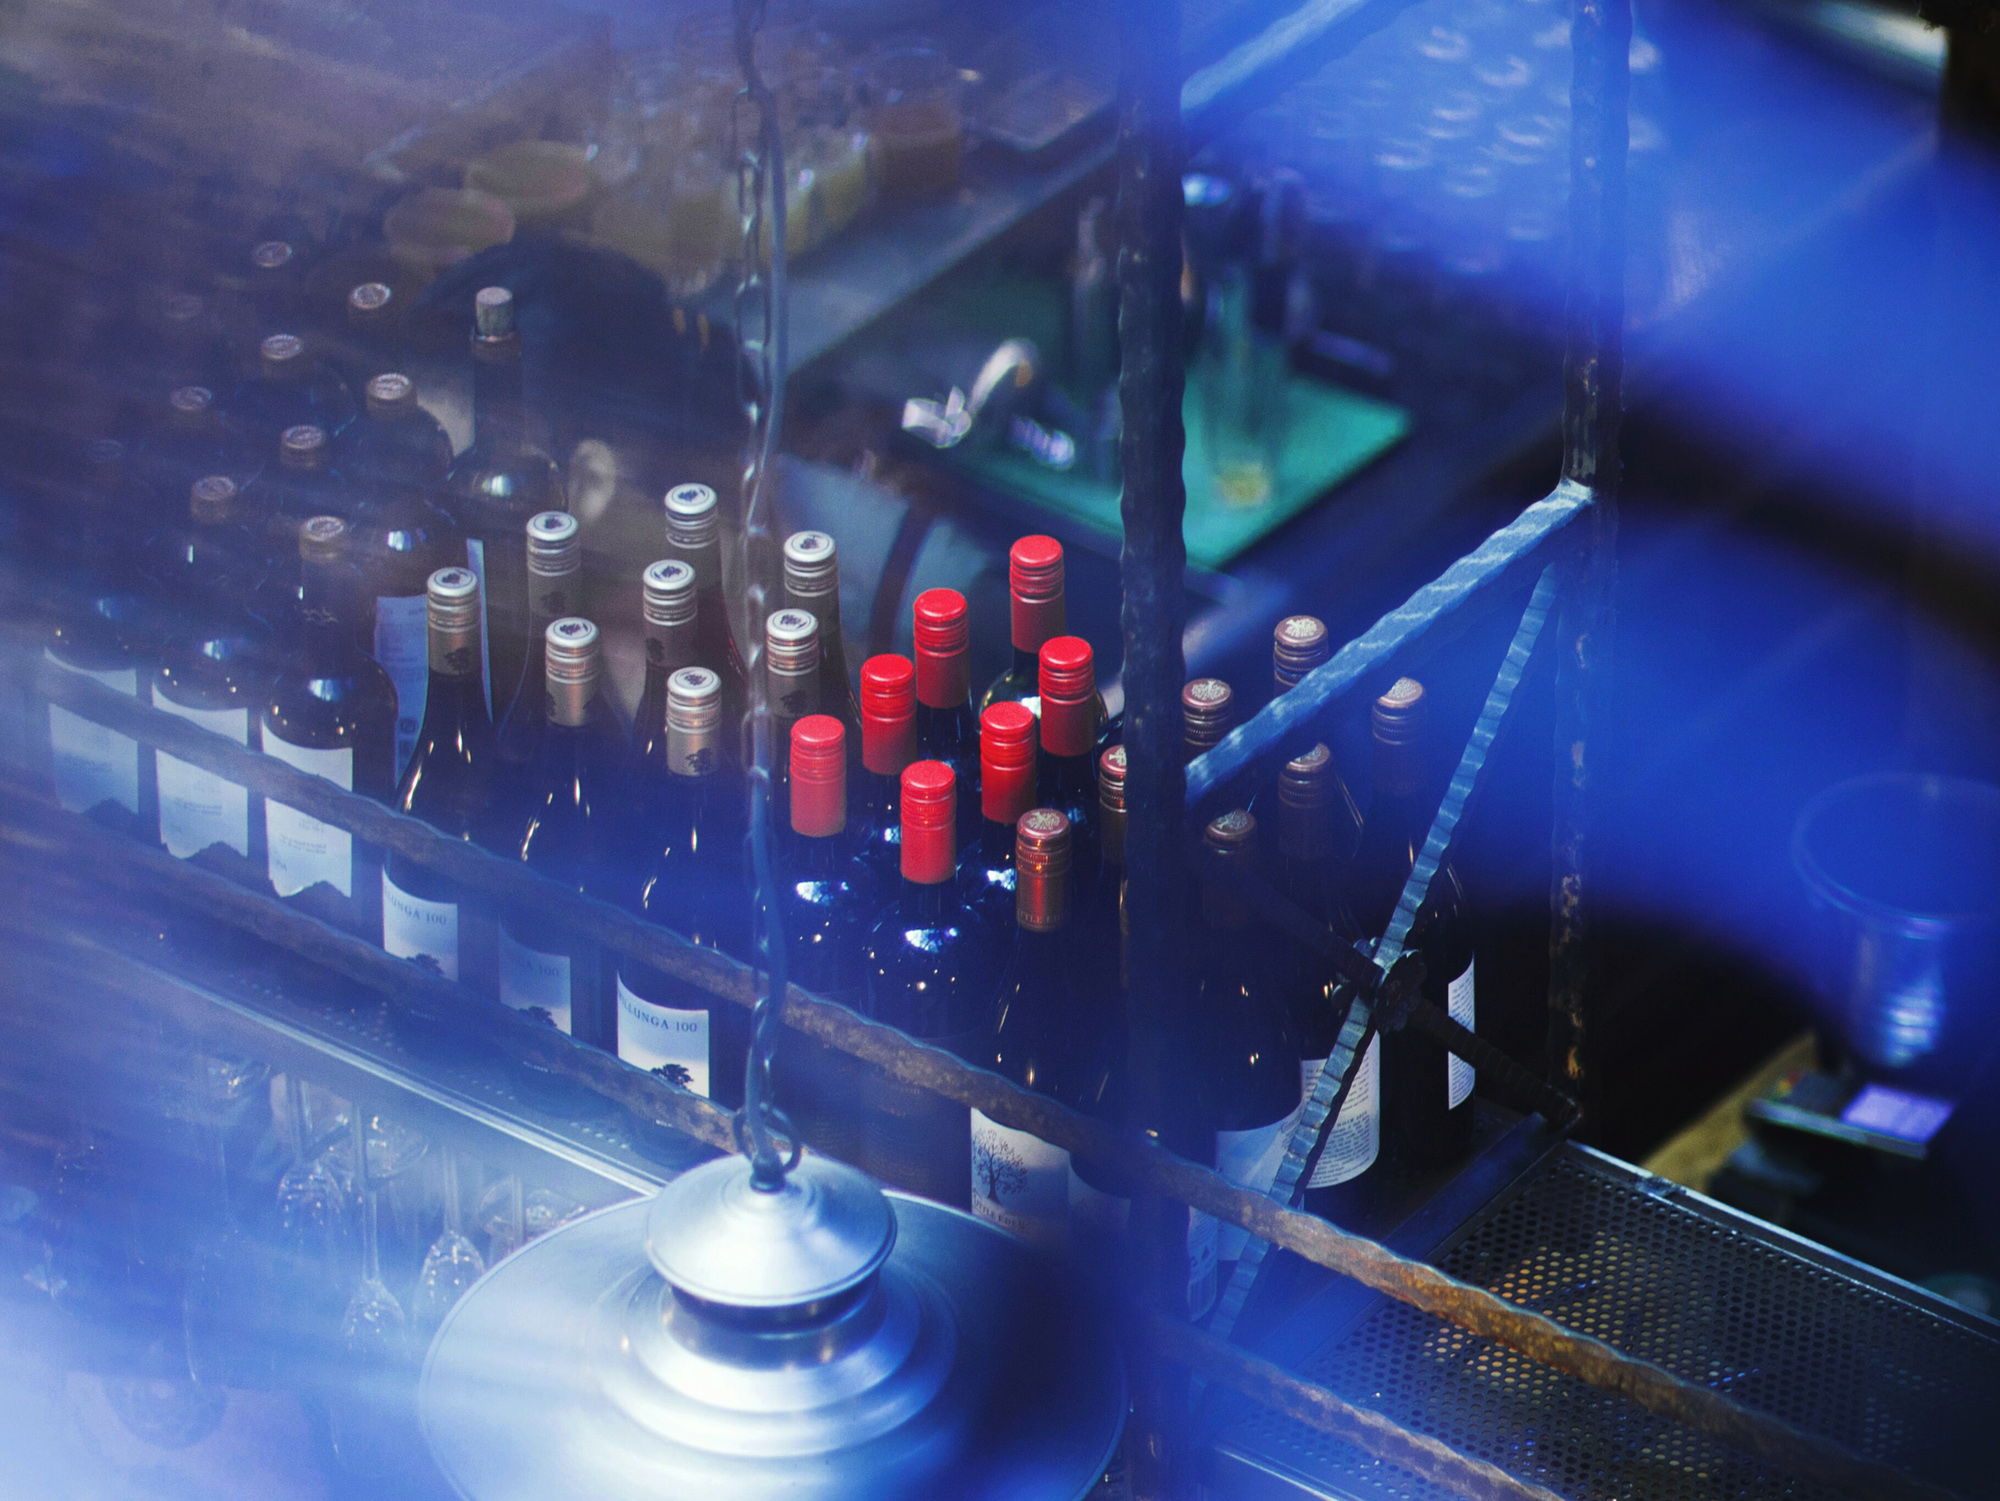
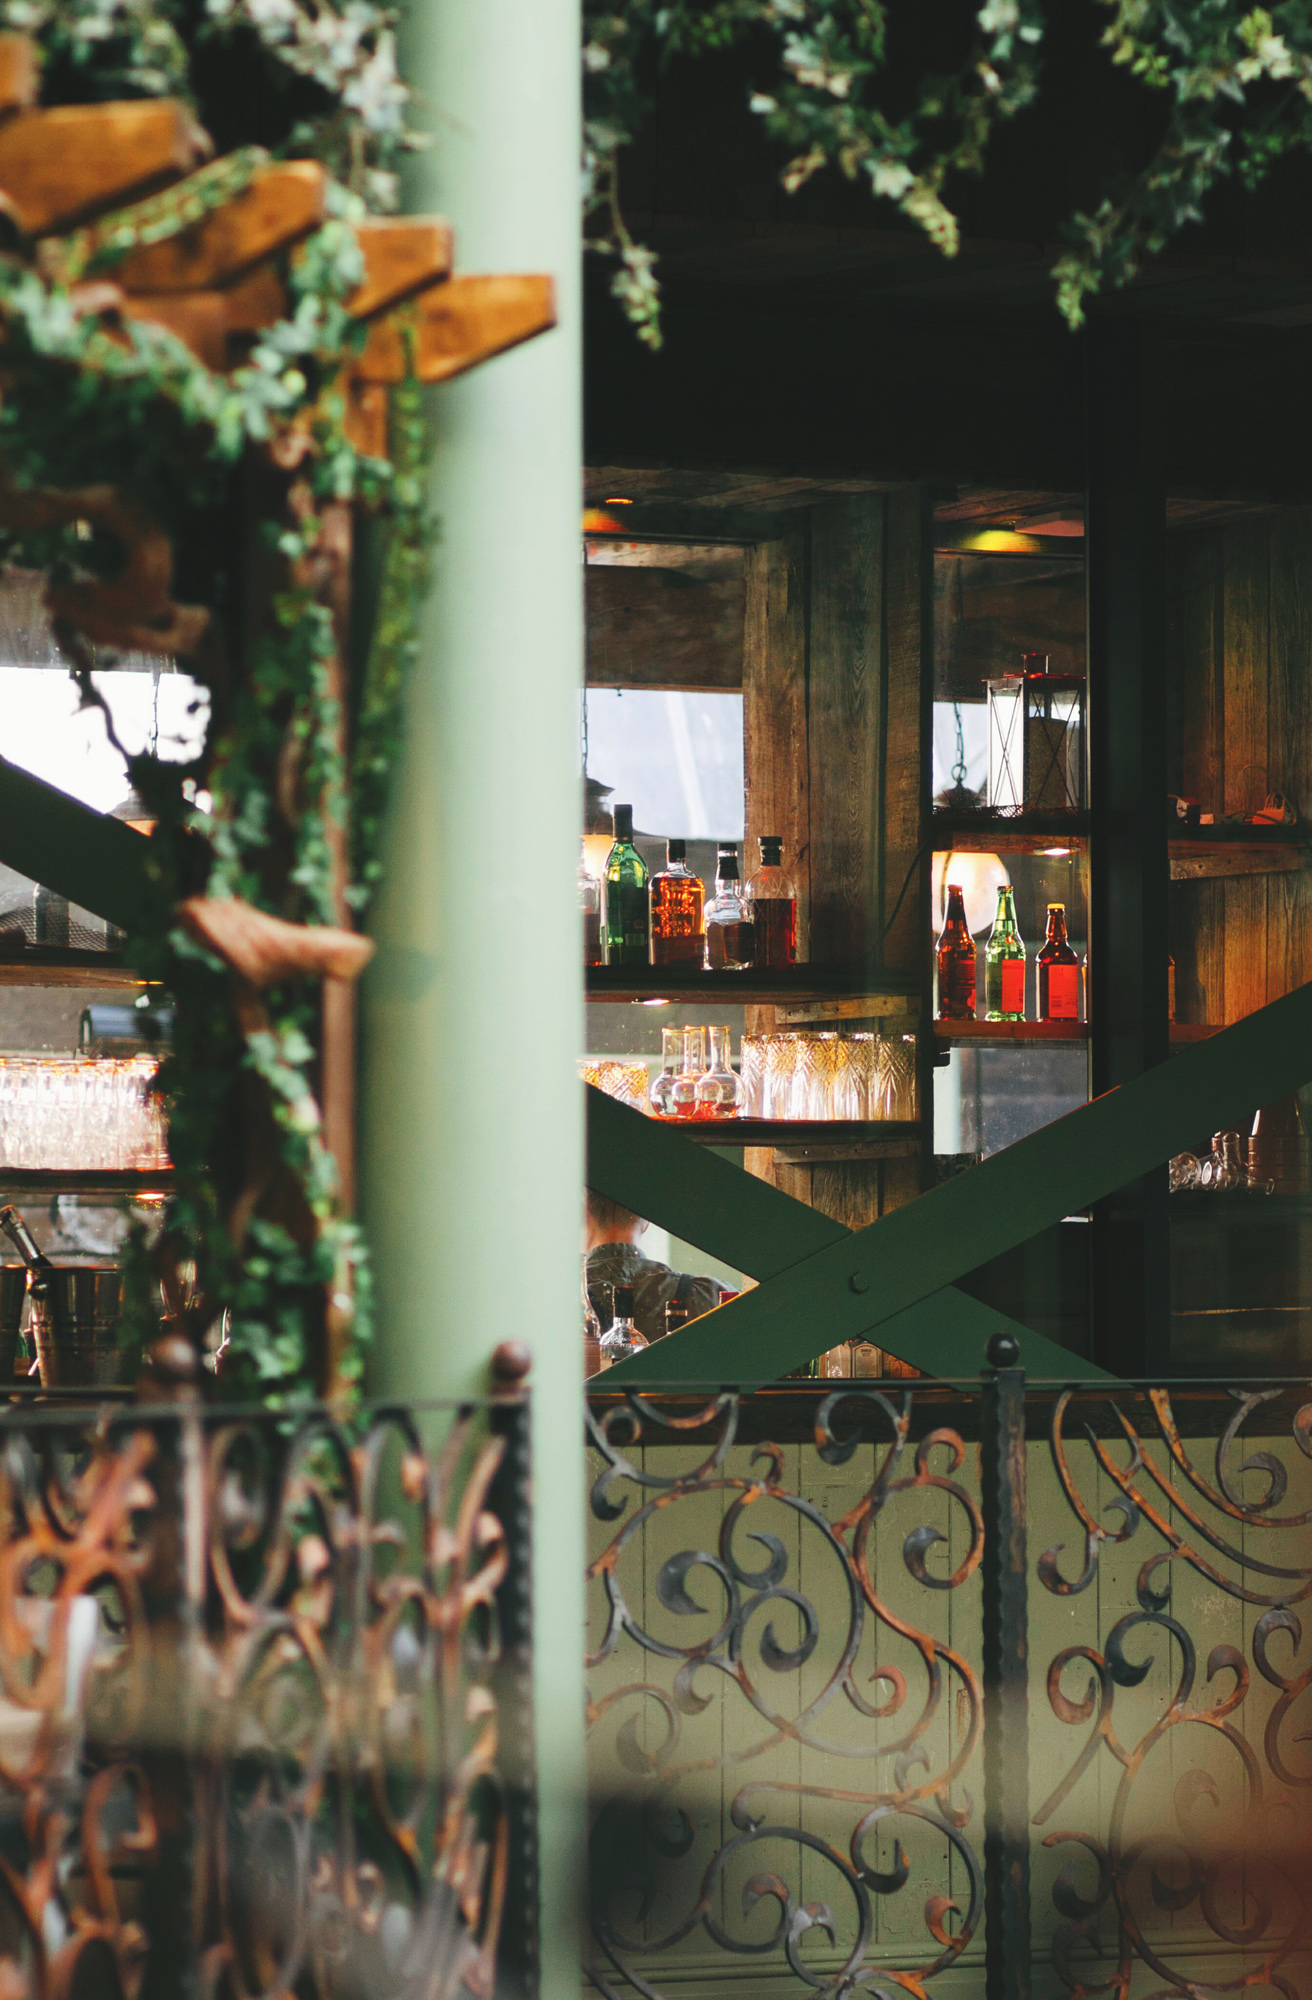
At first we used prisms and glasses to create interesting effects by holding them right in front of the lens while shooting. I was using my f/1.8 lens, so I tried the prism technique with opaque foreground objects as well! If you’re using a wide aperture lens (f/2 and wider) you can really experiment with creating textures in your photos by shooting through interlaced objects like foliage, screens, railings – anything that lets you focus through it!
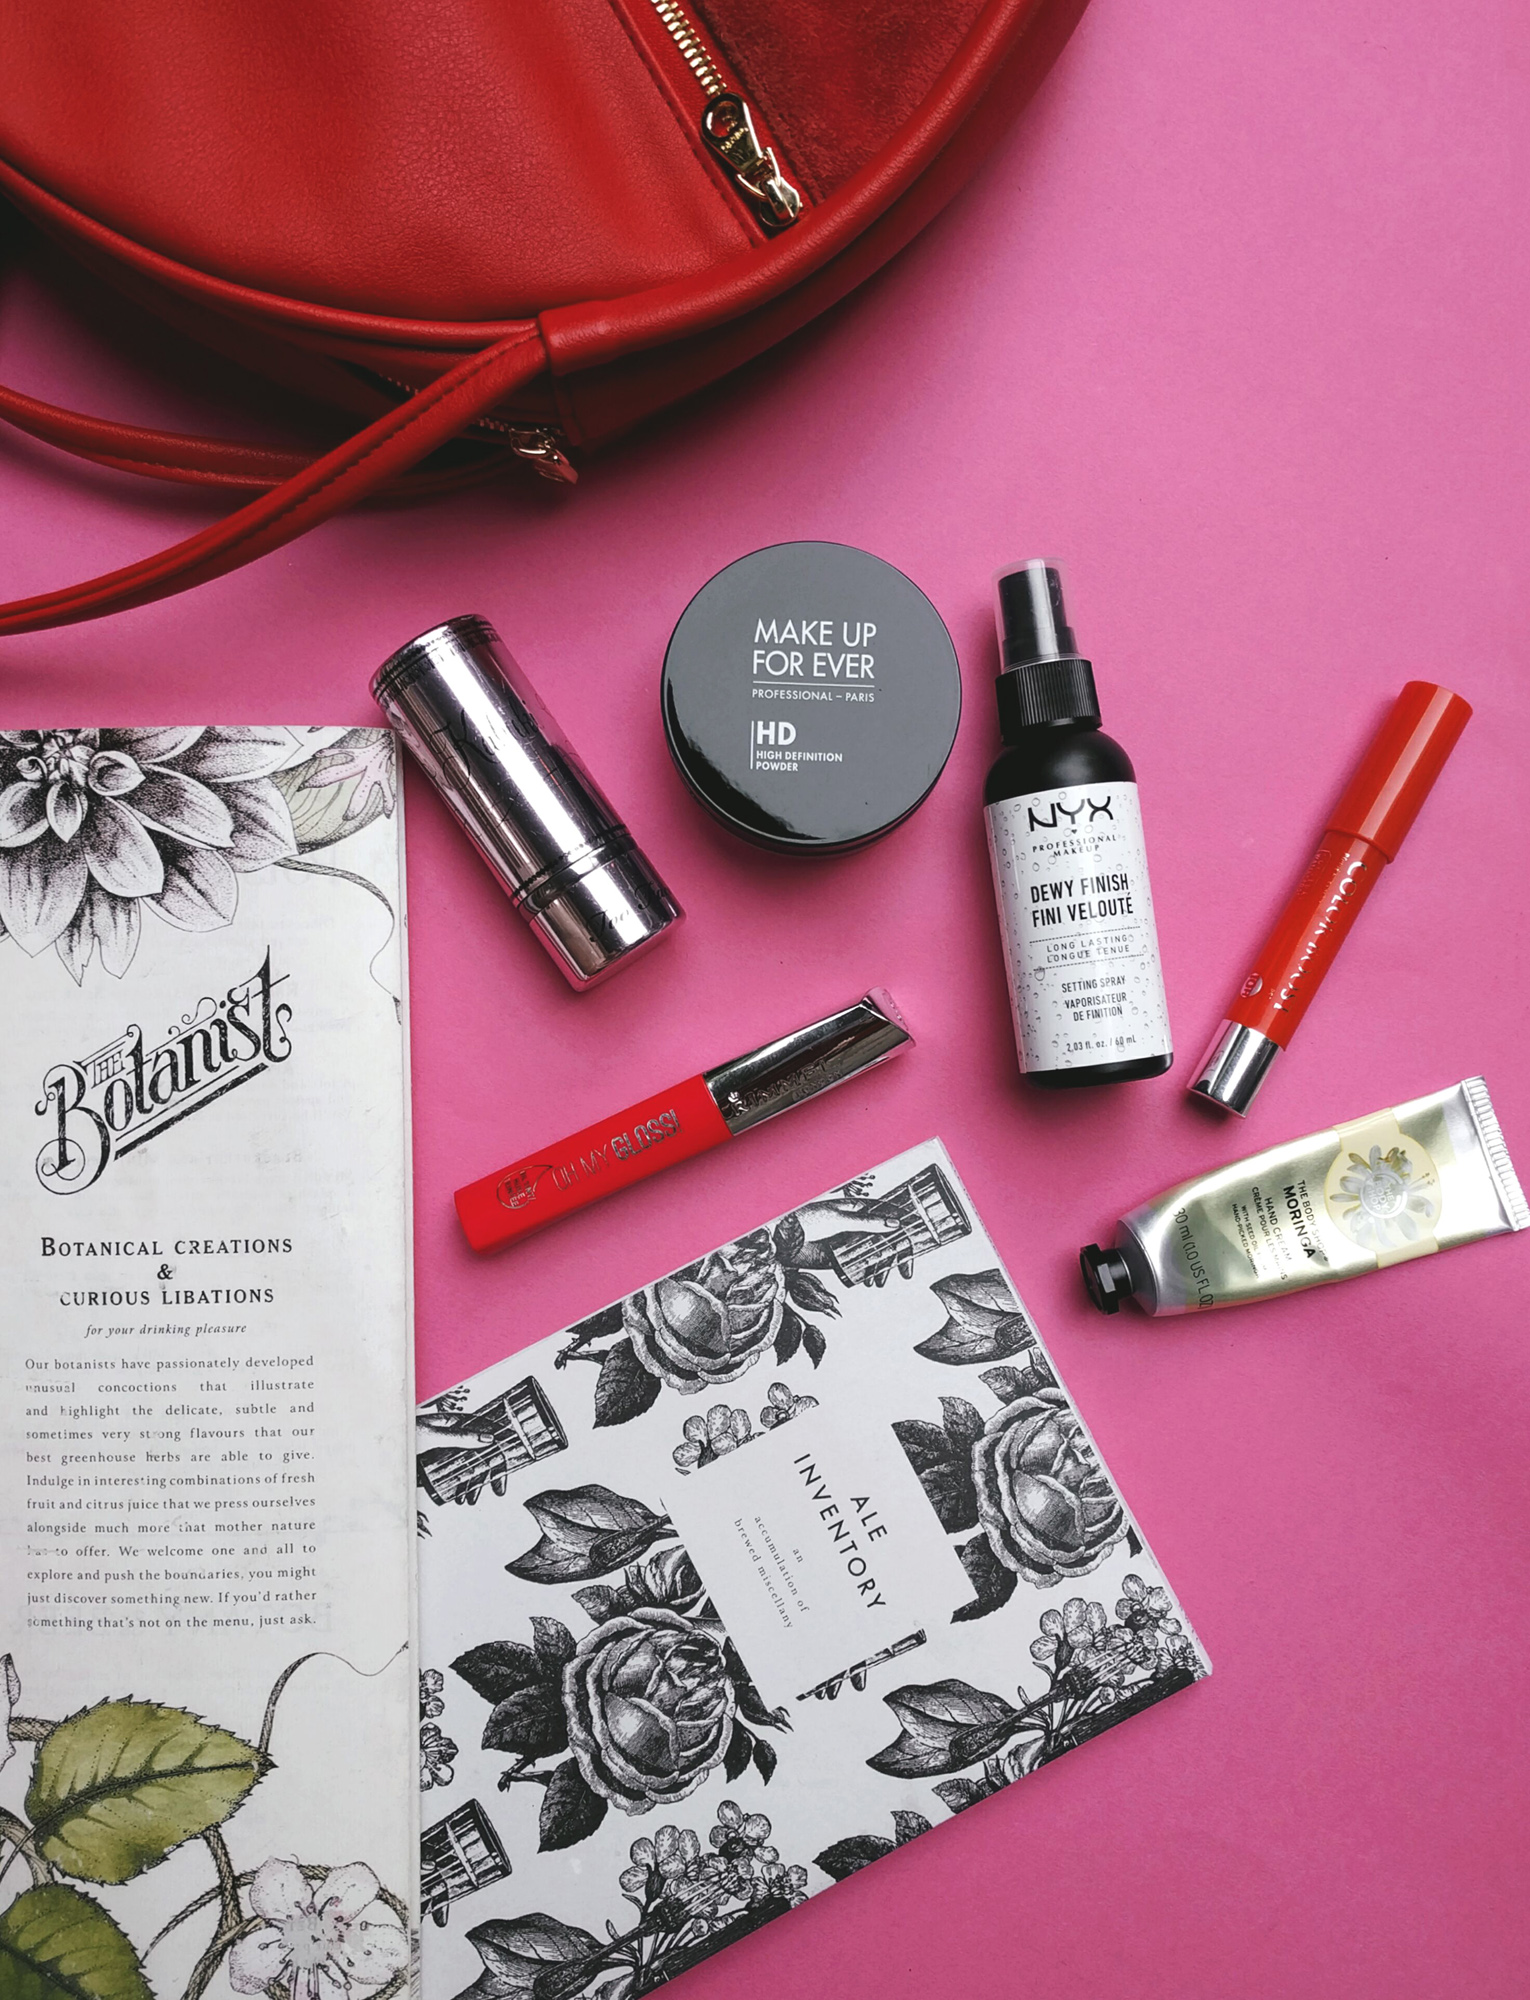
Up next was flatlays, my biggest stumbling block when it comes to shooting Instagram worthy content! We got coloured sheets of craft paper on which to arrange our flatlays – something I’m going to use in the future as they’re perfect for unfussy backgrounds. At the workshop, I used the contents of my bag and menus from The Botanist to make a flatlay against the pink backdrop. The camera sees things differently to the human eye, so while creating flatlays, you’d generally space objects closer to each other than you would for an IRL display. It also helps to have soft, diffuse light rather than directional light.
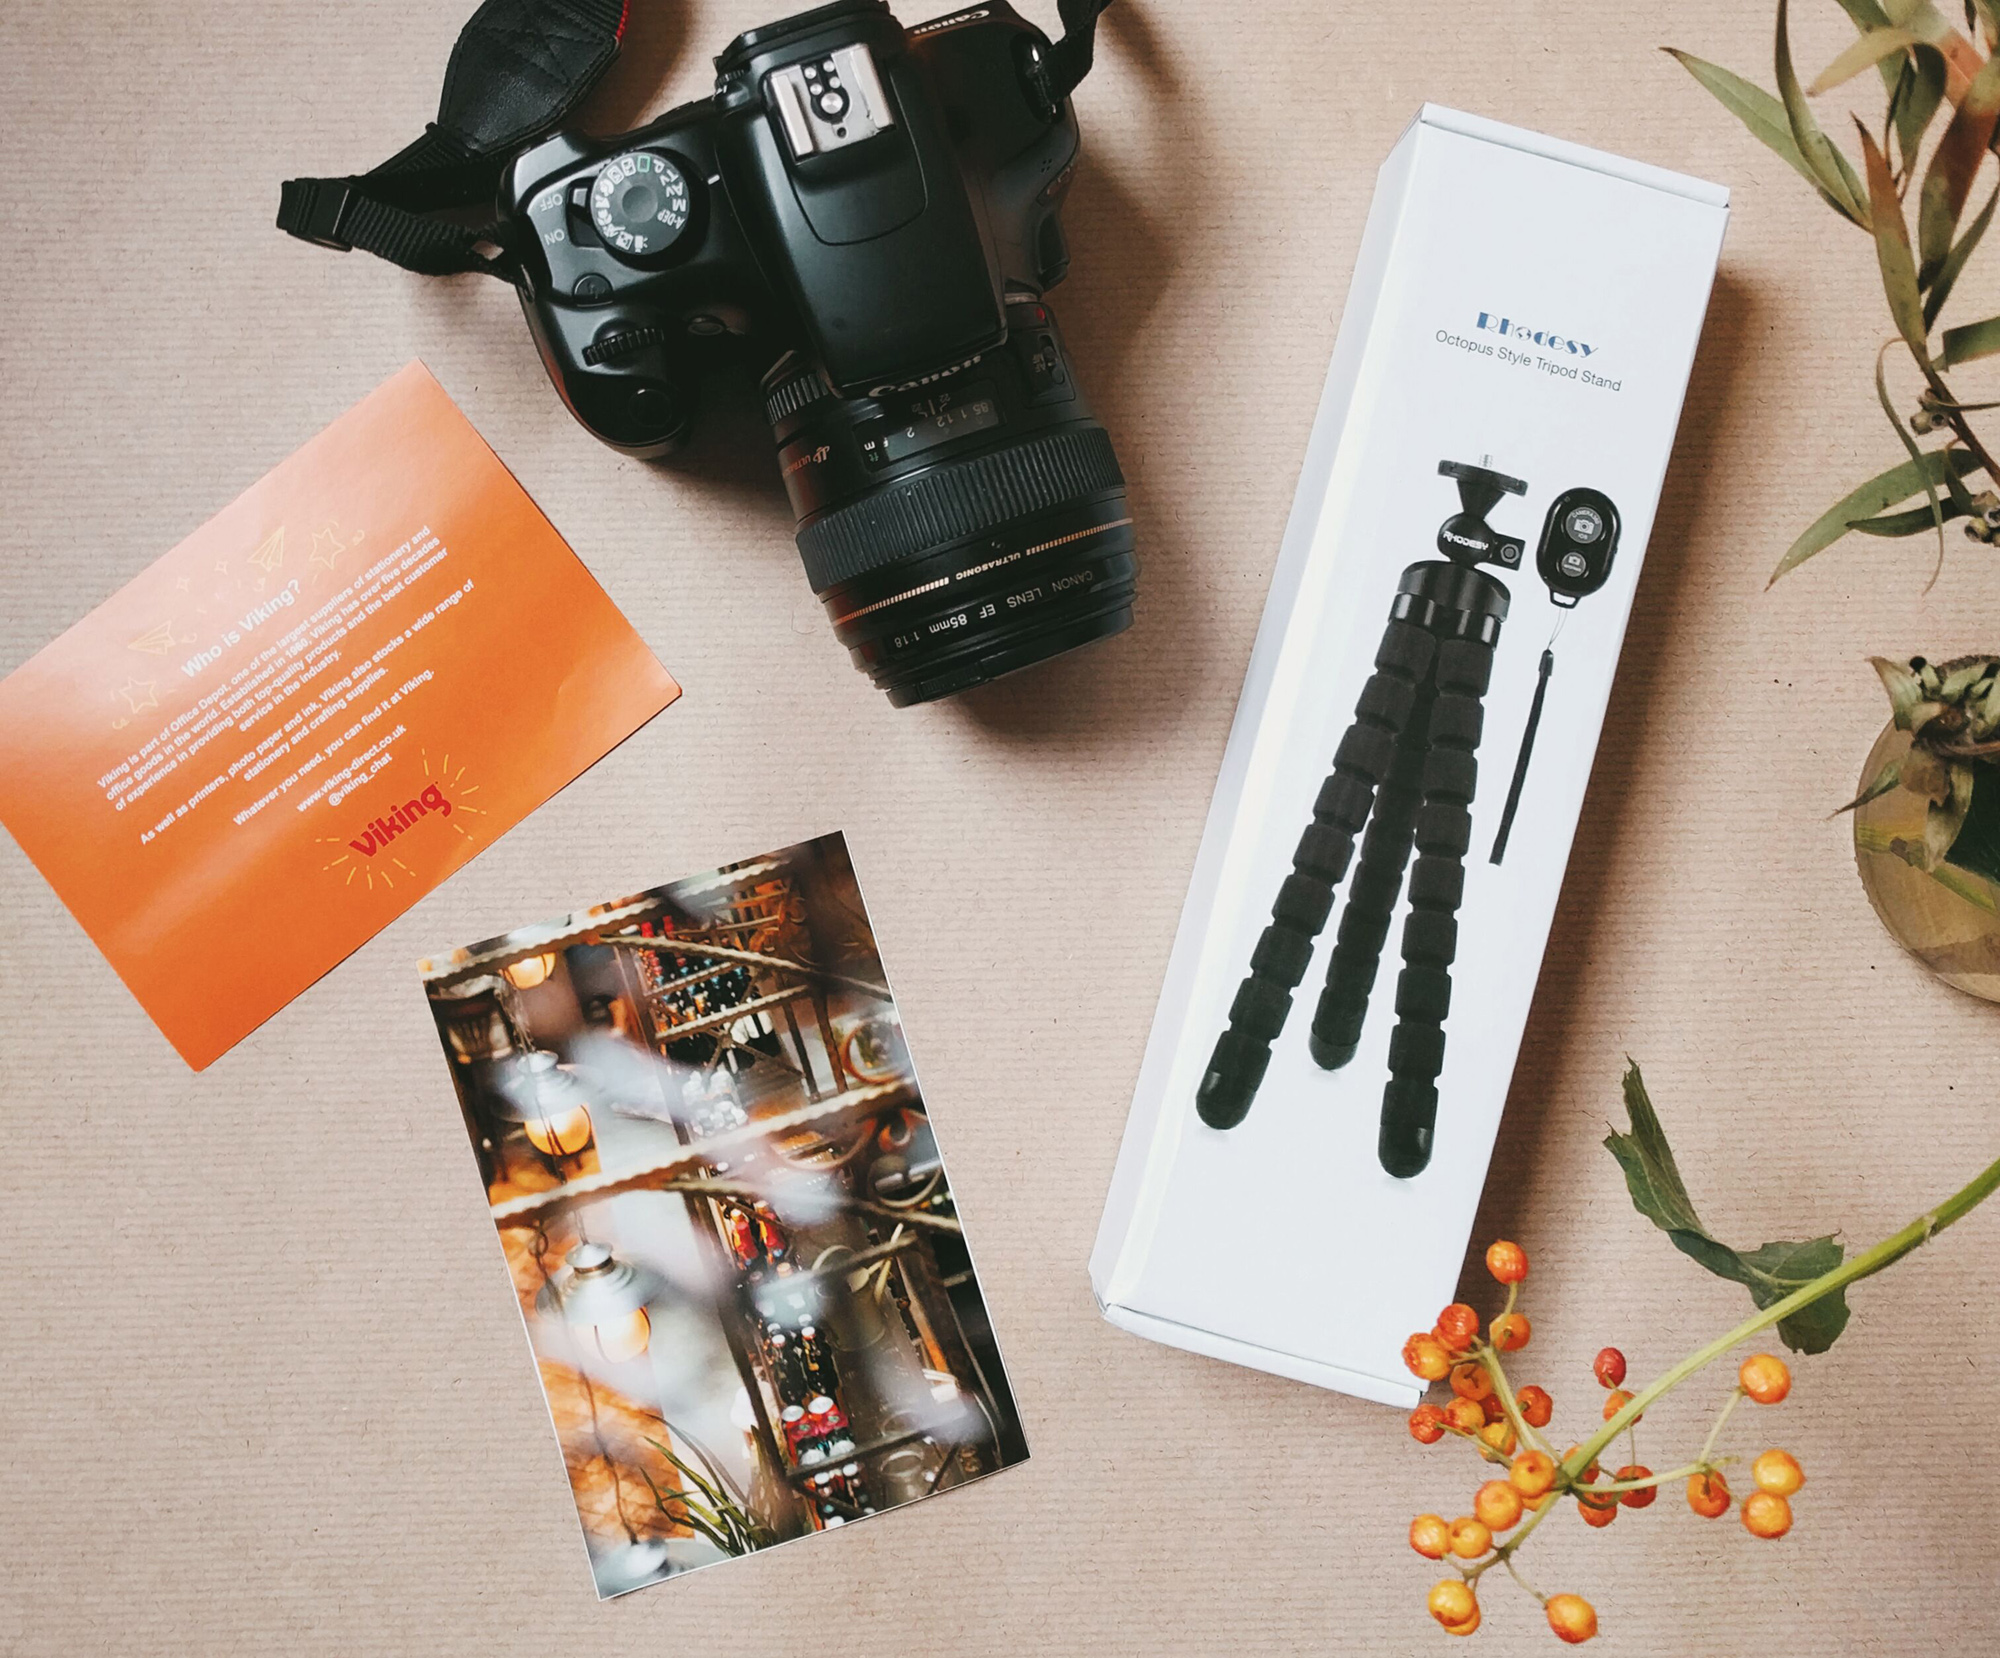
Back home, I practiced my new flatlay skills with the gift from my Viking goody bag – a remote controlled tripod! I also took home a print of what I think was my best capture of the day – I really love how it turned out printed directly from my camera with the Canon Pixma printer.
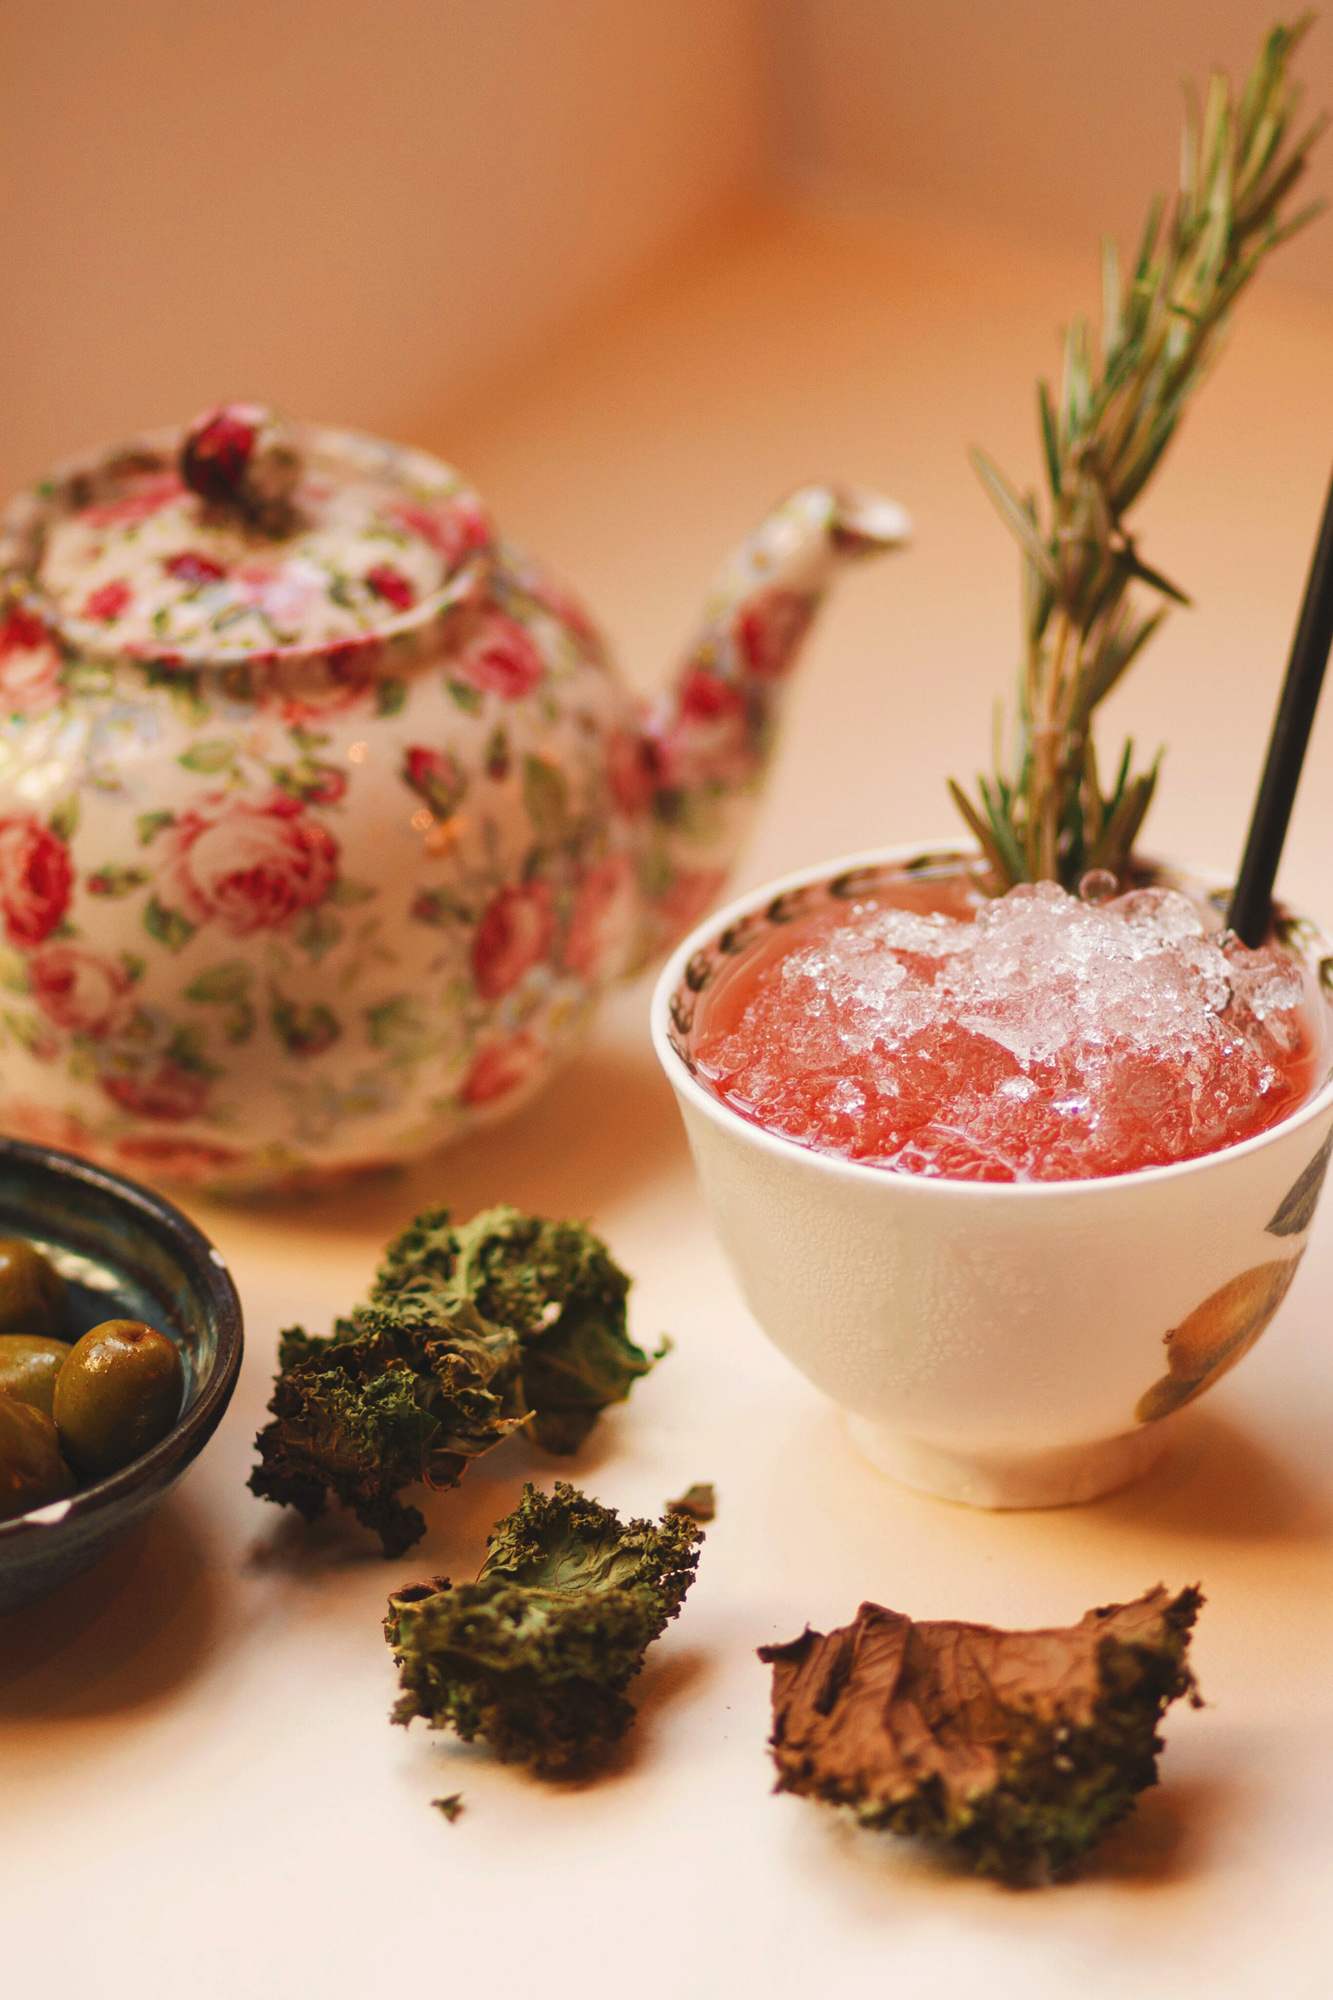
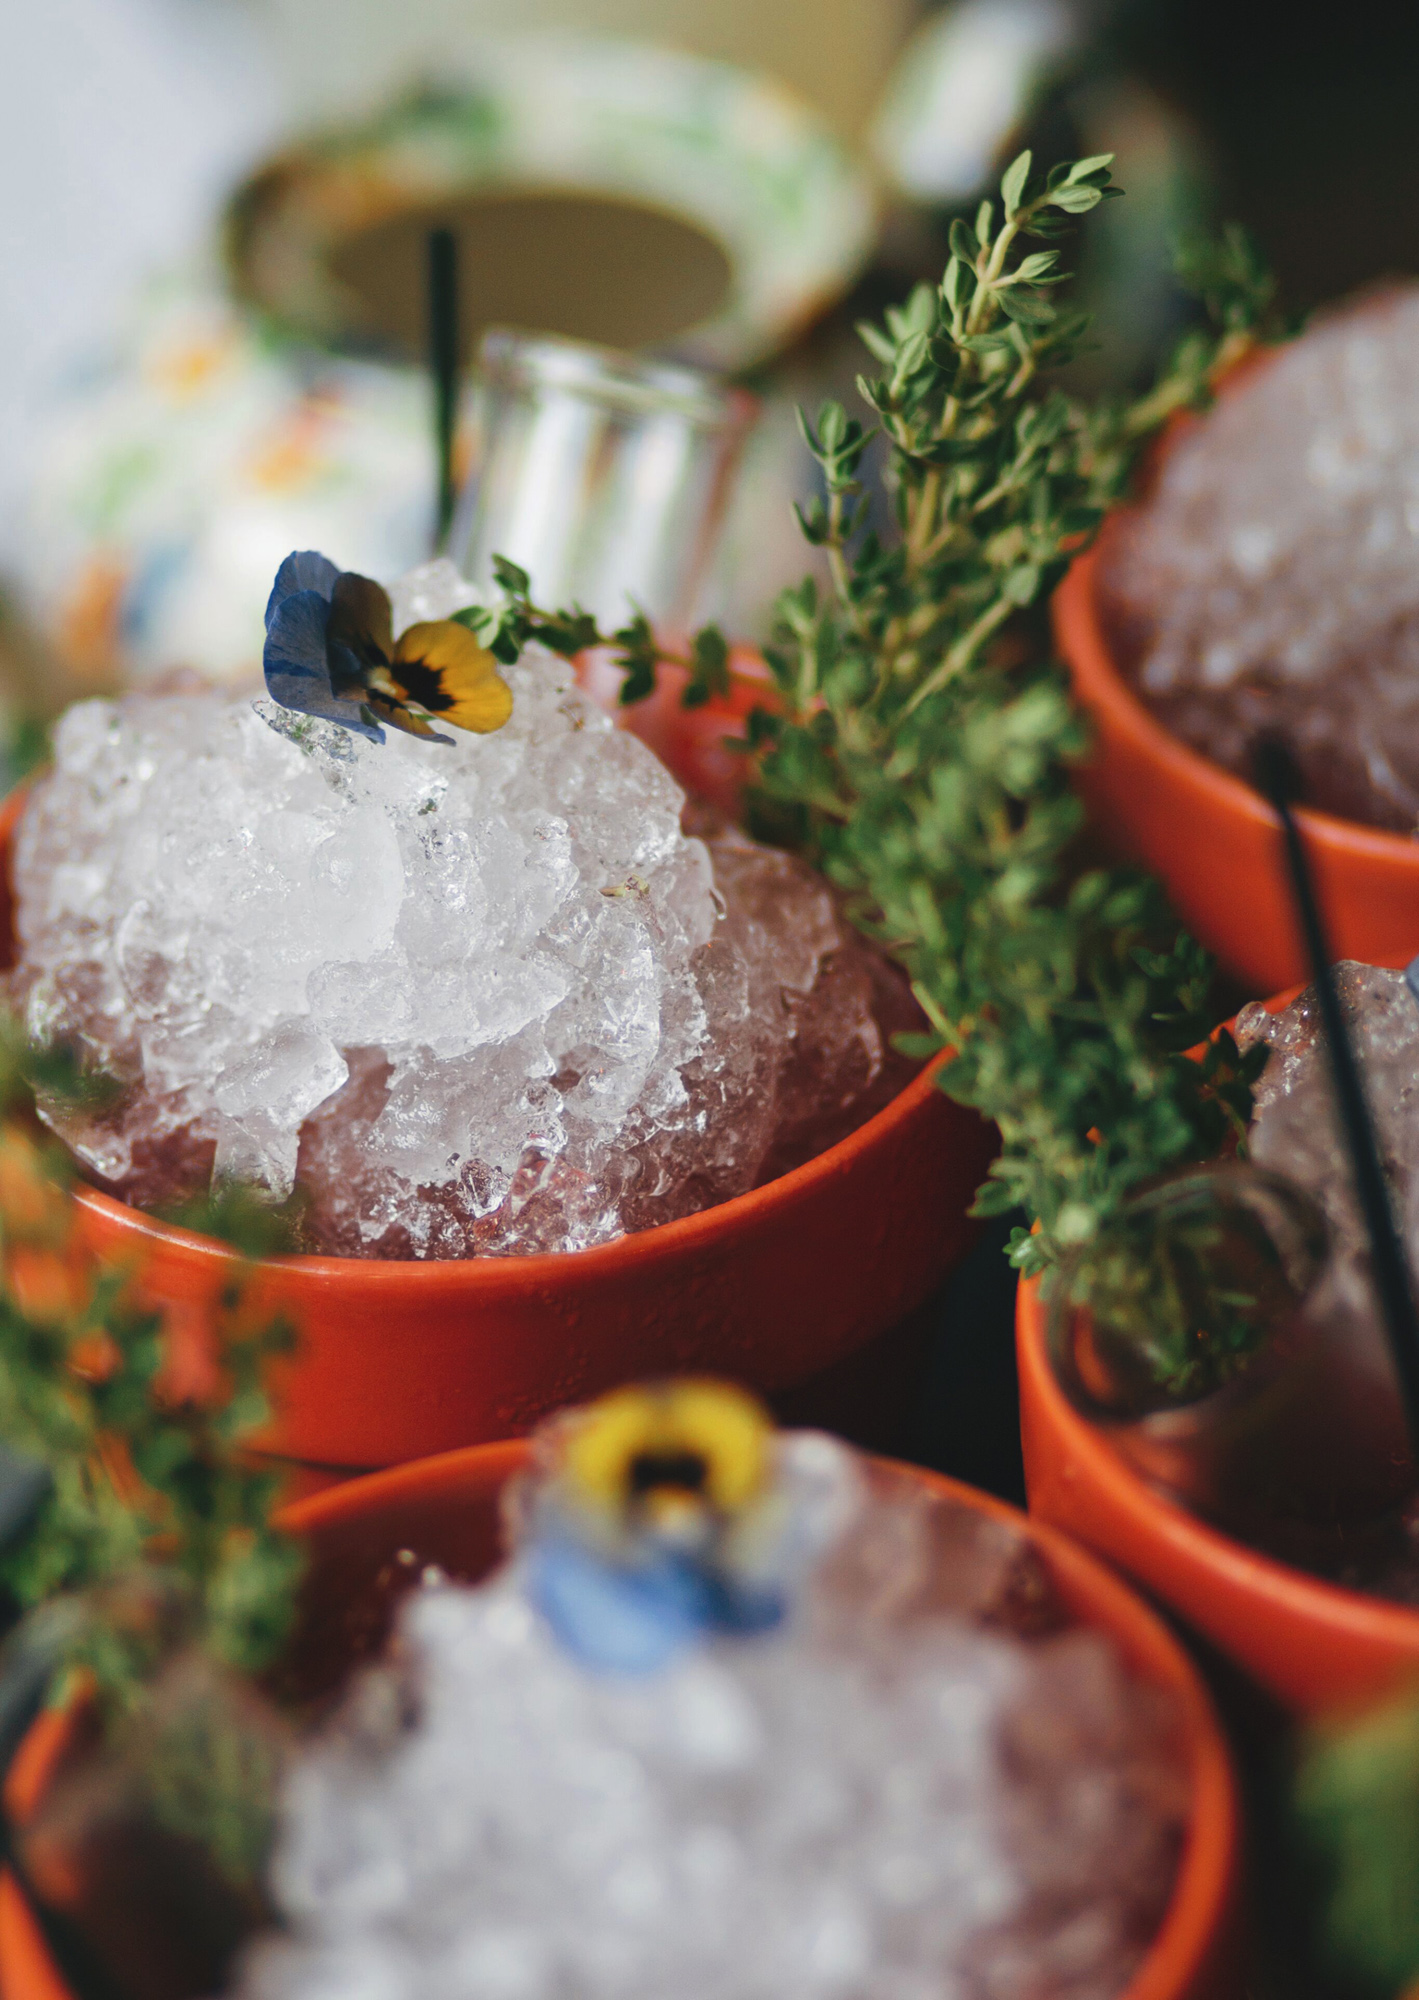
And finally, we tried our hand at some food photography. The Botanist does the prettiest cocktails, so I decided to make them my subject. For food photography, there are two basic angles you can shoot at – directly from above like a flatlay, or at a 45 degree angle. I think you can tell that I prefer the latter! We also used white boards to reflect light in darker areas, they’re really useful for food and product photography as they help light smaller objects evenly. If you were doing portraits instead, you’d use a larger reflector for the same purpose.
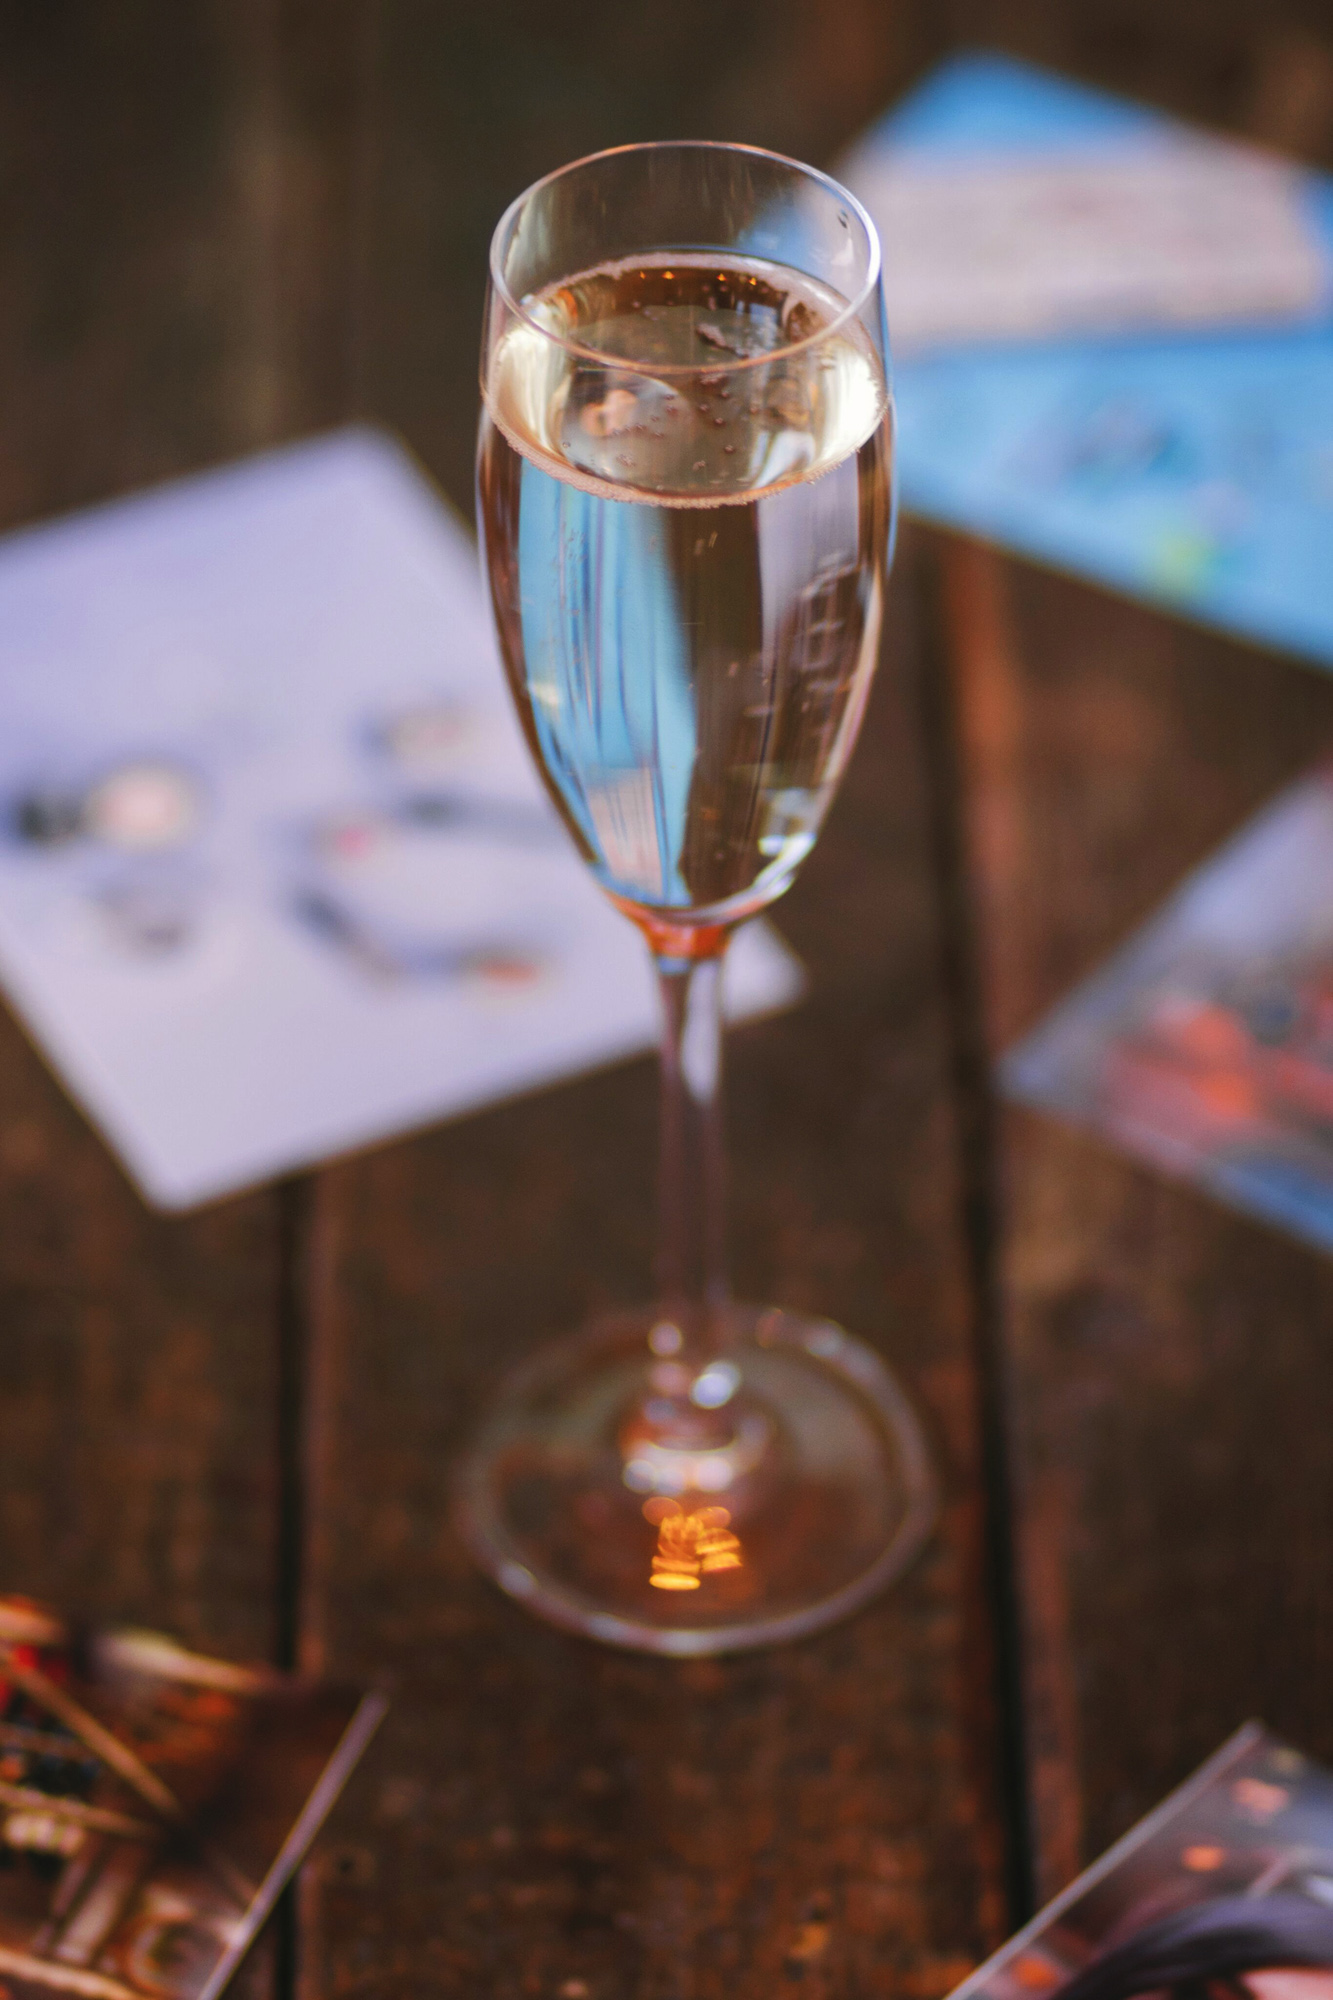
We ended the evening as we’d began, with glasses of prosecco. Although I’ve been taking photos for donkeys ages, there’s always something new to learn, and I felt like I’d picked up some really useful tips at the Viking Photography Workshop that I’m going to use in the future!

