
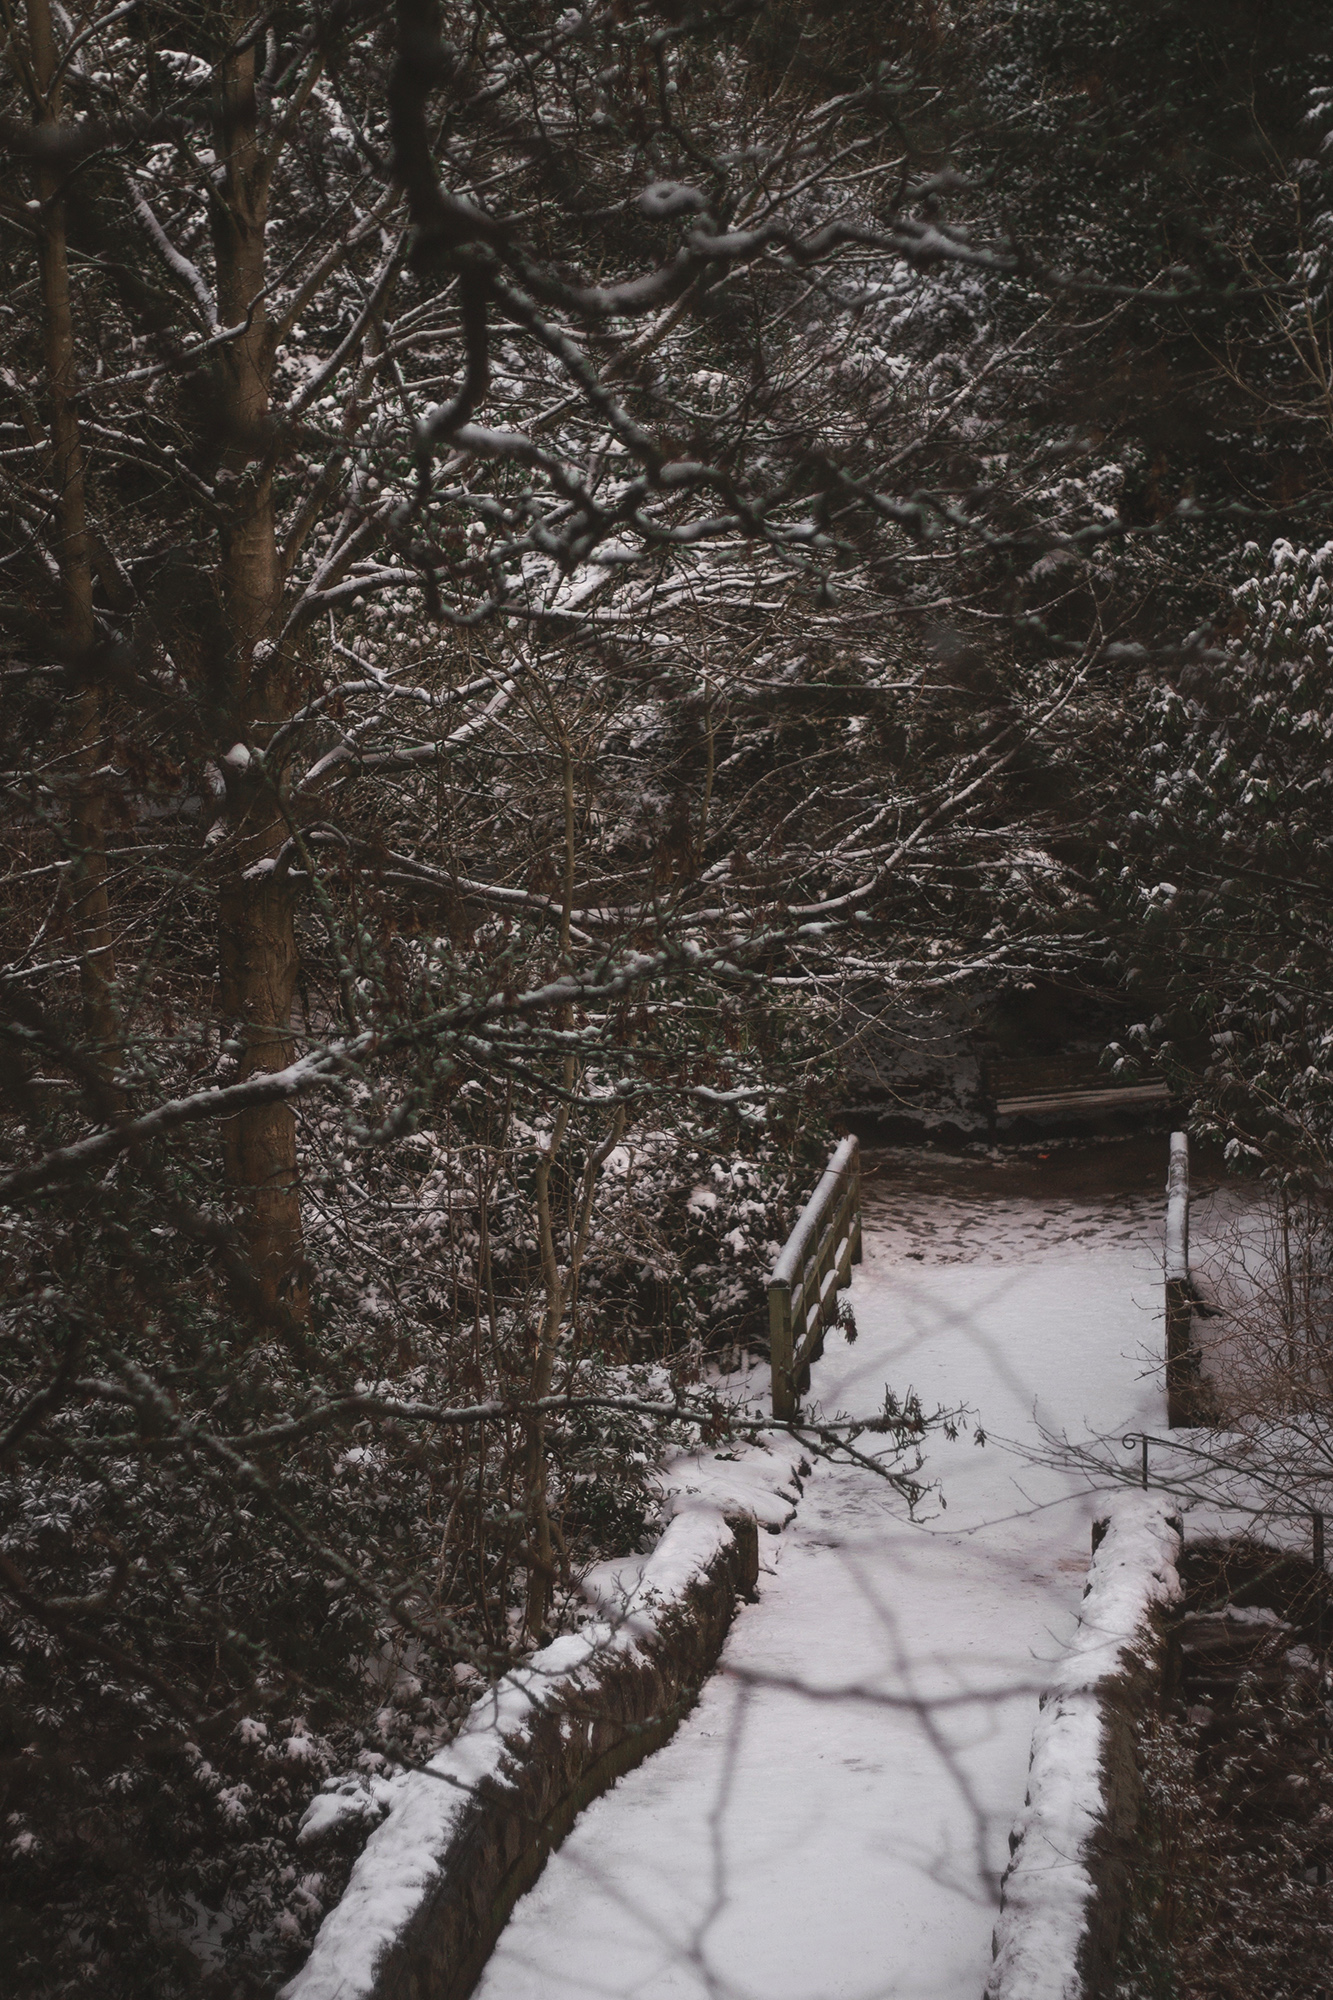
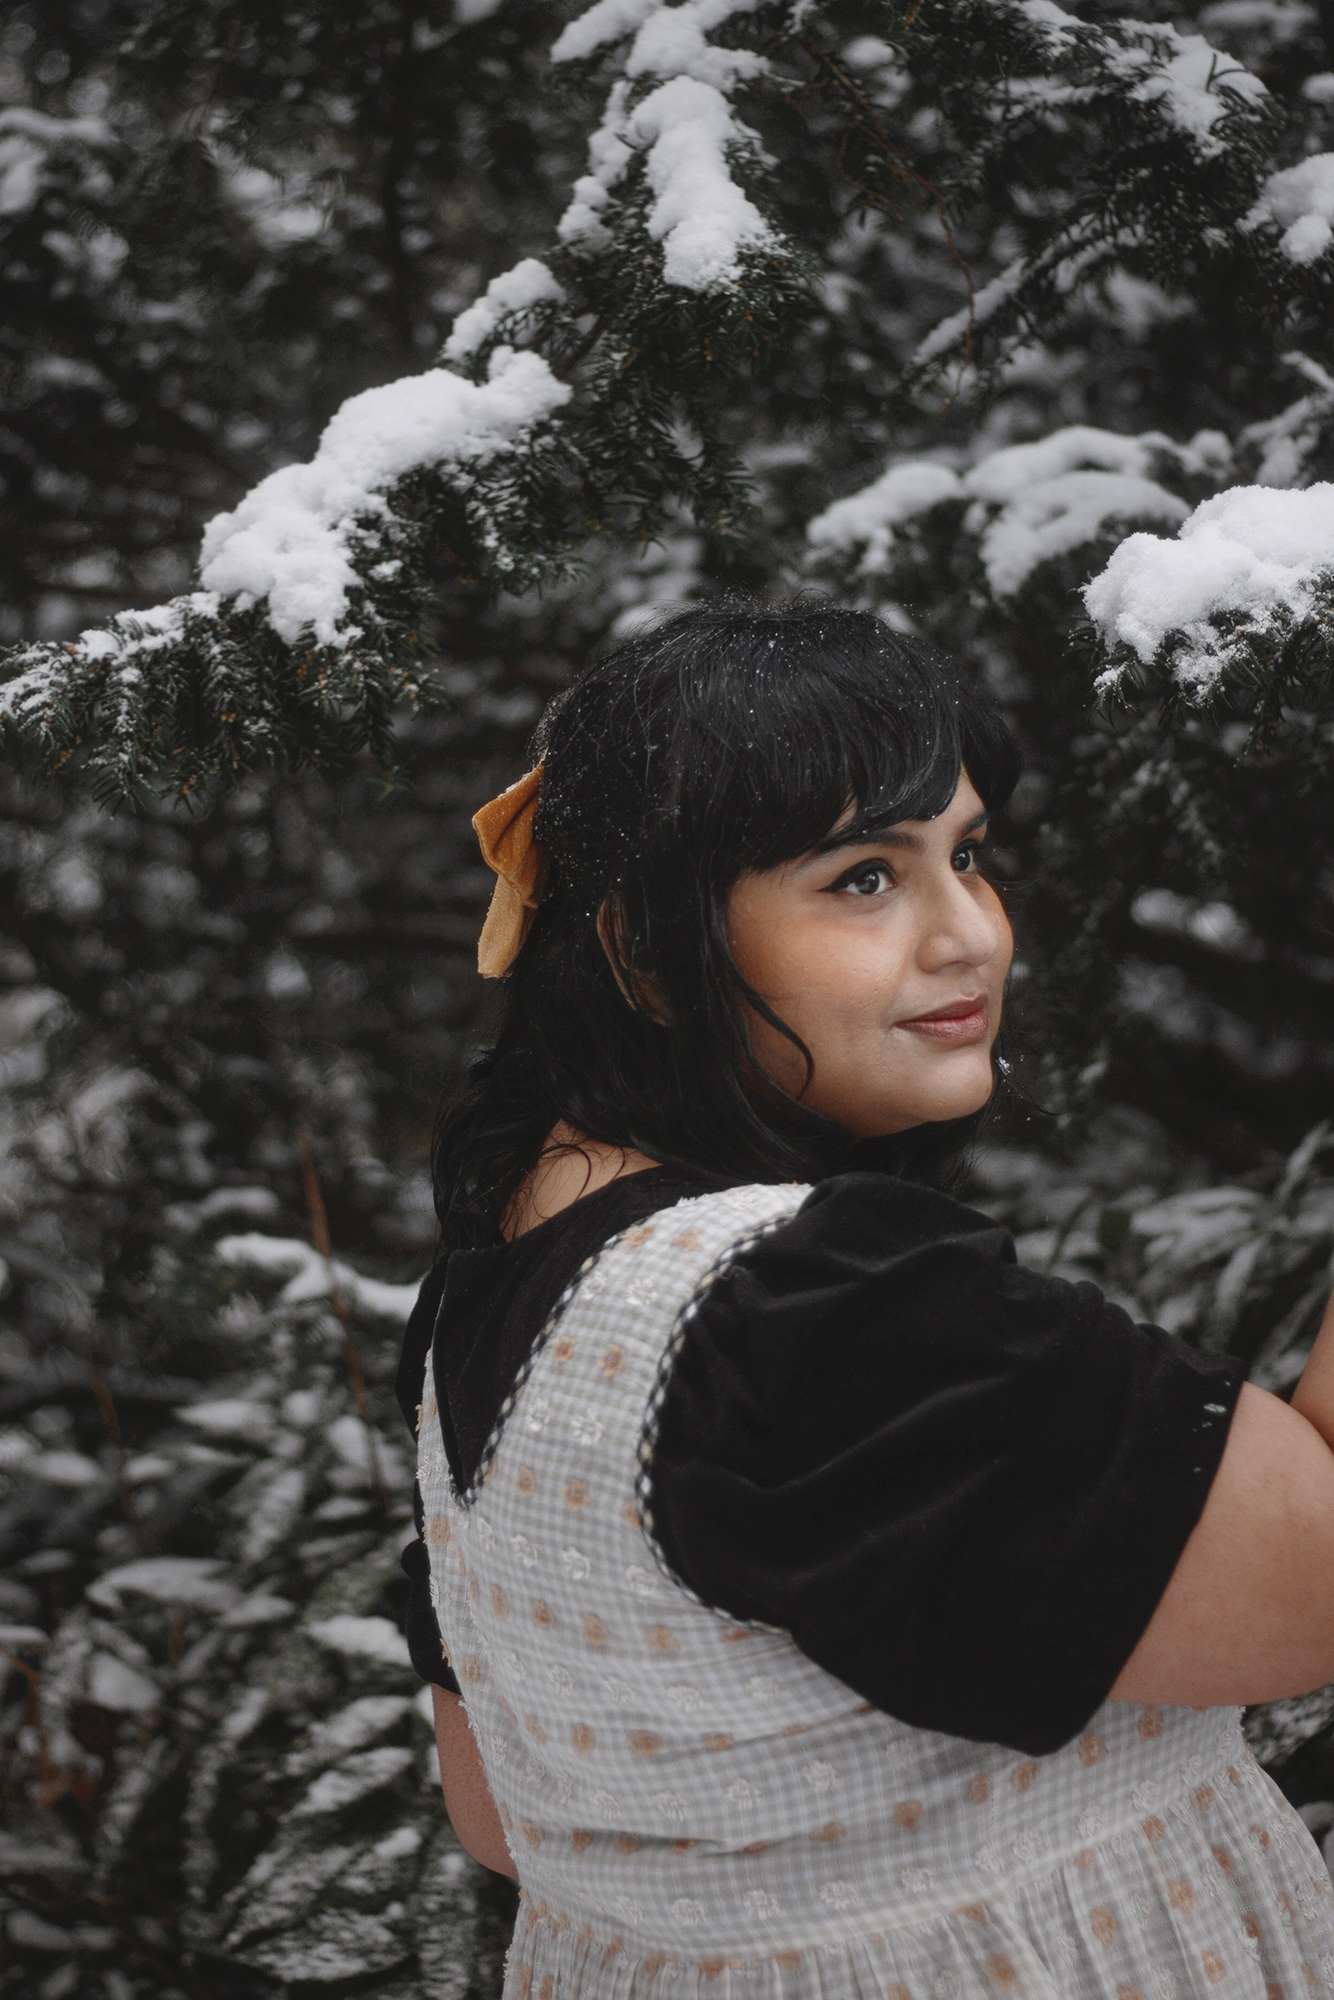
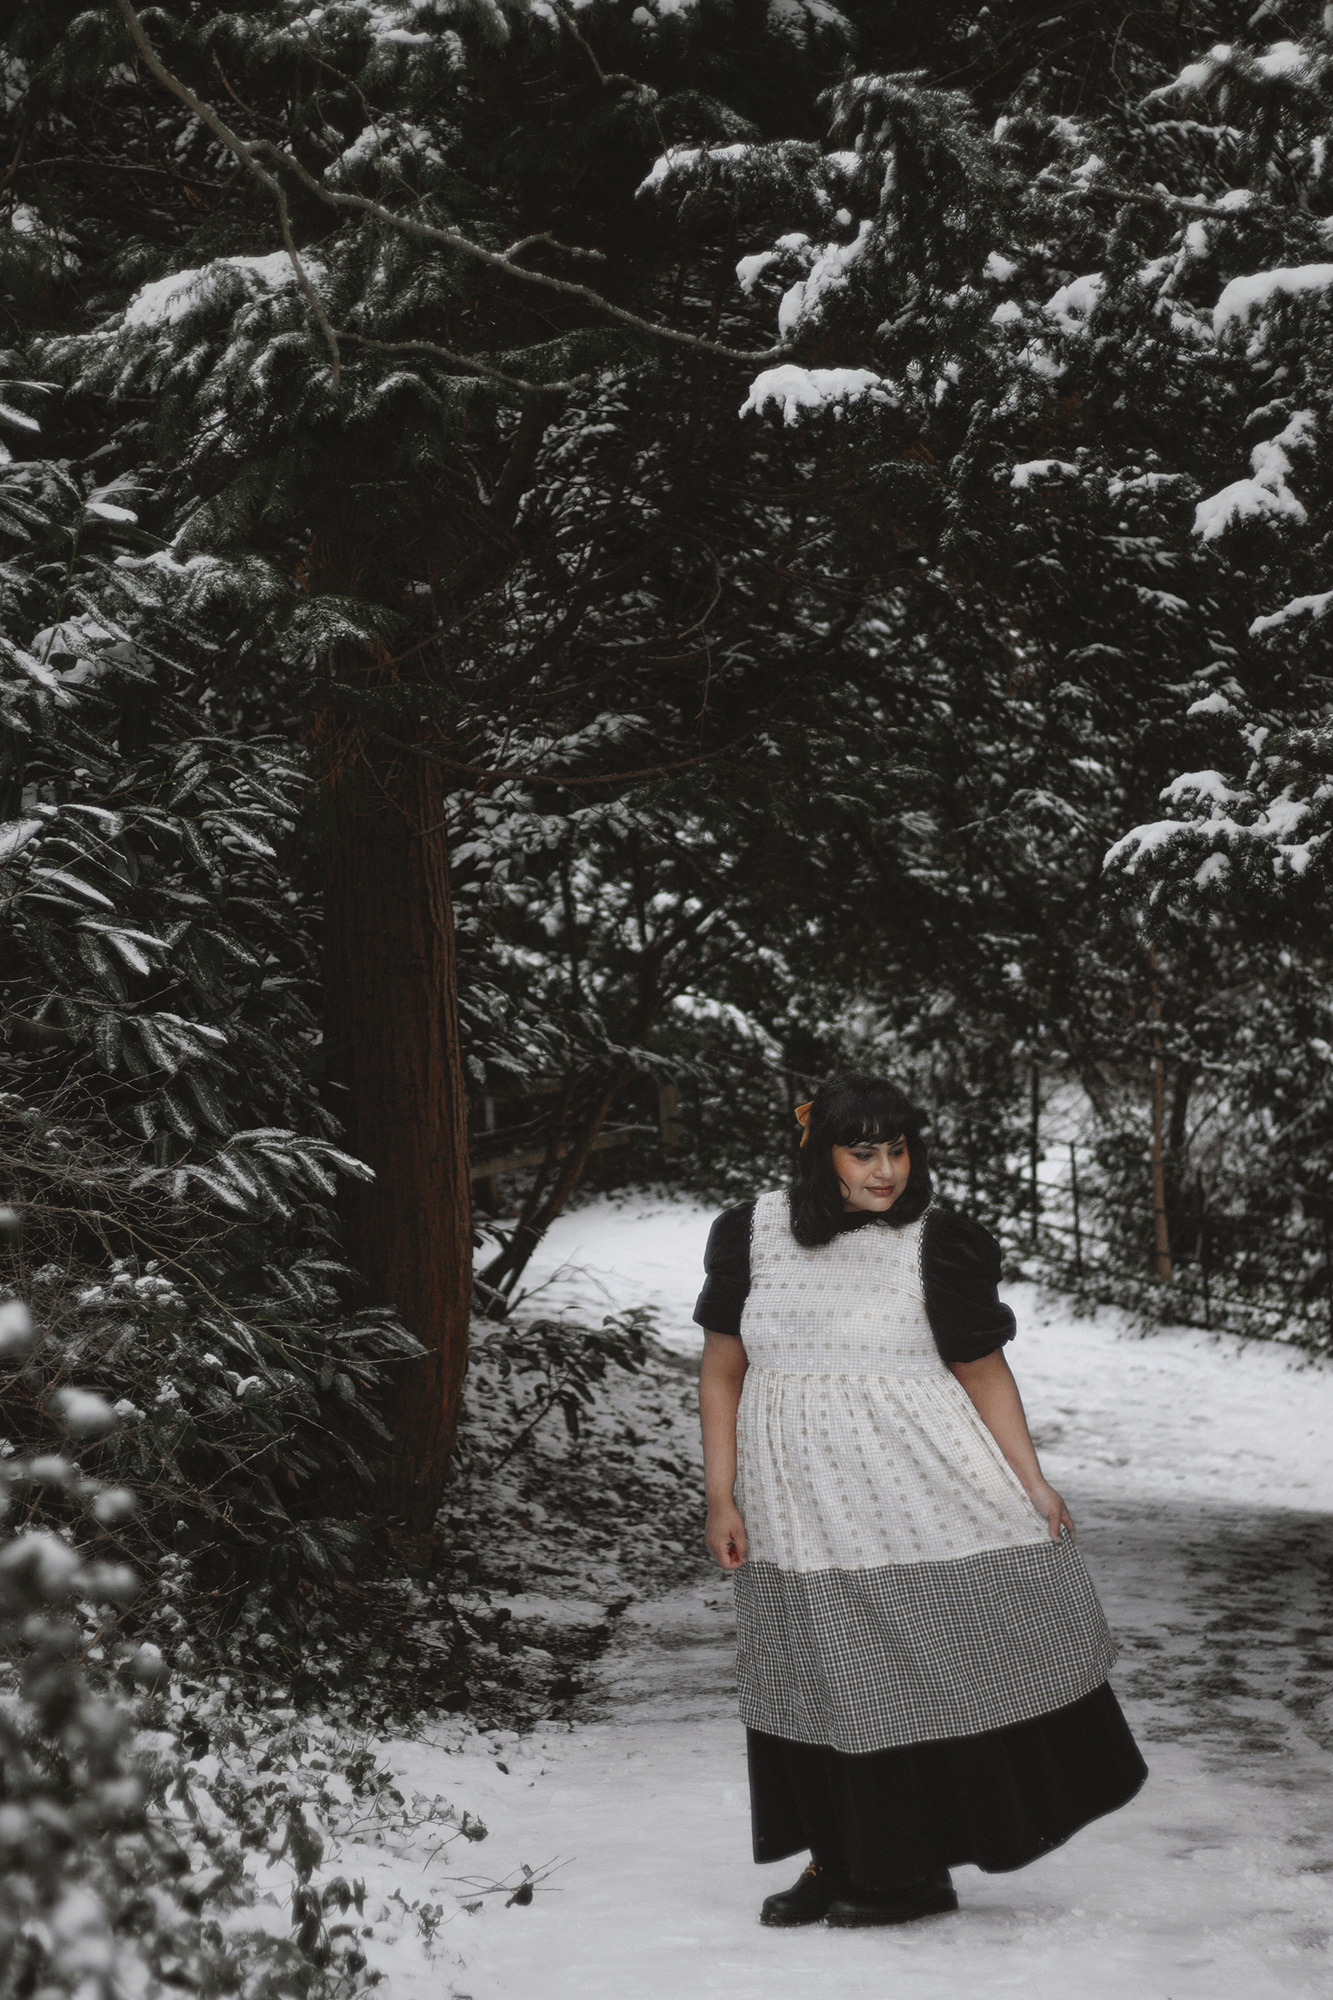
Earlier this month, when Newcastle had transformed itself into an unexpected winter wonderland, I decided to challenge myself and shoot some snow portraits on my own. I’ve really been spoiled the last several years, first by working with professional photographers in Bangalore and then having Owen around to take all my photos, so I was rather nervous about being able to successfully carry out a self shoot session after all this time. But once I set out with my camera equipment, it all just fell into place like I’d never been away. Today I’m sharing a step by step process for shooting your own self portraits, including my best tip for crystal clear focus.

The equipment
I still shoot with my 10 year old Canon 1100D (EOS Rebel T3) a very basic, entry level DSLR. Its most recent successor is the EOS 2000D which has twice the megapixels and all sorts of bells and whistles no doubt, but if you can get an older model in good condition, I’d say go for it. As you can see from my photos, my decade old camera is still perfectly capable of producing stunning images!
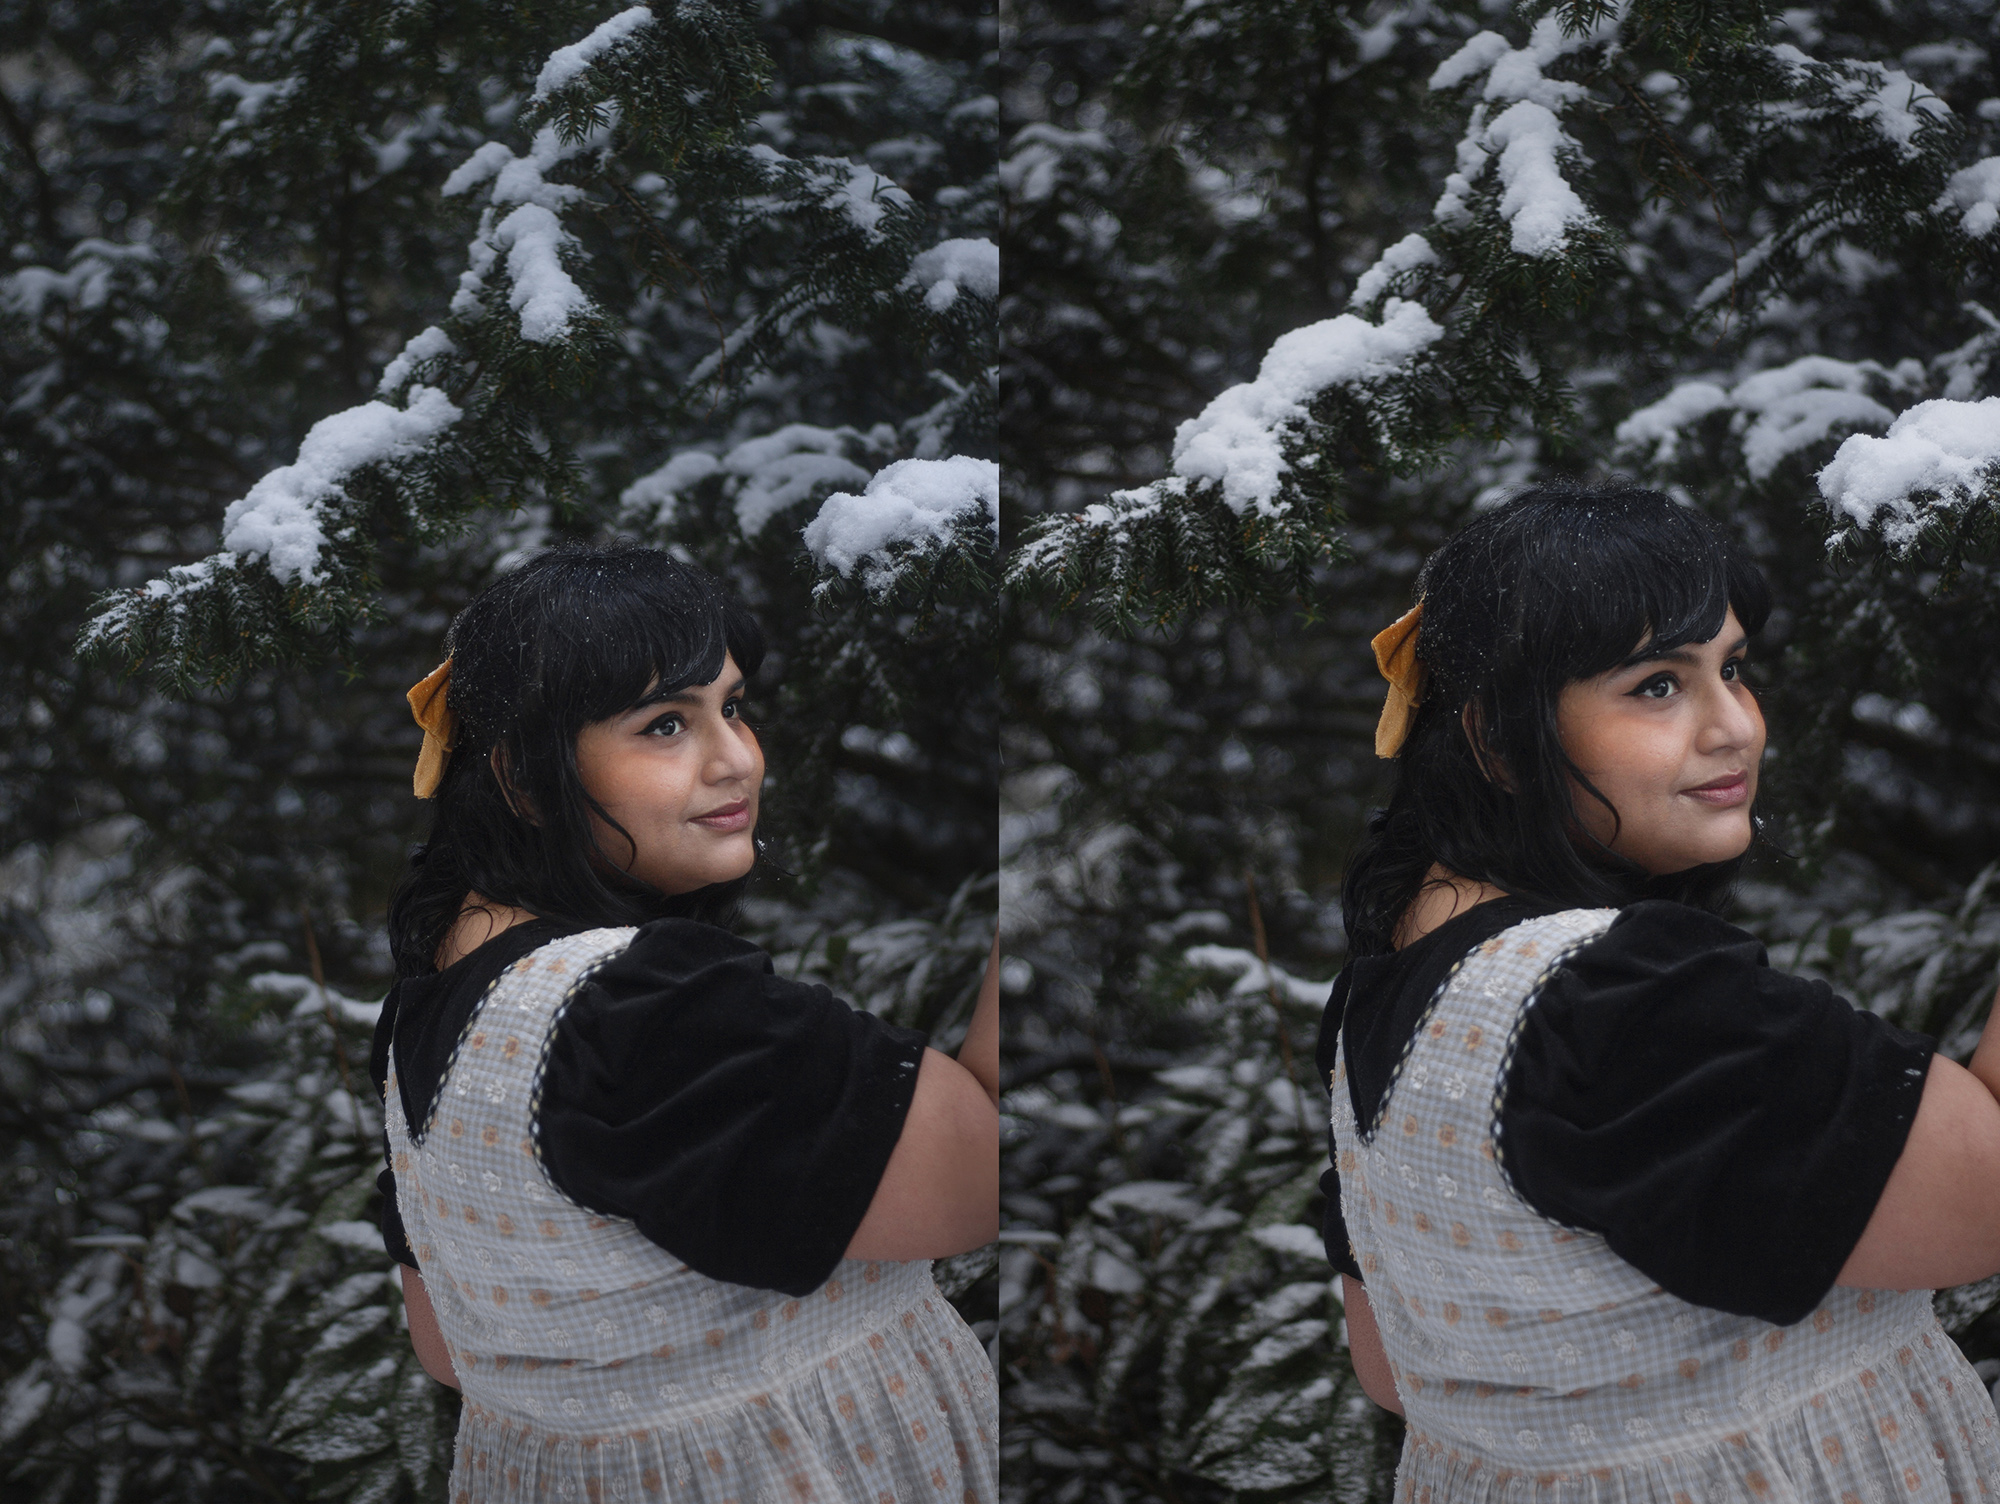
I’ve always maintined that the lens is what makes a photo, much more so than the camera. I mostly use the Canon 50mm f/1.8 STM lens these days but sometimes I also break out my older Canon 85mm f/1.8 USM lens. Both of these are dedicated portrait lenses, designed for doing one thing only and doing it really well – taking crisp, clear portraits with a smooth, background bokeh. Portrait lenses typically have a very wide aperture (f/1.8 for a regular portrait lens to f/1.2 for the most expensive versions) and don’t zoom. The lack of a zoom function means that you literally ‘zoom with your feet’ on these lenses, but in return you get amazing portraits.
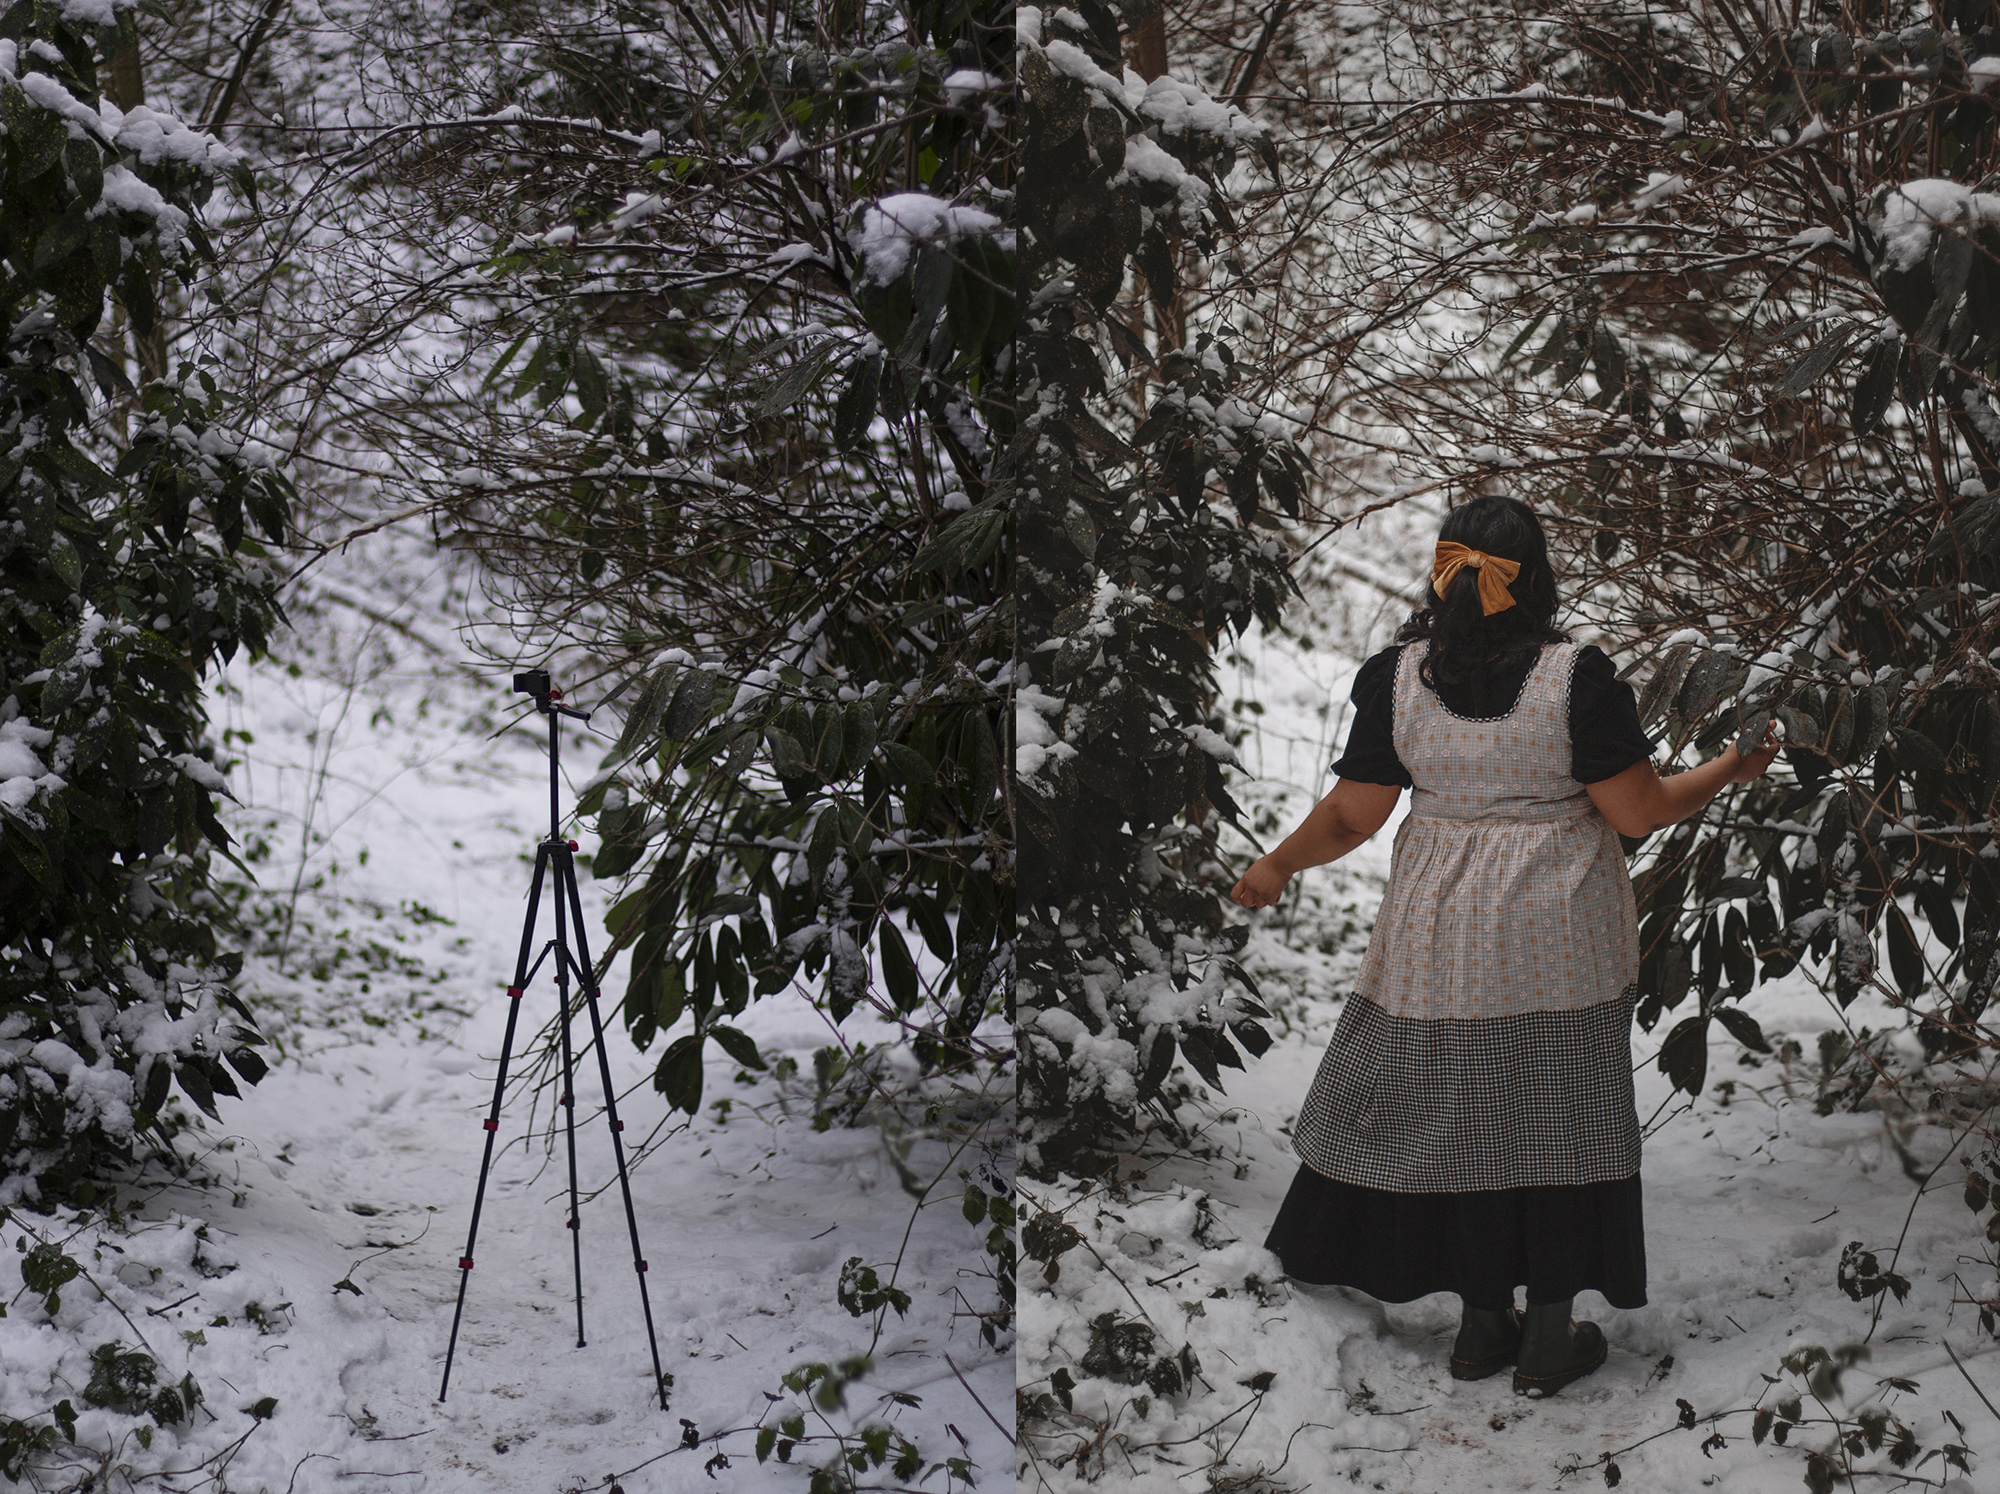
For taking your own portraits, you’ll need a sturdy, reliable tripod. I use this one which is on its third year now and going strong. I also use a secondary tripod for focusing – it’s just a cheap, lightweight one but all I need it to do is stand in one place rather than hold up expensive camera equipment.
You can get a bluetooth remote for your DSLR to make things a bit easier for you, but my camera is so old that third party remotes don’t work reliably with it, and I’m very used to the self timer by now.
Steps to getting the perfect self portrait
- Set up your main tripod with the camera, and have both the camera and lens set to manual. It’s generally a good idea to thoroughly acquaint yourself with the manual setting on your camera and using your lens on manual beforehand. There are a million and one tutorials that will take you through the intricacies of manual mode much better than I can, so I’m just going to start by assuming that you are familiar with manual focusing!
- Open up your placeholder tripod (the cheapy one) to its full length and place it where you’d be standing. This creates the point where you’ll set your focus. I’ve previously used tree branches, foliage, even a clothes drying rack to set the focus for self portraits, but using the second tripod has given me the clearest, most foolproof results.
- Placing your focal point on the ground where you’re planning to stand, or on a tree branch means that the sharpest part of the image will never be your face or torso, which is where you want it to be. Because a tripod is roughly human height when extended fully and can be positioned wherever, its head is a rather handy stand in for your head/torso region. I also mark the ground right under the tripod head (equidistant between the legs) to have a reference point for where I’ll be standing.
- To get a really sharp focus, switch to the screen mode on your camera, blow up the head of the placeholder tripod to 10X using the zoom buttons and get it as sharp as possible. When you’re happy with the focus and the framing, switch off the screen and go back to viewfinder mode. If you’re using the self timer, set it to continuous shooting with a 10 second delay (or longer if your camera allows it.)
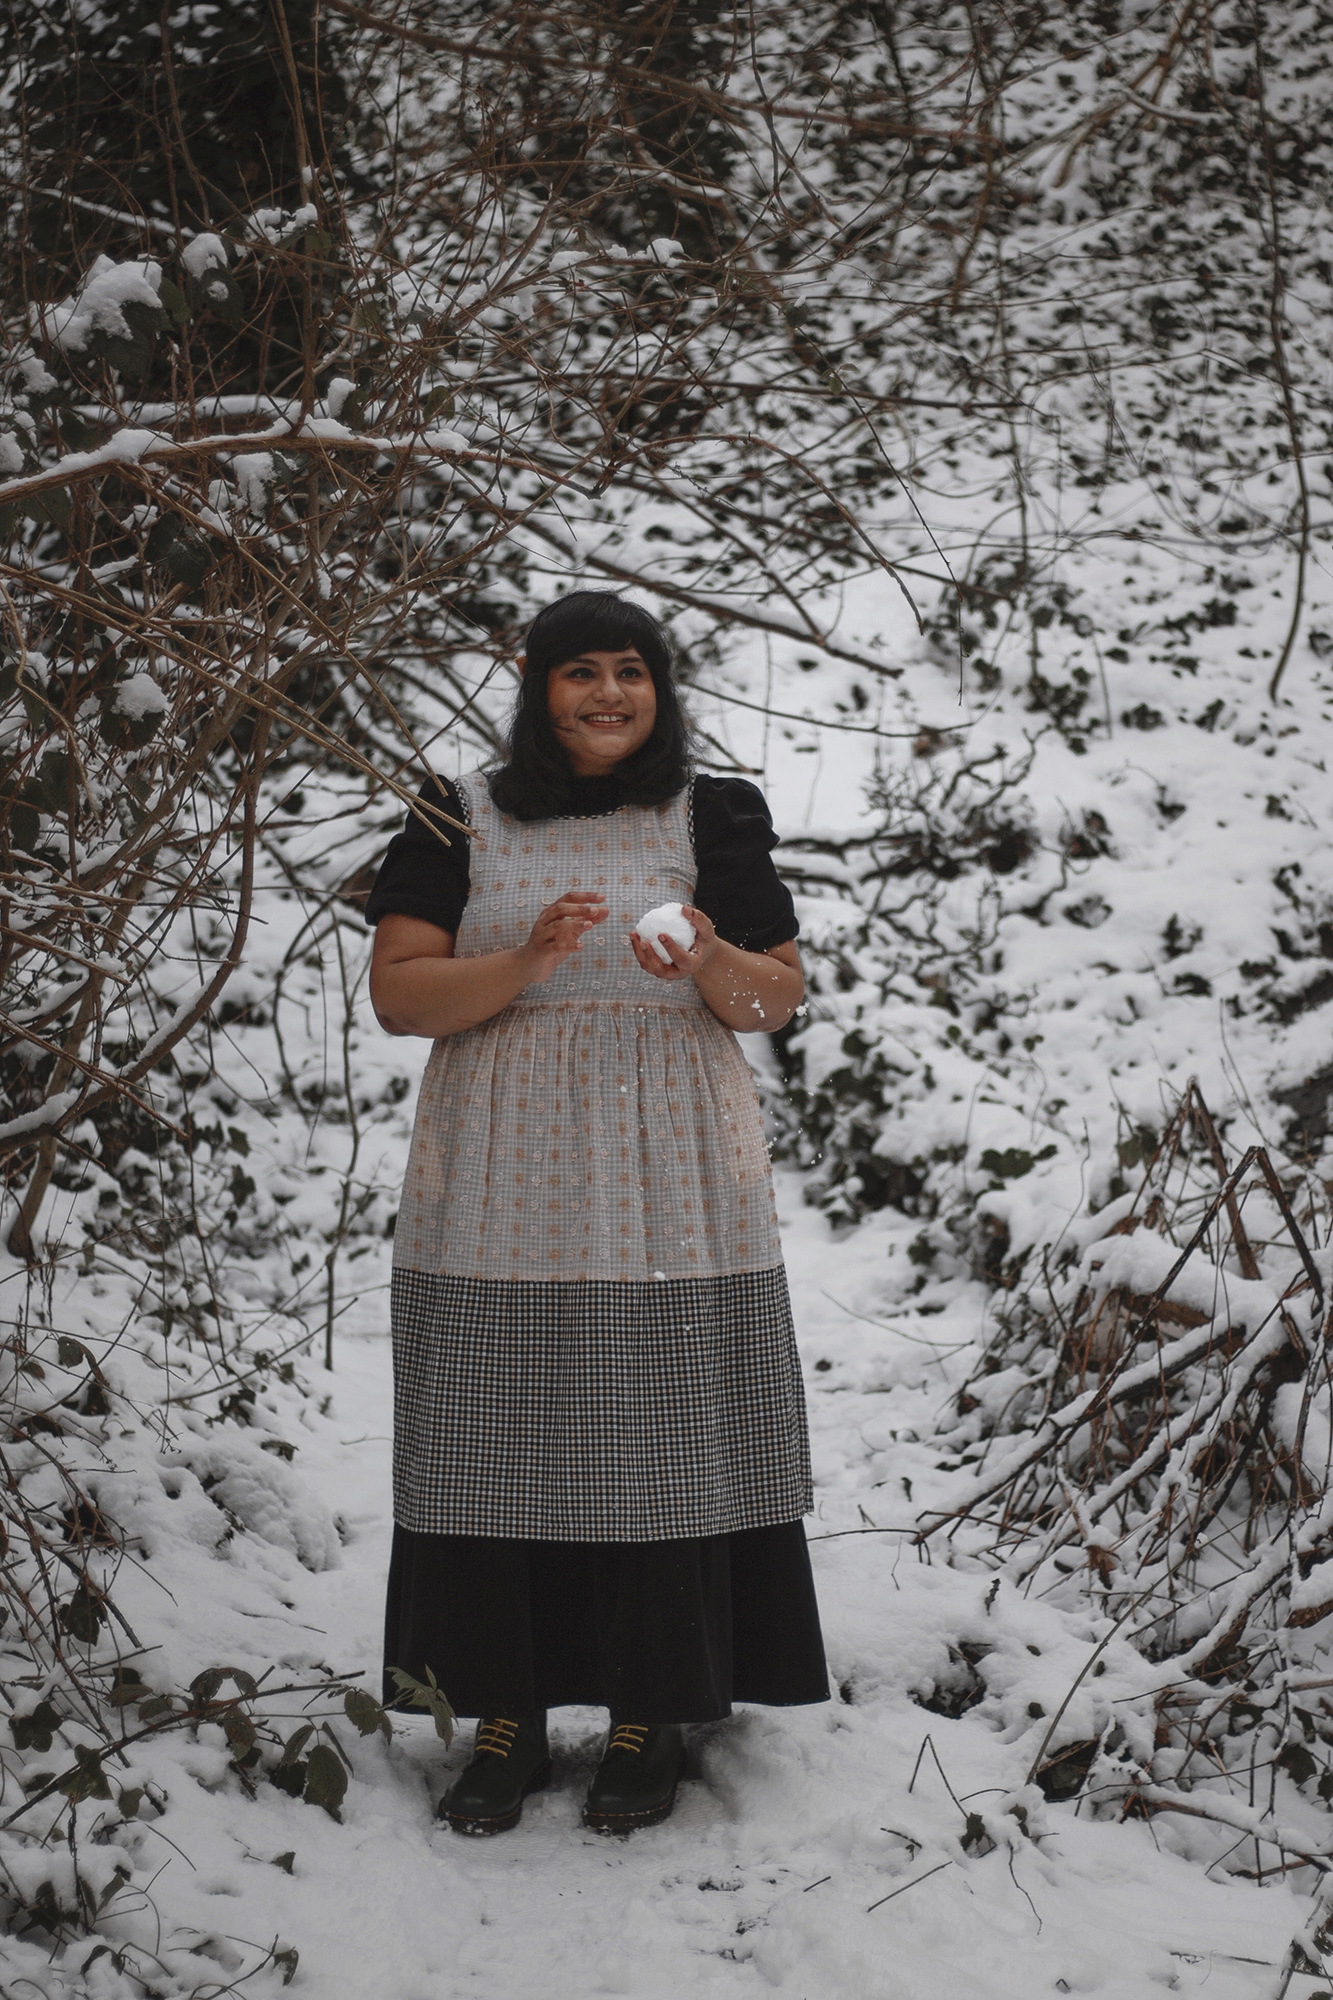
- Remove the placeholder tripod, set off your 10 second timer and get into position and pose away! I find that when shooting on the self timer, it’s best to get your pose ready before you click the shutter and set the timer off. In a lot of these photos, for instance, I wanted to hold the skirt of my dress and twirl it, so I made sure I was holding it in the right position with plenty of room for movement before I set off the shutter/timer and trotted off to my position.
- Check after every 5-10 shots whether your positioning is correct and you’re getting the framing you want. I generally like to leave a fair bit of space for cropping, especially with self shoots as an awkwardly framed photo can often be fixed with some judicious cropping.
- Another posing tip – move around and experiment a bit with your poses while the shutter is clicking away! I find that keeping my body loose and mobile (but not slouching) results in the most natural portraits. Sometimes it also helps to imagine you have a photographer and that you’re interacting with them!
- You’ll probably get people coming up to you and expressing an interest in what you’re doing! This can be annoying at times, especially on days when you just can’t get the right shot, but I find that it’s always easier to ward off annoyances with a bit of firm, friendly politeness and concentrating on the job at hand. Back in India I’d usually have to deal with annoying onlookers who would just stand and stare, and I’d studiously ignore their existence until they got bored and wandered away. Although on one occasion I had to give a very stern dressing down to a group of university students who thought it would be hilarious to photobomb me while I was shooting! Here in the UK, I mostly get people on walks hurrying past apologizing for ruining my shot while I assure them that it’s perfectly alright!
Do you have any tips for taking the perfect self portrait? Are there any that I have missed? Let me know in the comments!


I’ve been looking for tips on self portraits with a timer. And I never thought about testing with another object like a tripod! So that was very helpful!!
I’m so glad you found these tips helpful!!
Great photos!!! You look beautiful. And the ideas are wonderful for a portrait photo-shoot.
Good Photographs. The Canon 1100D DSLR gave pretty decent clicks.